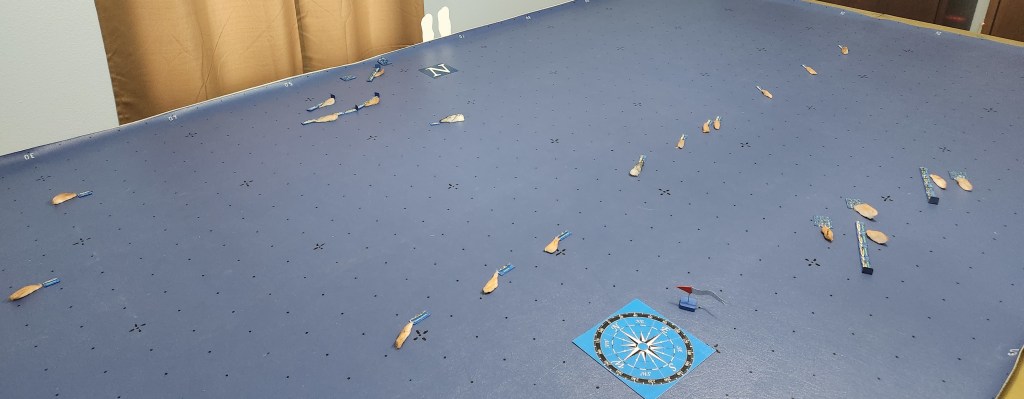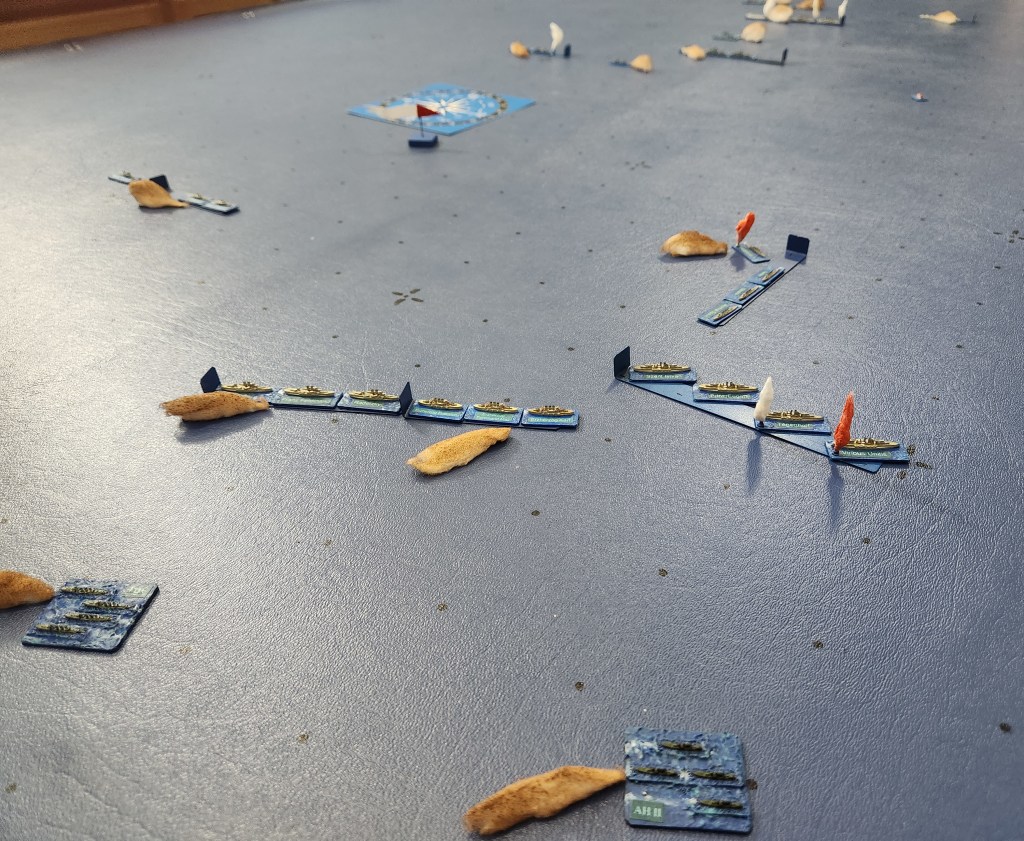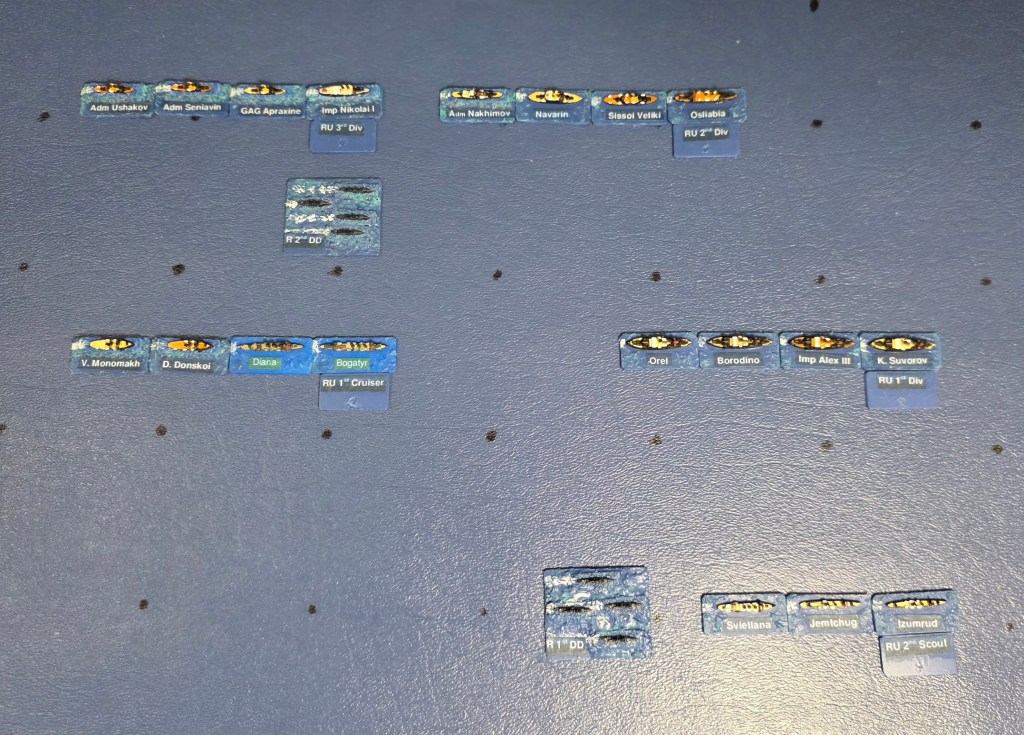
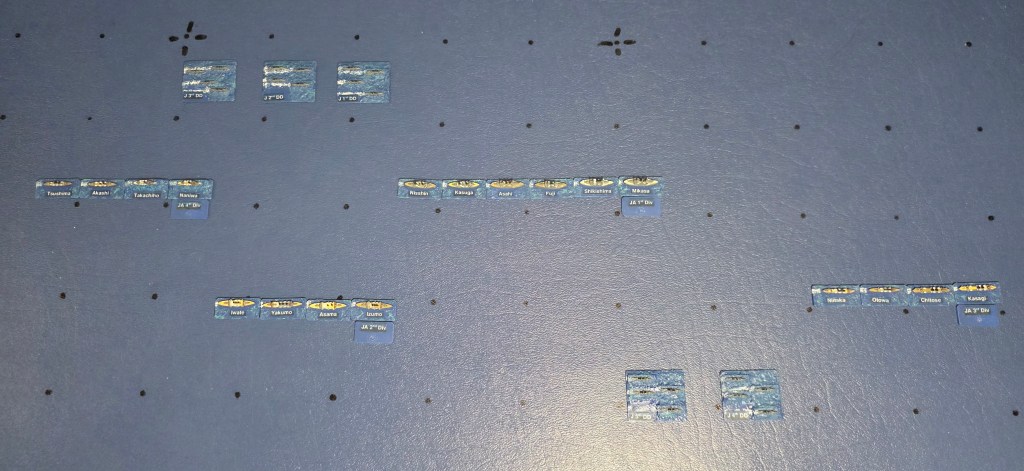
Battle of Cape Shoppek

This 1918 scenario is based on the following:
1. The Russo-Japanese War of 1904-1905 ended in a stalemate and the issue of who would dominate north-east Asia remains unresolved.
2. The First World War and Russian revolution have not yet occurred.
3. The naval building programs delayed or curtailed in 1914 have continued.

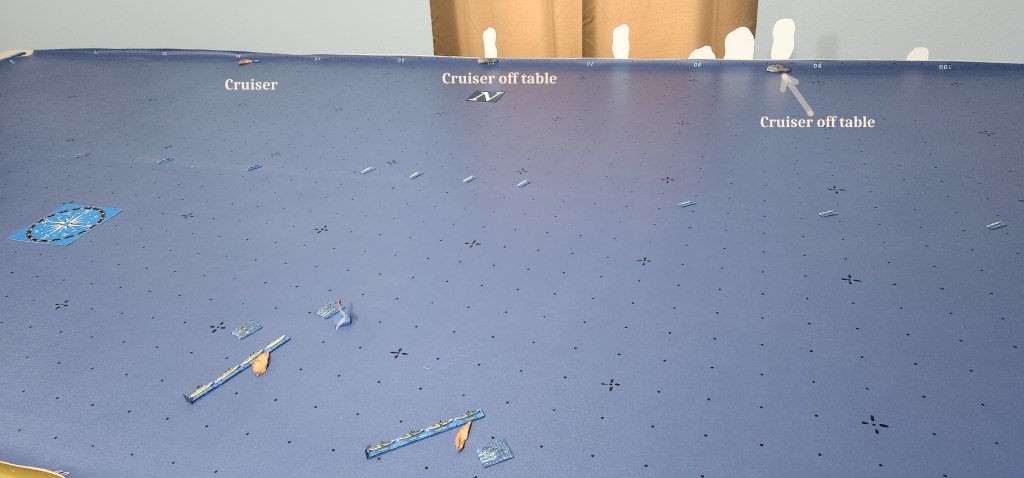
The Russian side was played by a remote gamer using text output files, plots of contact reports and photos of the table. The Japanese side was run by the code‘s AI.

The Orel class Russian dreadnoughts used in the game are based on the 1917 design described here:
https://ncc1717.com/2019/01/04/1-6000-naval-never-built-ships/

Russian Player briefing:

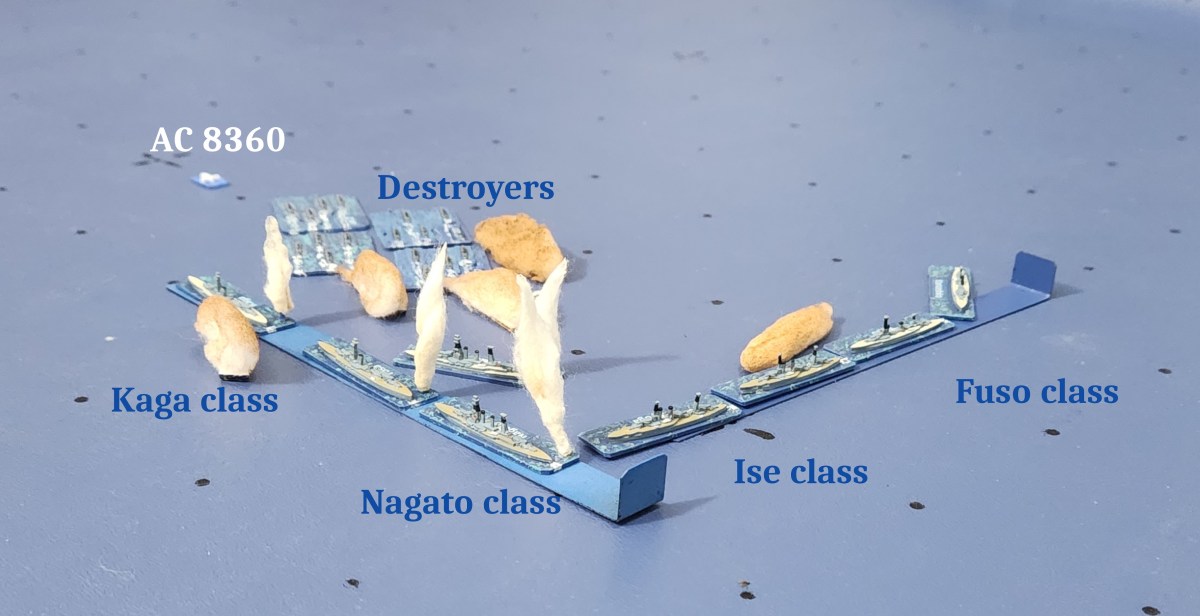
Based on their actions in the war of 1904, it is expected that Japanese naval forces will attempt to gain control of the Yellow Sea to allow troop landings somewhere on the Korea Bay. Attacks will likely precede a declaration of war. Although significant Japanese naval units are reported in the Pescadores Islands, the newest ships are believed to have remained at Sasebo. These may include battleships of the Fuso, Ise, Nagato or Kaga classes.

You are ordered to sweep the area south of Cape Shantung and Cape Shoppek. If the Japanese fleet is discovered it should be assumed that hostilities have begun, and that it is your duty and privilege to engage and destroy it.

The orders of battle are listed in the narrative file:


Photo album (Google):https://photos.app.goo.gl/ss8J54zJYH8Ejmmz8

Plots:
This animated plot shows the movements in 10 minute increments:

Full scenario plot:

Plot of movements and reports to 1100 hours as seen by the Russian player:

Simplified plot of battleship movements and all torpedo tracks:

Plot of action from 1100 to 1200 hours:

Plot of action from 1200 to 1245 hours:


Status at the end of the game:

Gunnery Logs:

Hit Logs:

Comments:
The Russian force did better in the scouting battle, due to the heavier armament of the light cruisers, aggressive tactics, and the use of seaplanes. The Japanese cruiser screen was driven back and unable to locate the Russian battleline. As a result, the Japanese force did not deploy from its cruising formation until the battleships were engaged.

In the early part of the battleship engagement the Russian fire was hampered by smoke from having the upwind position. This improved later after a slight turn to a more easterly course.

Both sides sent destroyers to attack the opposite battlelines at about the same time. The Japanese flotillas were better positioned ahead and able to launch torpedoes at a greater distance (and take less damage). The Russian flotillas eventually launched, but suffered more from close range secondary fire.

The scenario was fairly evenly matched in terms of damage, with each side having three of eight battleships surviving (Tosa is considered as lost since, with only 3% flotation and being ~400 miles from a safe haven, she would need to be scuttled). The remaining Japanese battleships were in somewhat better condition, but lower on ammunition.

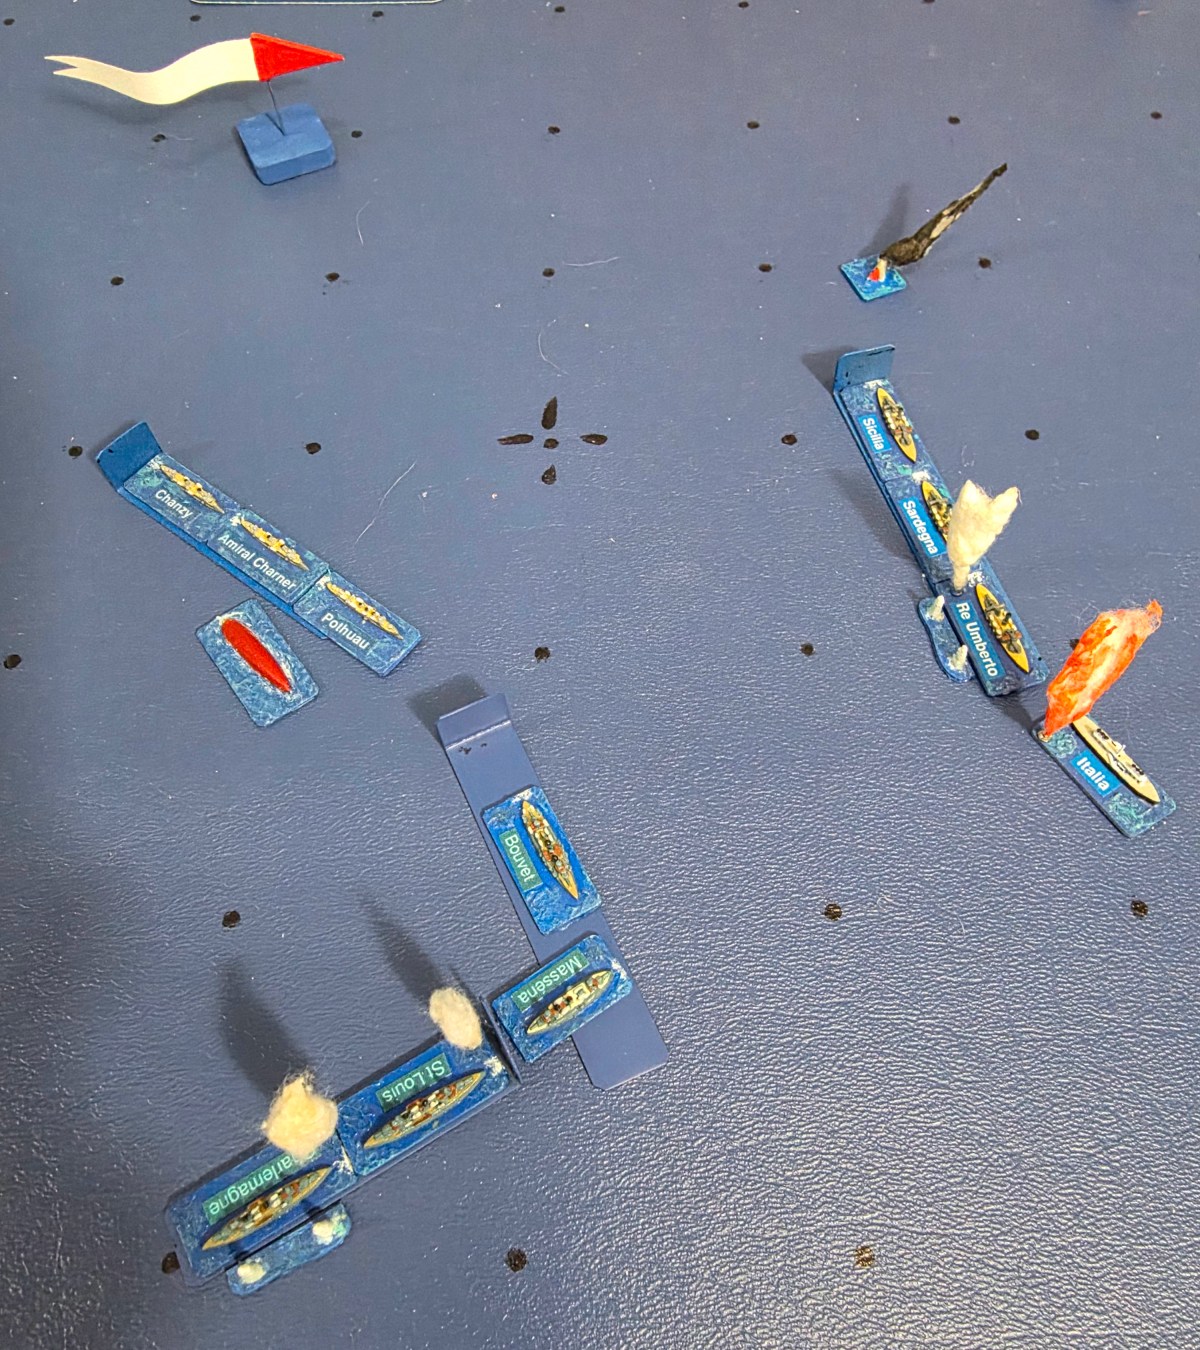
WW1 Naval – Battle of Durazzo

This scenario assumes that the Austrian fleet at Pola sortied in December 1915 to challenge the evacuation of Serbian troops from the Albanian port of Durazzo, and that the Italian fleet with French support sortied to oppose it. For a detailed description of the historical situation and events, see Paul G. Halpern, “The Naval War in the Mediterranean 1914-1918,” Chapter 6.

The Allied side was played by a remote gamer using text output files, plots of contact reports and photos of the table. The Austrian side was run by the code‘s AI.

Player briefing:

The orders of battle are listed in the narrative file:


Photos:

Due to the circling nature of the battle, an entire battle plot is difficult to read. This animated plot shows the movements in 10 minute increments:


Animated plot showing target lines of primary batteries. The plot includes only the four Austrian dreadnoughts and the four Italian dreadnoughts.


Status at the end of the game:

Gunnery Logs:

Hit Logs:

Shell Diagnostics:
This table gives the performance of the large caliber shells in the battle.

Conclusion:
After quite a long game the Italian commander decided to give up the chase of the retreating Austrians. With the exception of three remaining the French dreadnoughts, all the battleships on both sides were low on or out of ammunition. The losses and battle damage were roughly equal. Since it is clear that the evacuation would not have been disrupted, the result is a strategic victory for the Allies. Vittoria!

WW1 Naval Email/Internet Introductory Game

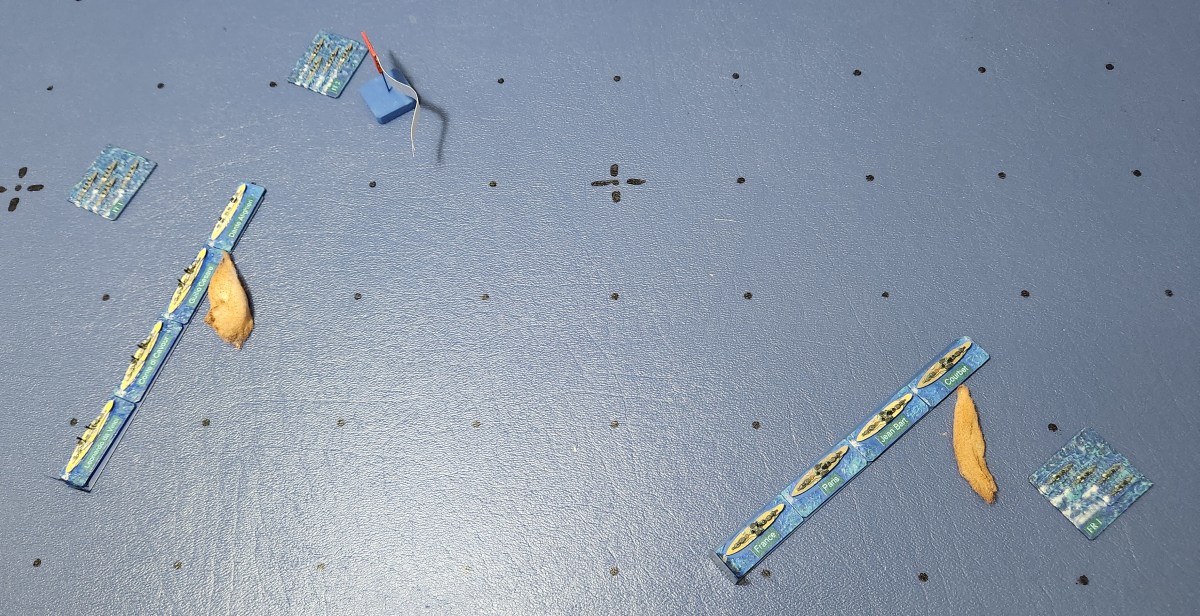
As a test-run for playing WW1 naval miniatures games via email and internet, an introductory scenario was created. The US side was played by a remote gamer using only the text output file for his force and photos of the table. The German side was run by the code‘s AI.

Some non-historical elements were included to insure that the game lasted long enough for a proper test:

  1. While the scenario was set in 1917, most of the US battleships included were not yet in service.
  2. Symmetrical organizations were used for the two sides.
  3. Only Konig and Kaiser class German battleships were used.

Game photos on Google Photos.

The orders of battle are listed in the narrative file:


Plot from 11:21 to 12:00 hours
11:21 – Light cruisers report smoke from enemy forces (messages received at 11:25).
11:31 to 11:36 – Opposing light cruisers open fire.
11:35 – US battleline turns to the NNE to close the reported smoke.
11:43 – German battleships are identified.
11:47 – US battleships are identified.
11:50 – German force deploys, but retains current course S. German light cruiser screen is recalled to take station protecting the head of the battle fleet.
11:55 – US battleships turn E by divisions. German battleline turns SW to close the range.


Animated version of the plot above.


Plot from 12:00 to 12:30 hours
12:01 – Battleships on both sides open fire at the visibility limit of 21,000 yards.
12:05 – German battleline turns S to maintain the range and bring broadsides to bear. US battle divisions begin to diverge, one to the NE and one to the SE.
12:15 – US destroyer squadron is sent at full speed to intercept the German battleline.
12:24 – US destroyer squadron is dispersed (all ships sunk, crippled or lost touch) by the secondary batteries (15cm guns) of the German battleships.
In this phase, the German battleships have accumulated more damage than the US, and one has sunk.

Animated version of the plot above.


Plot from 12:30 to 13:10 hours
In this phase the German battleline is slowed by flooding and disordered by avoiding torpedoes. US battleship divisions turn to close the range. Remaining German dreadnoughts are sunk.

Animated version of the plot above.


Plot of the entire battle:


Animated plots showing target lines of primary batteries. The first plot is for battleships and the second is for light cruisers.


Status at the end of the game:

Gunnery Logs:

Code AI algorithm problems:

  1. The human player split his battleline into two divisions and sent them in different directions. The AI is not currently written to recognize or address this tactic, which is similar to the divisional tactics exercise shown in Figure 1 on page 115 of WARSHIP 2016.
  2. The AI currently sends one screening ship to investigate possible contacts. This resulted in that cruiser being damaged while unsupported.
  3. After the ships of a battleline are sunk or disabled, there is no mechanism to assign appropriate orders to remaining light forces.

An Engagement Based on the Jutland Operations

In order to test recent AI code changes, a large engagement was created using forces generally available on May 31st, 1916. Several changes were made to the Battle of Jutland orders of battle to give more balanced forces:

  1. The older British 12 inch gunned battleships and German pre-dreadnought battleships were omitted.
  2. The 3rd Battle Cruiser Squadron (Invincible class) and British armoured cruisers were omitted.
  3. Two ships not available historically were added: Queen Elisabeth, Australia.
  4. British battleships were organized into 5 ship divisions.
  5. The 3rd Light Cruiser Squadron and the light cruisers attached to the battle squadrons were omitted.

In order to insure a clash between the majority of the forces on each side and to give sufficient daylight for the action, the movements of the fleets prior to the clash were modified:

  1. The British rendezvous between the battle fleet and the battle cruisers was moved to the south-west and occurred earlier in the day.
  2. The German operational plan to have the battle cruisers demonstrate off the Norwegian coast and the Skagerrak was followed, but earlier in the day.

As a result, the German fleet was returning south and the British fleet was heading north-east on an intercept course. The scenario starts at 15:00 hours.

The British fleet is in a cruising formation based in principle on the Grand Fleet Battle Orders (GFBO). The 1st , 2nd and 3rd battleship divisions are disposed abeam, the battle cruisers are stationed 20 NM ahead and the 5th Battle Squadron (4th Division in the scenario) are stationed 10 NM ahead (see GFBO, page 32, Dec 1915, Cruising Dispositions Battle Cruiser Fleet Present, V. Day Normal Visibility).

The German fleet is in a single line ahead, with the battle cruisers stationed 10 NM ahead.

The orders of battle are listed in the narrative file:


Plot from 15:51 to 16:25 hours
Opposing light cruisers open fire and continue to close until British cruisers identify the German battle cruisers at 16:04.
16:05 – the British battle cruisers deploy to starboard to close. German cruisers identify the British battle cruisers at 16:11.
16:17 – British light cruisers identify the leading ships of the German battle line and at 16:20 the British battle fleet deploys into a single line ahead to follow the battle cruisers. The British light cruiser screen is recalled to take stations protecting the battle fleet.
16:25 – The opposing battle cruisers begin exchanging fire.


Plot from 16:25 to 17:10 hours
Two plots for this and following periods are shown. The simplified versions showing only the lead ships of the battleship and battle cruiser units will be easier to follow in some cases.
16:30 – German Flotilla VI launches torpedoes toward Lion. The turn to the south of Lion and the following battle cruisers at 16:32 conveniently places them on a parallel course to the German battle cruisers and allows the engagement to continue at a reasonable range. However, the Germans have the downwind position.
16:55 – Three German Flotillas are ordered to attack the head of the British battle cruisers and can be seen turning westward to get to launch positions.
16:59 – Flotilla VI launches torpedoes toward Lion.
17:04 – German cruisers sight the British ‘fast wing’ battleships of the Queen Elizabeth class.
17:05 – The German battleships deploy, technically to port based on the bearing to the sighted battleships, but it is only a 10 degree starboard course change since they are already in line ahead. The German light cruiser screen is recalled to take stations protecting the battle fleet.
17:07 – British battle cruisers turn to the west to avoid torpedoes from Flotilla VI.


Plot from 17:10 to 17:50 hours
17:17 – Flotilla IX launches torpedoes toward New Zealand.
17:19 – Flotilla VI launches torpedoes toward Lion.
17:21 – British 4th Division (Queen Elizabeth class) opens fire on the lead German battleships. The radical course changes by the 4th Division during this period result from trying to keep station 10 NM ahead of the main battleline, which is itself maneuvering.
17:23 to 17:24 – British battle cruisers turn away from torpedoes.
17:25 – British and German battle cruisers are recalled to join their respective battle fleets. Lion’s intercept course to her station ahead of the British battleline takes her toward the approaching German battle fleet.
17:41 to 17:50 – The lead ships of the British battleline (Iron Duke, etc.) open fire on the German battleships.


Plot from 17:50 to 18:40 hours
18:05 to 18:10 – The German fleet reverses course to the northward (toward the British fleet), with the battle cruisers taking station ahead.


Plot from 18:40 to 19:25 hours
18:40 – Six British flotillas are ordered to make torpedo attacks on the German battleline.
18:46 – 4th Flotilla launches torpedoes toward Konig.
18:50 – The German battle divisions turn northeastward together toward the torpedo launch.
18:53 – 1st Flotilla launches torpedoes toward Posen.
18:54 – 11th Flotilla launches torpedoes toward Konig.
18:56 to 19:01 – German ships maneuver to avoid multiple torpedo attacks. These maneuvers result in closing with the British battle fleet, ultimately to point blank fire and collision avoidance ranges.


Plot of the entire battle:


Status at the end of the game:


Code AI algorithm problems:

  1. The movements of the ‘fast wing’ unit (historically the British 5th Battle Squadron) are not satisfactory. The unit needs to support the battle cruisers while avoiding action alone against the entire opposing battleline. Taking station ahead of a friendly battleline which changes course results in radical movements of the station location.
  2. Torpedo avoidance maneuvers need to consider the range to the enemy to prevent closing to suicidal ranges.
  3. Courses chosen to take assigned stations should avoid close approaches to more powerful enemy forces.

Scarborough Raid, December 1914

In December of 1914, the High Sea Fleet (HSF) sortied in support of a bombardment of the English coast by the 1st Scouting Group. Alerted by Room 40, the Admiralty ordered the 2nd Battle Squadron, the 3rd Cruiser Squadron, the 1st Light Cruiser Squadron and the Battle Cruiser Squadron to trap what they thought was a raid by the 1st Scouting Group alone. Bad weather, along with tactical choices and signaling errors prevented a major clash. See, for example, References 1 and 2.

This scenario uses an assumption of better weather to examine a potential engagement between the British force and the HSF near dawn on December 16th. Potential encounters which might have occurred if the High Sea Fleet had not turned back during the night are ignored. The 1st Scouting Group is near the coast at dawn and too distant to be involved. The battle is between Warrender (with Beatty under his command) and Ingenohl. For this date and latitude, nautical twilight begins at 0659 hrs (GMT) and sunrise is at 0825 hrs.

The orders of battle are listed in the narrative file:

Approach to contact and deployment (0825-0900 hrs)

The initial cruising formations are taken from Reference 3, Charts 5 and 7. The HSF has turned south after reaching its rendezvous position (labeled as “700 Uhr-Punkt” on Reference 3, Chart 8). The British force has reversed course to the north after passing the cleared minefield lane leading west toward the coast.

When the armored cruisers in the screen of the HSF (Roon and Prinz Heinrich) are sighted, the British force deploys to starboard (0825 hrs). The withdrawal of the British light cruiser squadron to its battle position prevents it from sighting more of the enemy, and it is left to Beatty to report the leading ships of the HSF battle line 23 minutes later (0848 hrs). The (historical) British night cruising formation had the armored and light cruisers in compact columns and not spread out in a search screen. It may have been doctrine to do this only after sunrise. In the actual action, the light cruisers were spread out by 0900 hrs and the armored cruisers by about 1200 hrs (Reference 3, Chart 11, times adjusted to GMT).

The HSF deploys to port at 0835 hrs, based on sighting the British battle cruisers, now about 4 NM ahead of the British battleships. The battleships are not sighted until 0852 hrs (and not engaged until 0903 hrs), so the HSF maneuvers in this phase are based mainly on engaging the battle cruisers.

Main action and disengagement (0900 – 0940 hrs)

Only battleships and battle cruisers are plotted in this phase for clarity.

Heavy damage to the Lion forces her to turn away at 0902 hrs, but it is too late, and she sinks at 0903 hrs. Tiger is also heavily damaged, but leads the remaining battle cruisers to the NE until her reduced speed causes Queen Mary to take the lead . Since the loss of the Lion is clearly visible to Warrender in the King George V, and since the entire HSF is now known to be present, control of the British side by the AI code was stopped and a withdrawal southward was ordered at 0905 hrs. The AI code does not yet have algorithms to decide on a general withdrawal. All units were ordered to make funnel smoke.

The HSF battle line attempts to maintain the current range by reversing course, but not realizing that the enemy is in flight, makes the turn to starboard, i.e., away from the action. It is not until 0920 hrs that the HSF turns to the SE. This allows the British to get out of range. The British are slightly faster and most would have escaped in any case, but an earlier turn to the south by the HSF might have destroyed the Tiger, then only capable of 18 knots.

Plot of the entire battle:

Tiger, Queen Mary and New Zealand pass the sinking Lion (game time 0905 GMT).
(4×4 inch acrylic on wood)

Status at the end of the game:

This (admittedly contrived) scenario shows the difficulty of destroying Warrender’s outnumbered force with a HSF consisting largely of slower heavy ships. The advance of the Battle Cruiser Squadron several miles ahead of the 2nd Battle Squadron, while it resulted in the loss of the Lion, allowed the battleships to escape before being significantly damaged.

References:
1. Goldrick, James, “Before Jutland,” Chapter 12.
2. Marder, Arthur J., “From the Dreadnought to Scapa Flow,” Volume II, Chapter VII.
3. Groos, D. “Der Krieg in der Nordsee,” Volume III, Charts 5 – 8 and 11.