

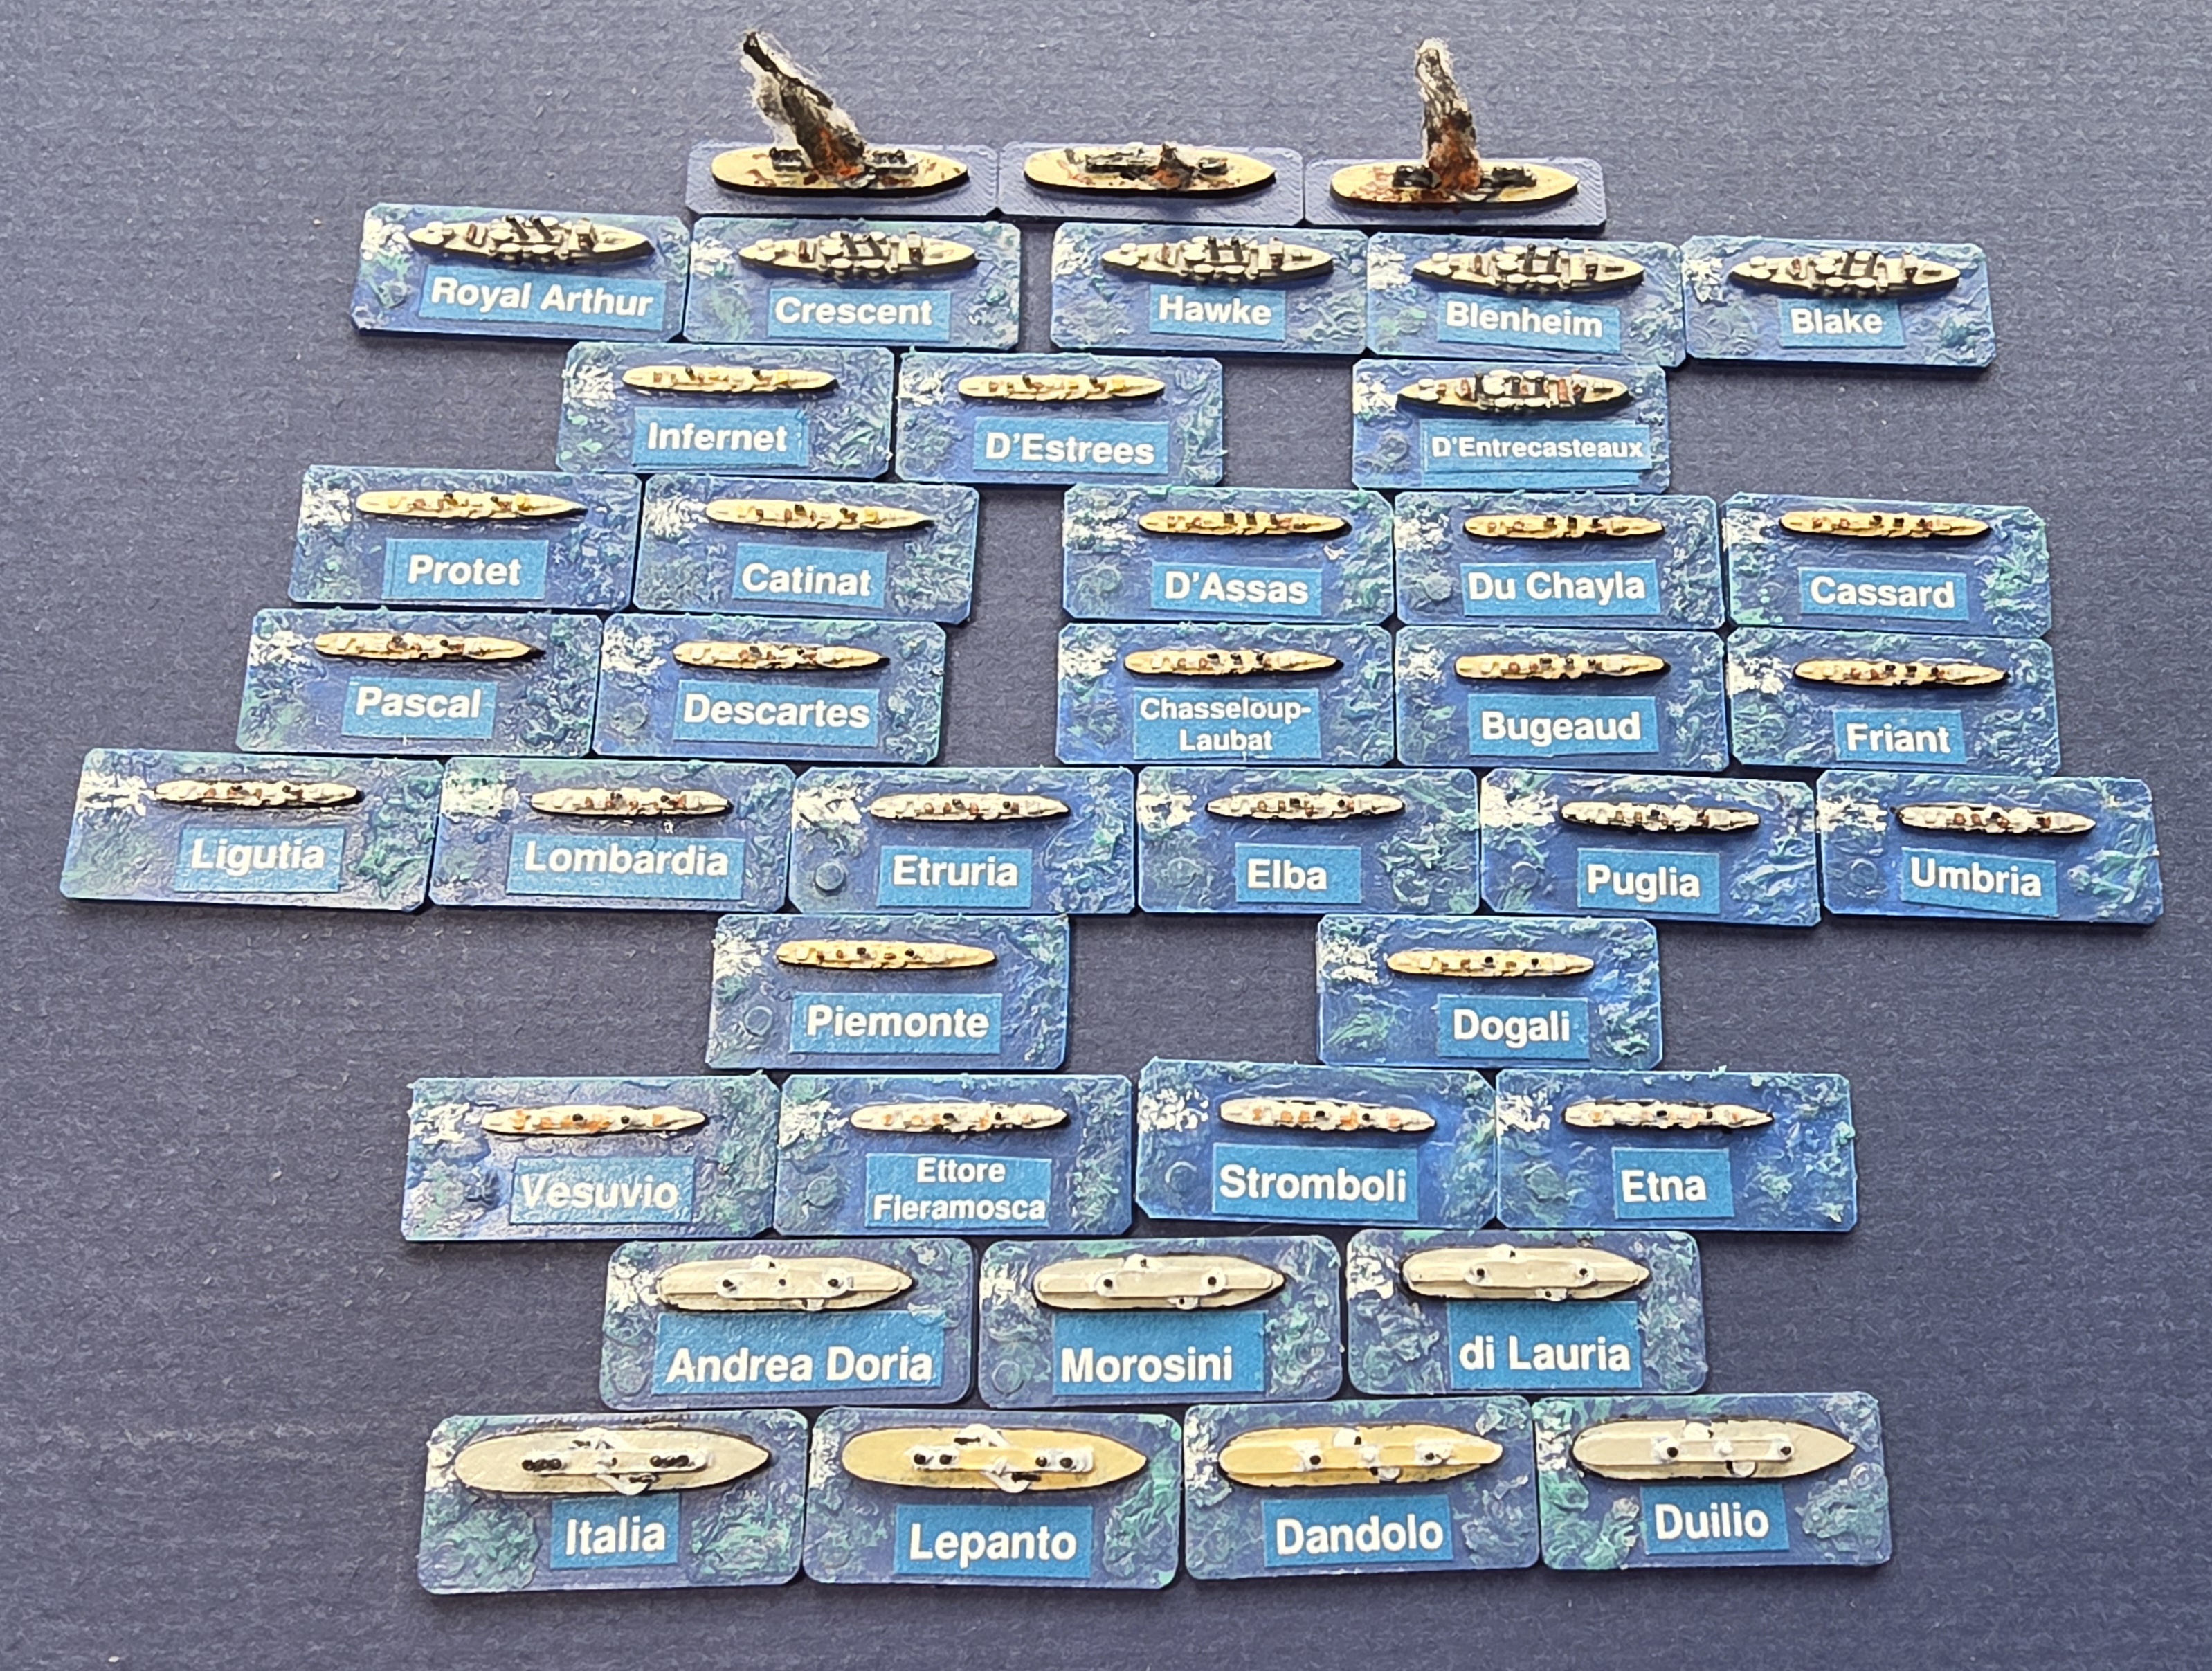
On November 14, 1914, the British naval forces on the east coast were reorganized to defend against raids such as the bombardment of Yarmouth on November 3rd. The 5th Battle Squadron of eight pre-dreadnought battleships was moved to Sheerness. Vice Admiral Burney’s orders were “that at the first intimidation of a hostile expedition he was instantly to attack it, regardless of its strength…”. (Corbett, “Naval Operations” Volume I, page 250, Volume II, page 10, and Marder, “From the Dreadnought to Scapa Flow” Volume II, page 130)
This scenario assumes that the German force used in the Yarmouth raid returns to the coast of Suffolk later in November, and that the 5th Battle Squadron and the Harwich force intercepted it.
Both sides were run by the code‘s automation algorithms.
The orders of battle are listed in the narrative file:
Plots:
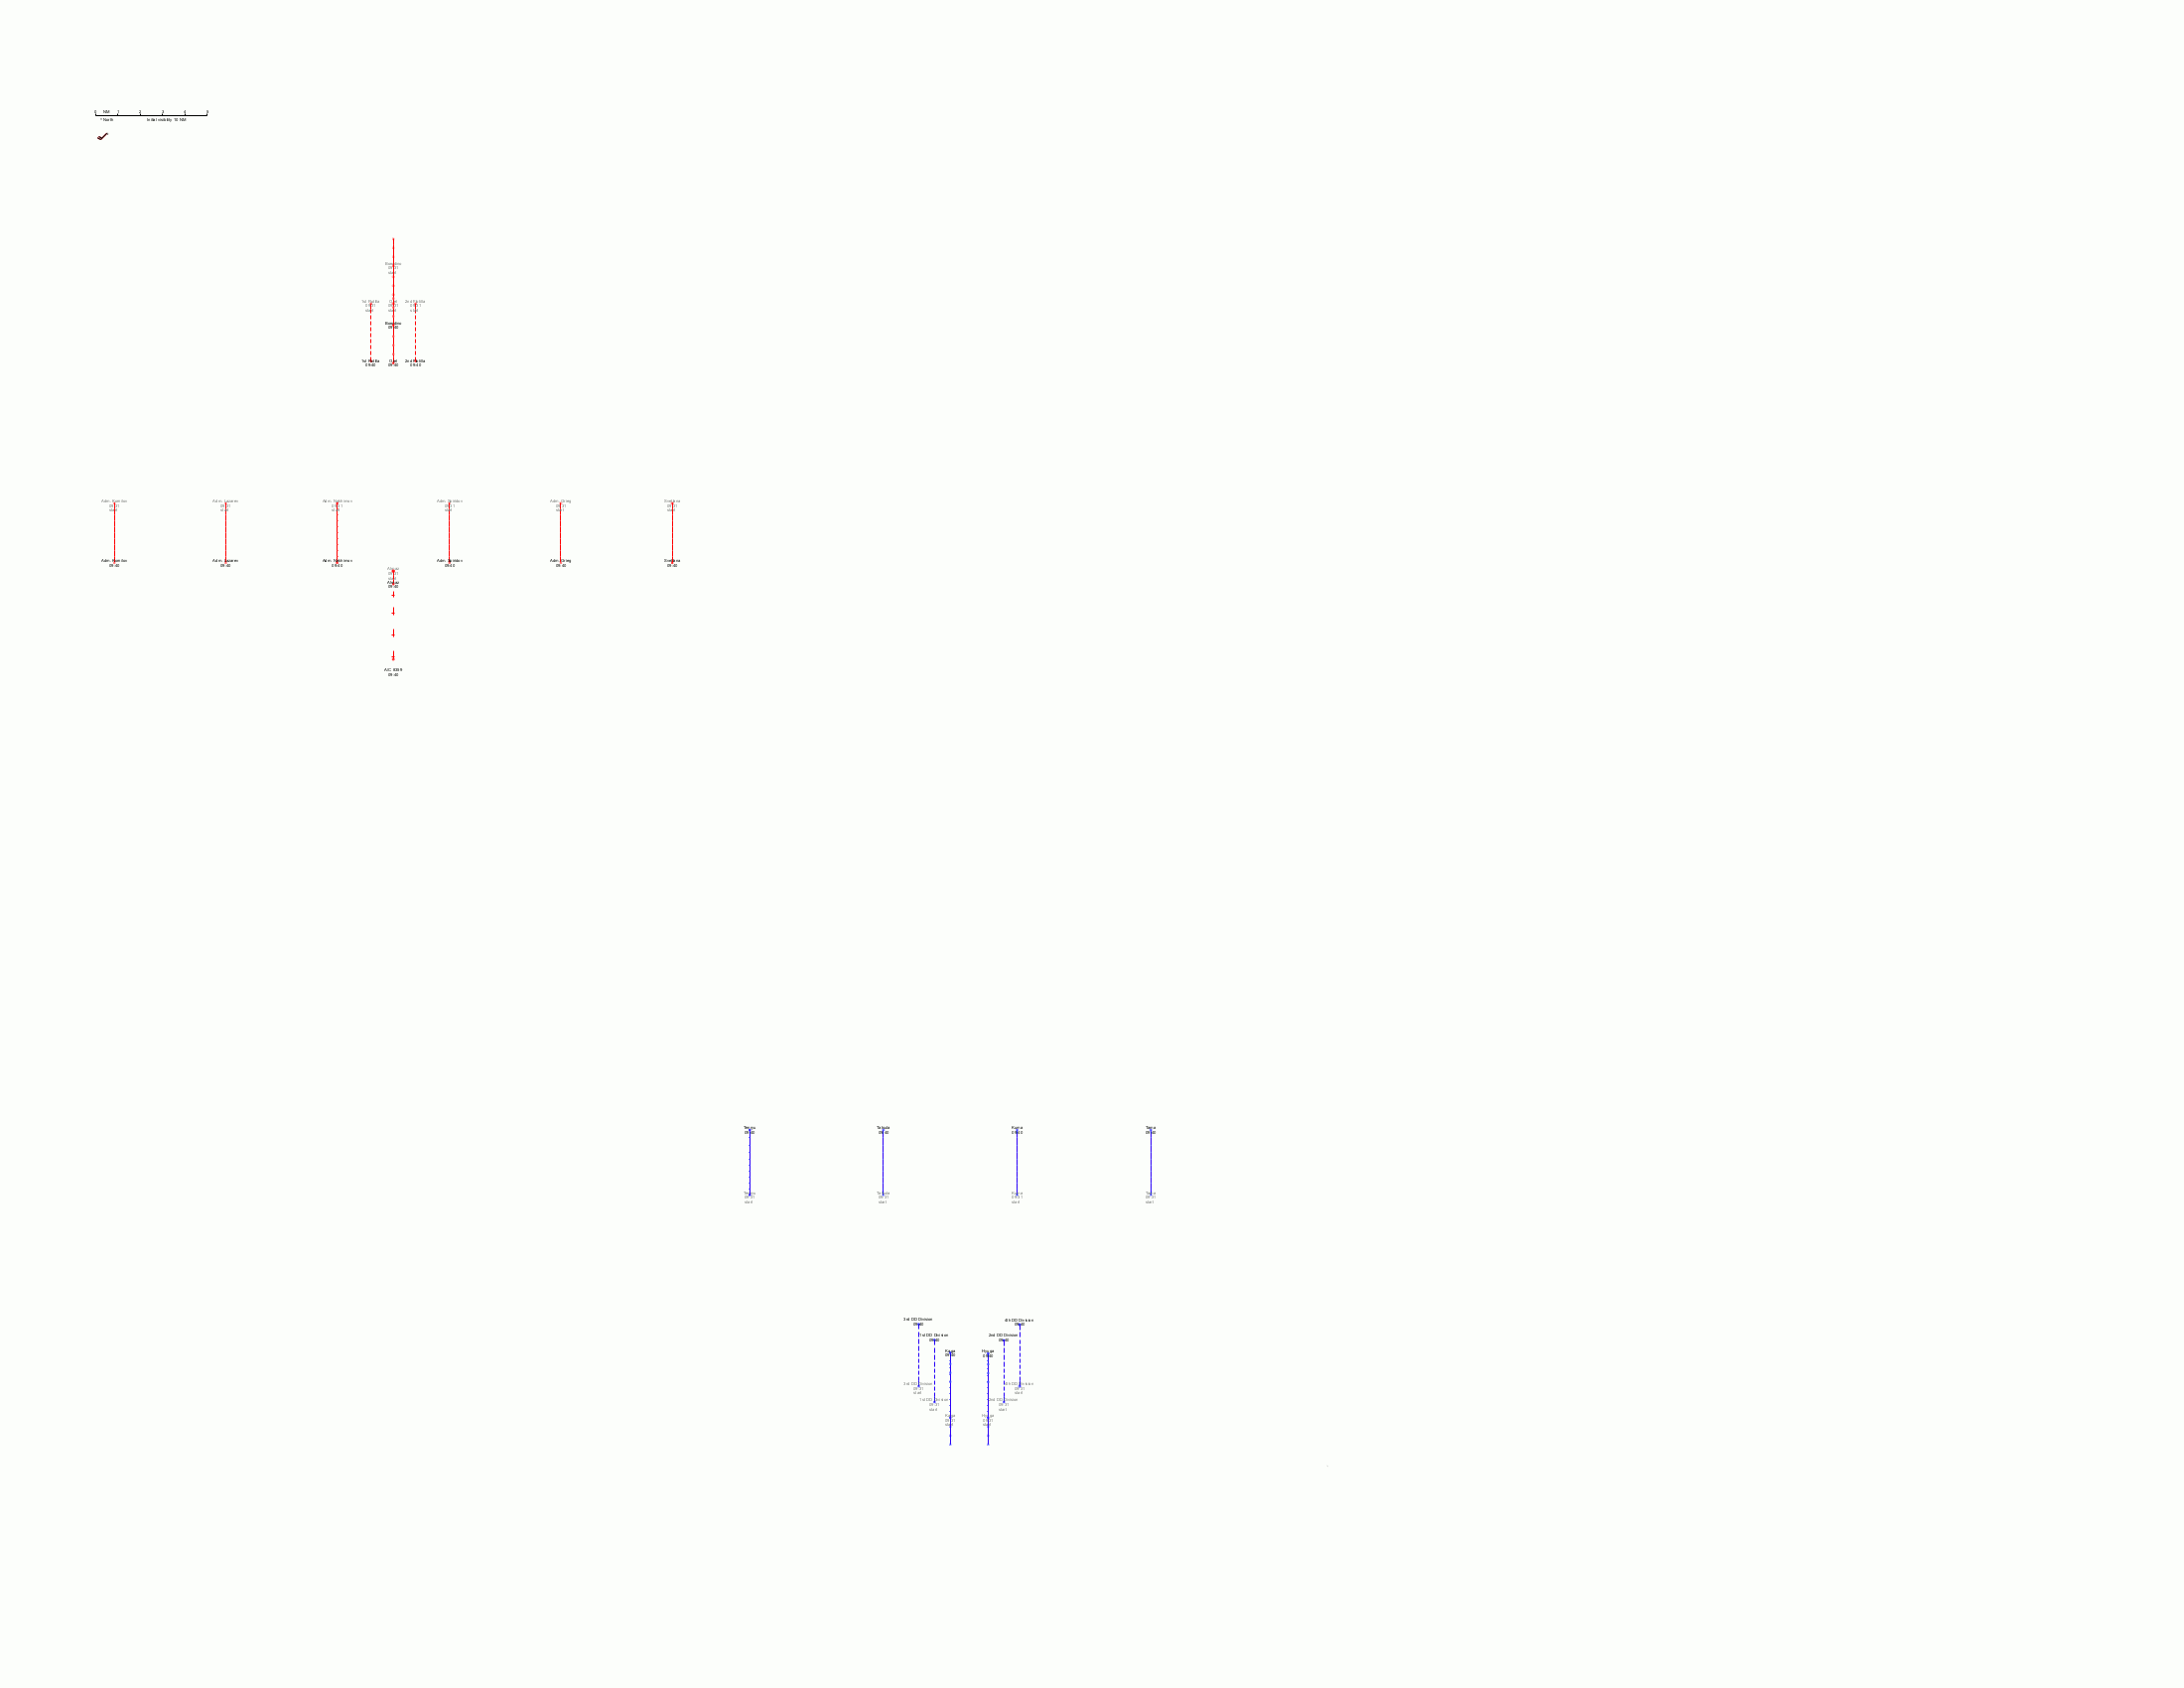
Full scenario plot:
Simplified plot of lead battleships and battlecruisers.
Plot from 08:20 to 09:00. The German light cruiser screen and the Harwich Force engage.
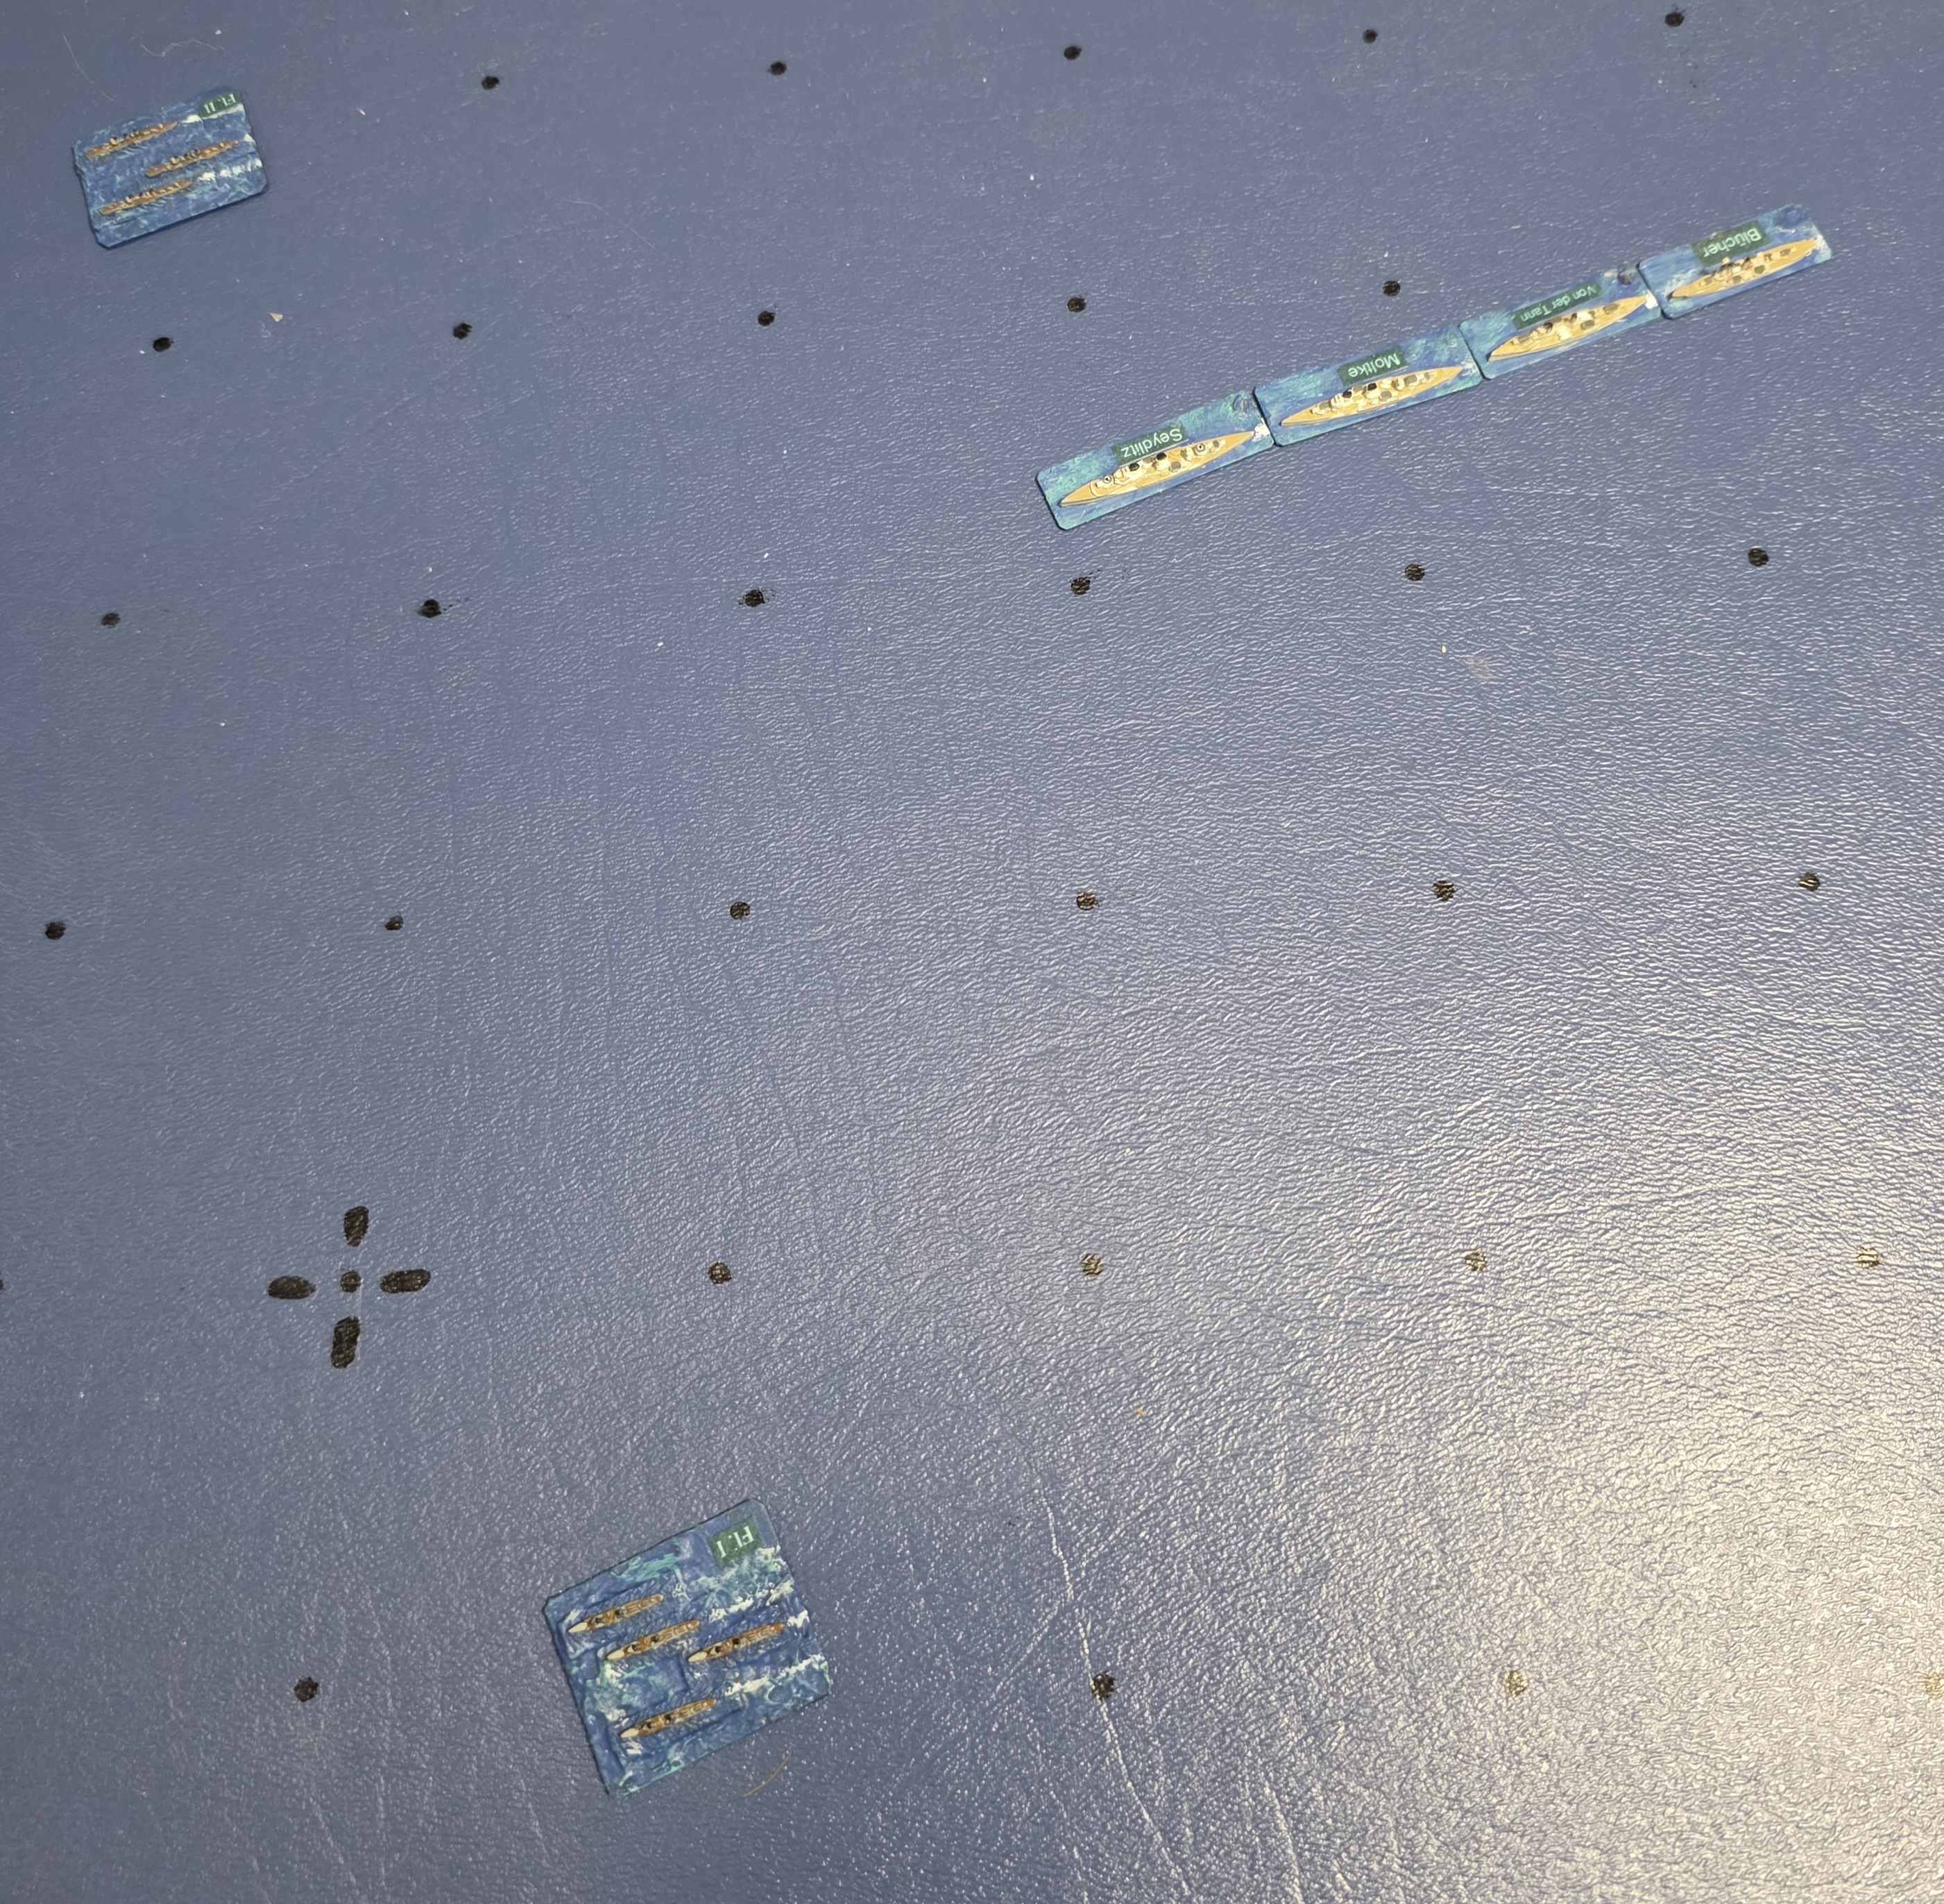
Plot from 09:00 to 09:30. The German battlecruisers and the 5th Battle Squadron of the Channel Fleet deploy and open fire. A German battlecruiser is hit by a torpedo from a Harwich Force light cruiser. German fire is initially concentrated on the nearest pre-dreadnought, which sinks.
Plot from 09:30 to 10:00. The battle lines circle each other. The British pre-dreadnoughts take far more hits than they inflict. One pre-dreadnought capsizes and sinks.
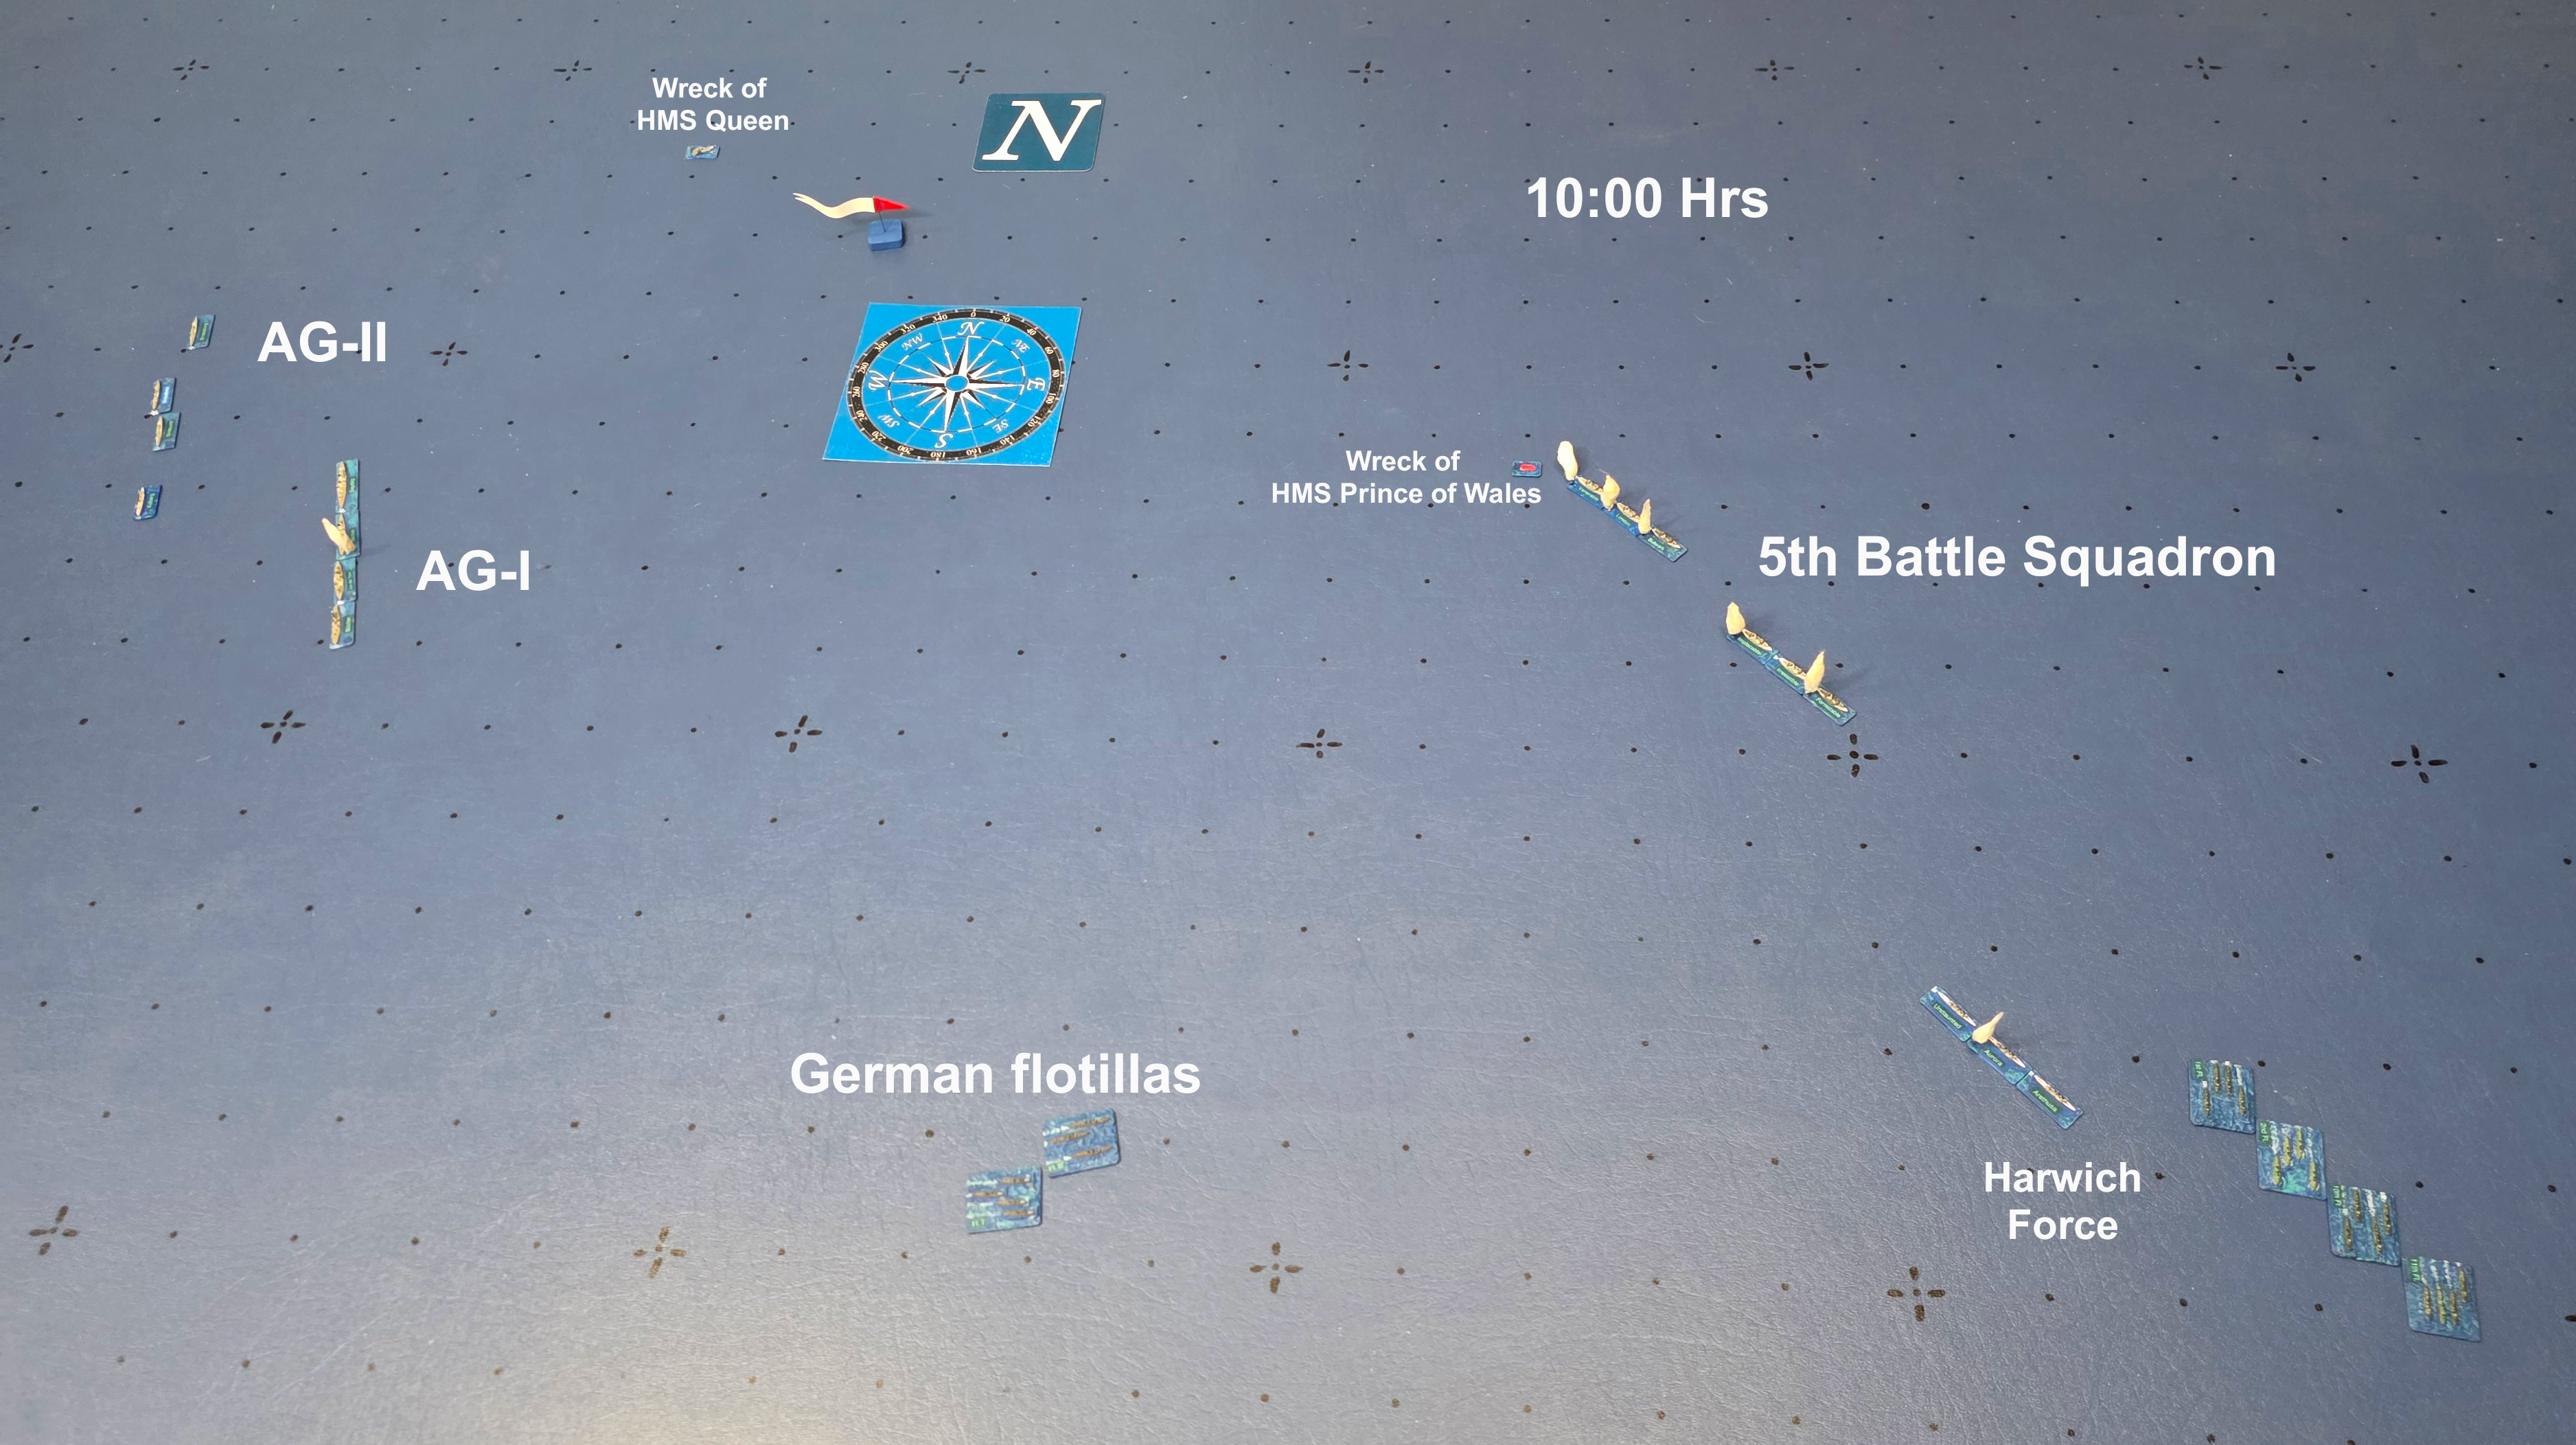
Plot from 10:00 to 10:30. The British force attempts to disengage. German torpedo boat flotillas attack and score torpedo hits on two pre-dreadnoughts, sinking one of them immediately.
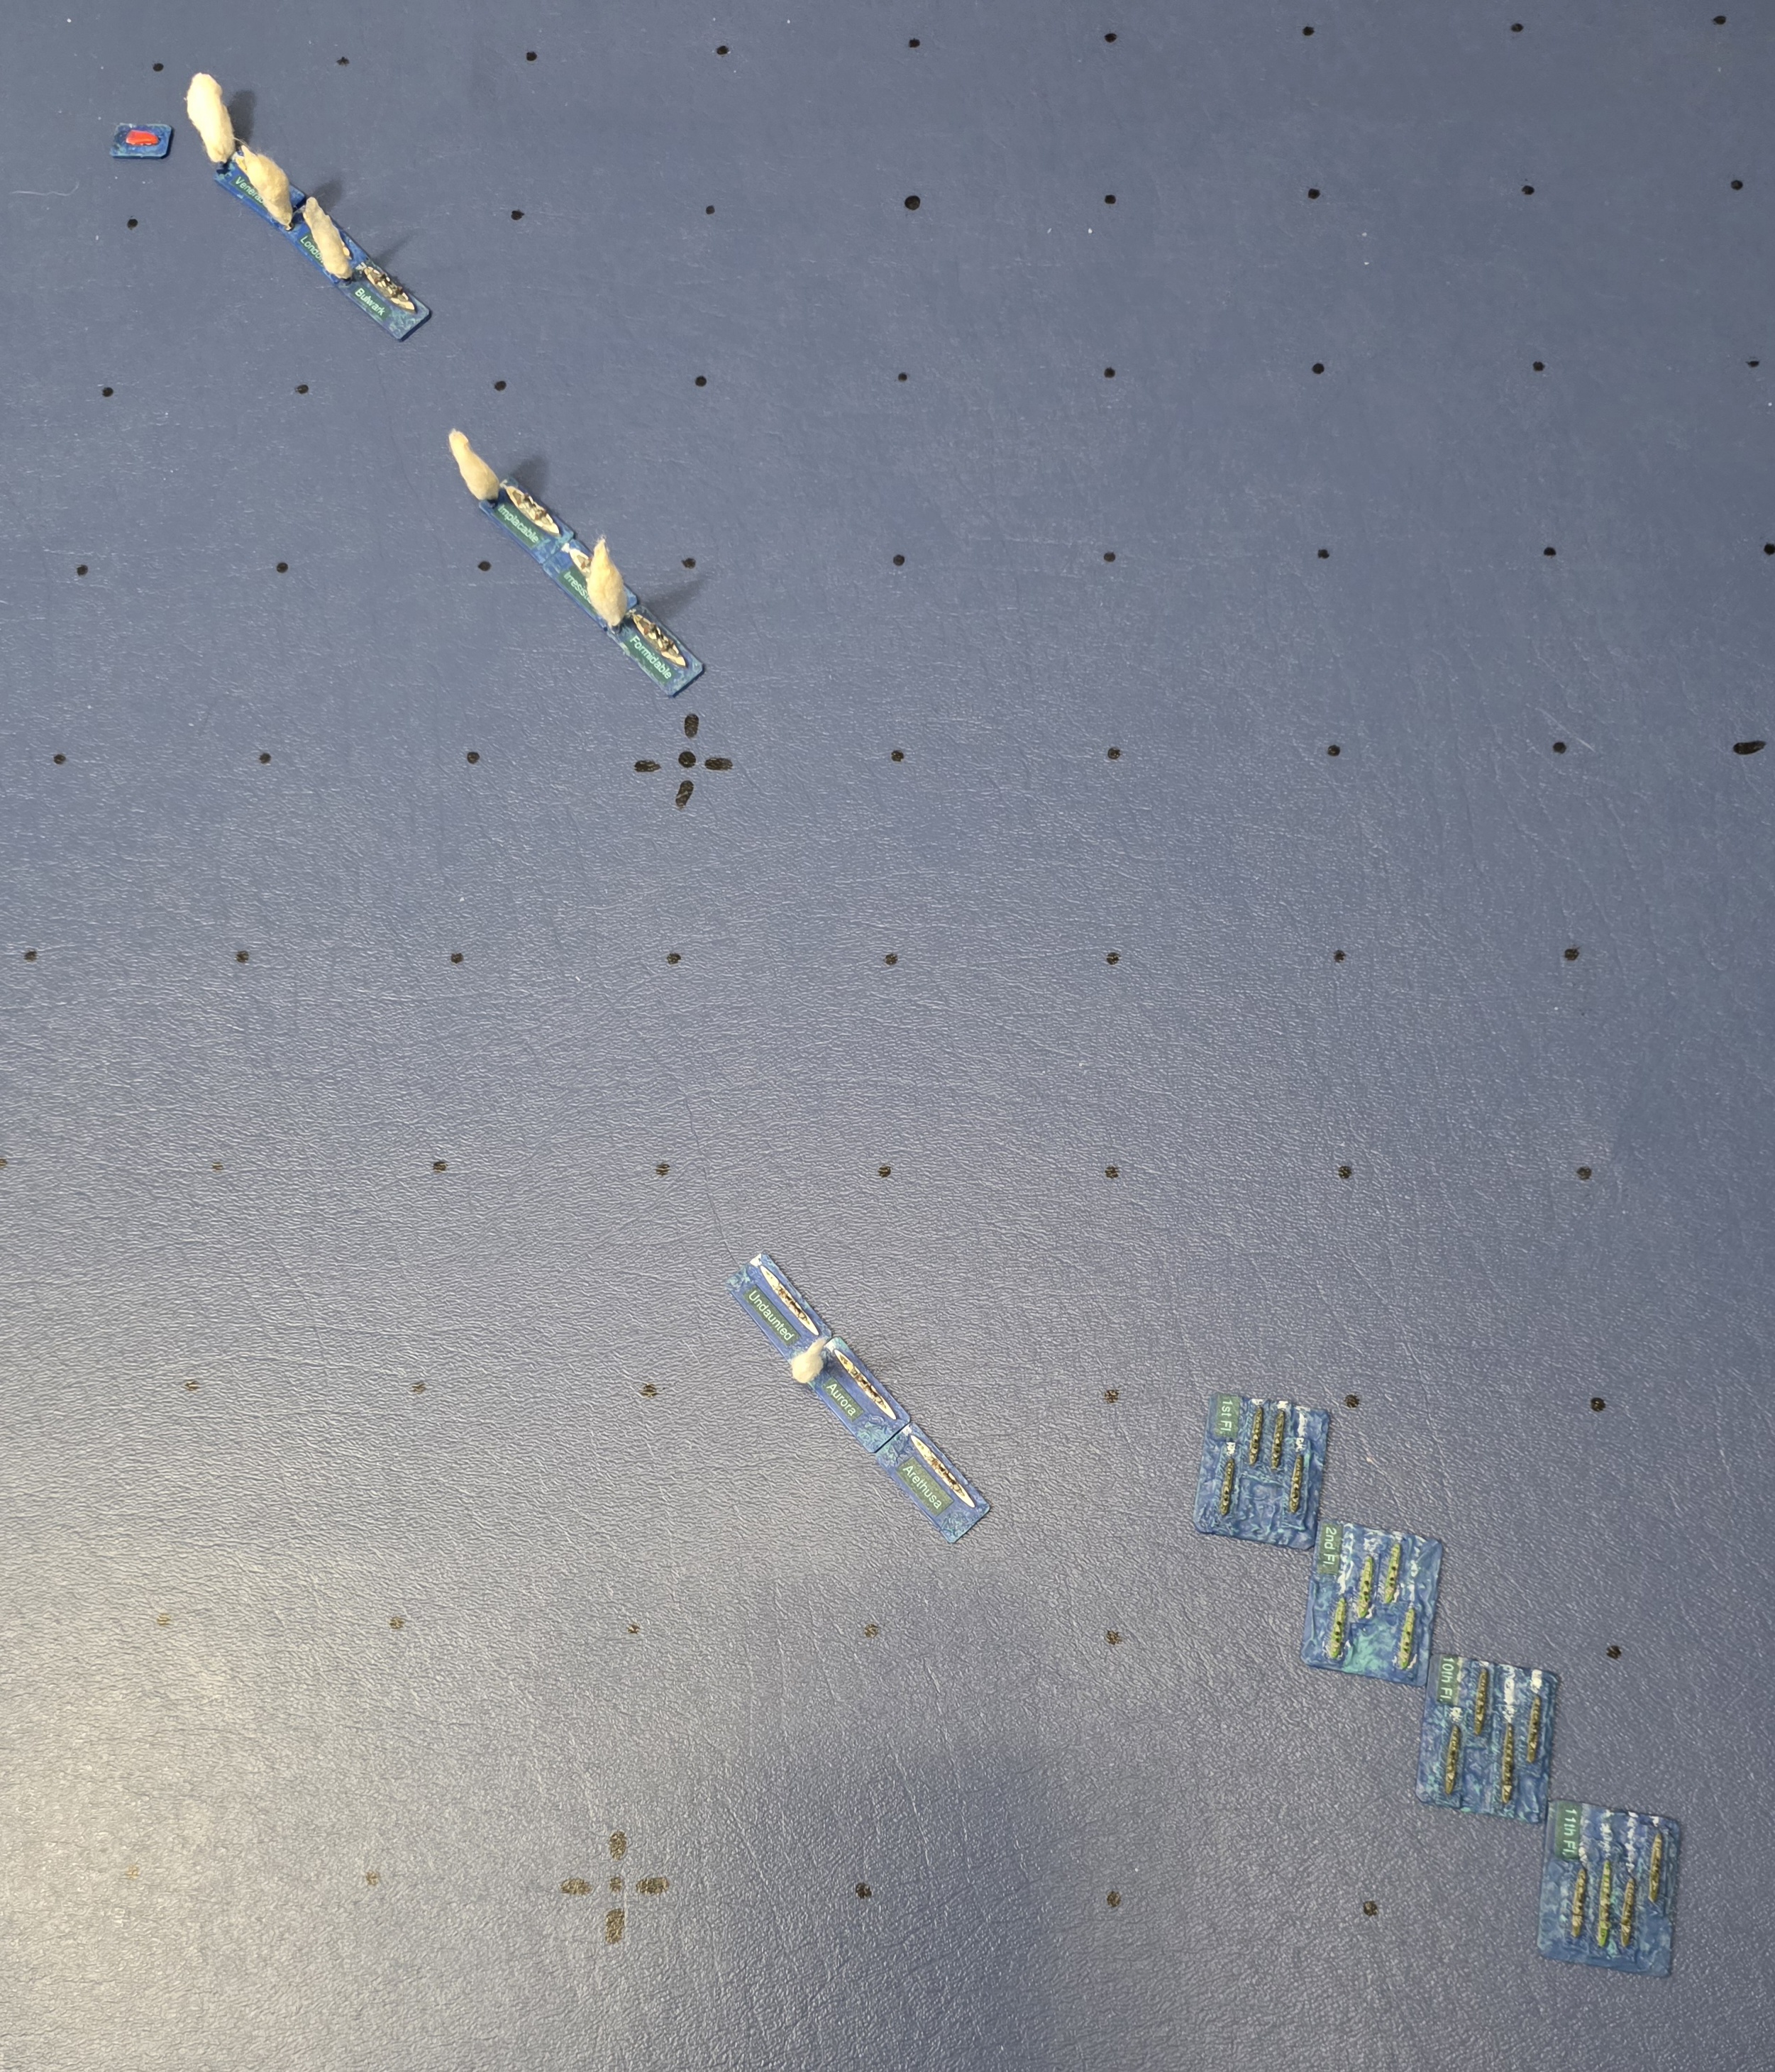
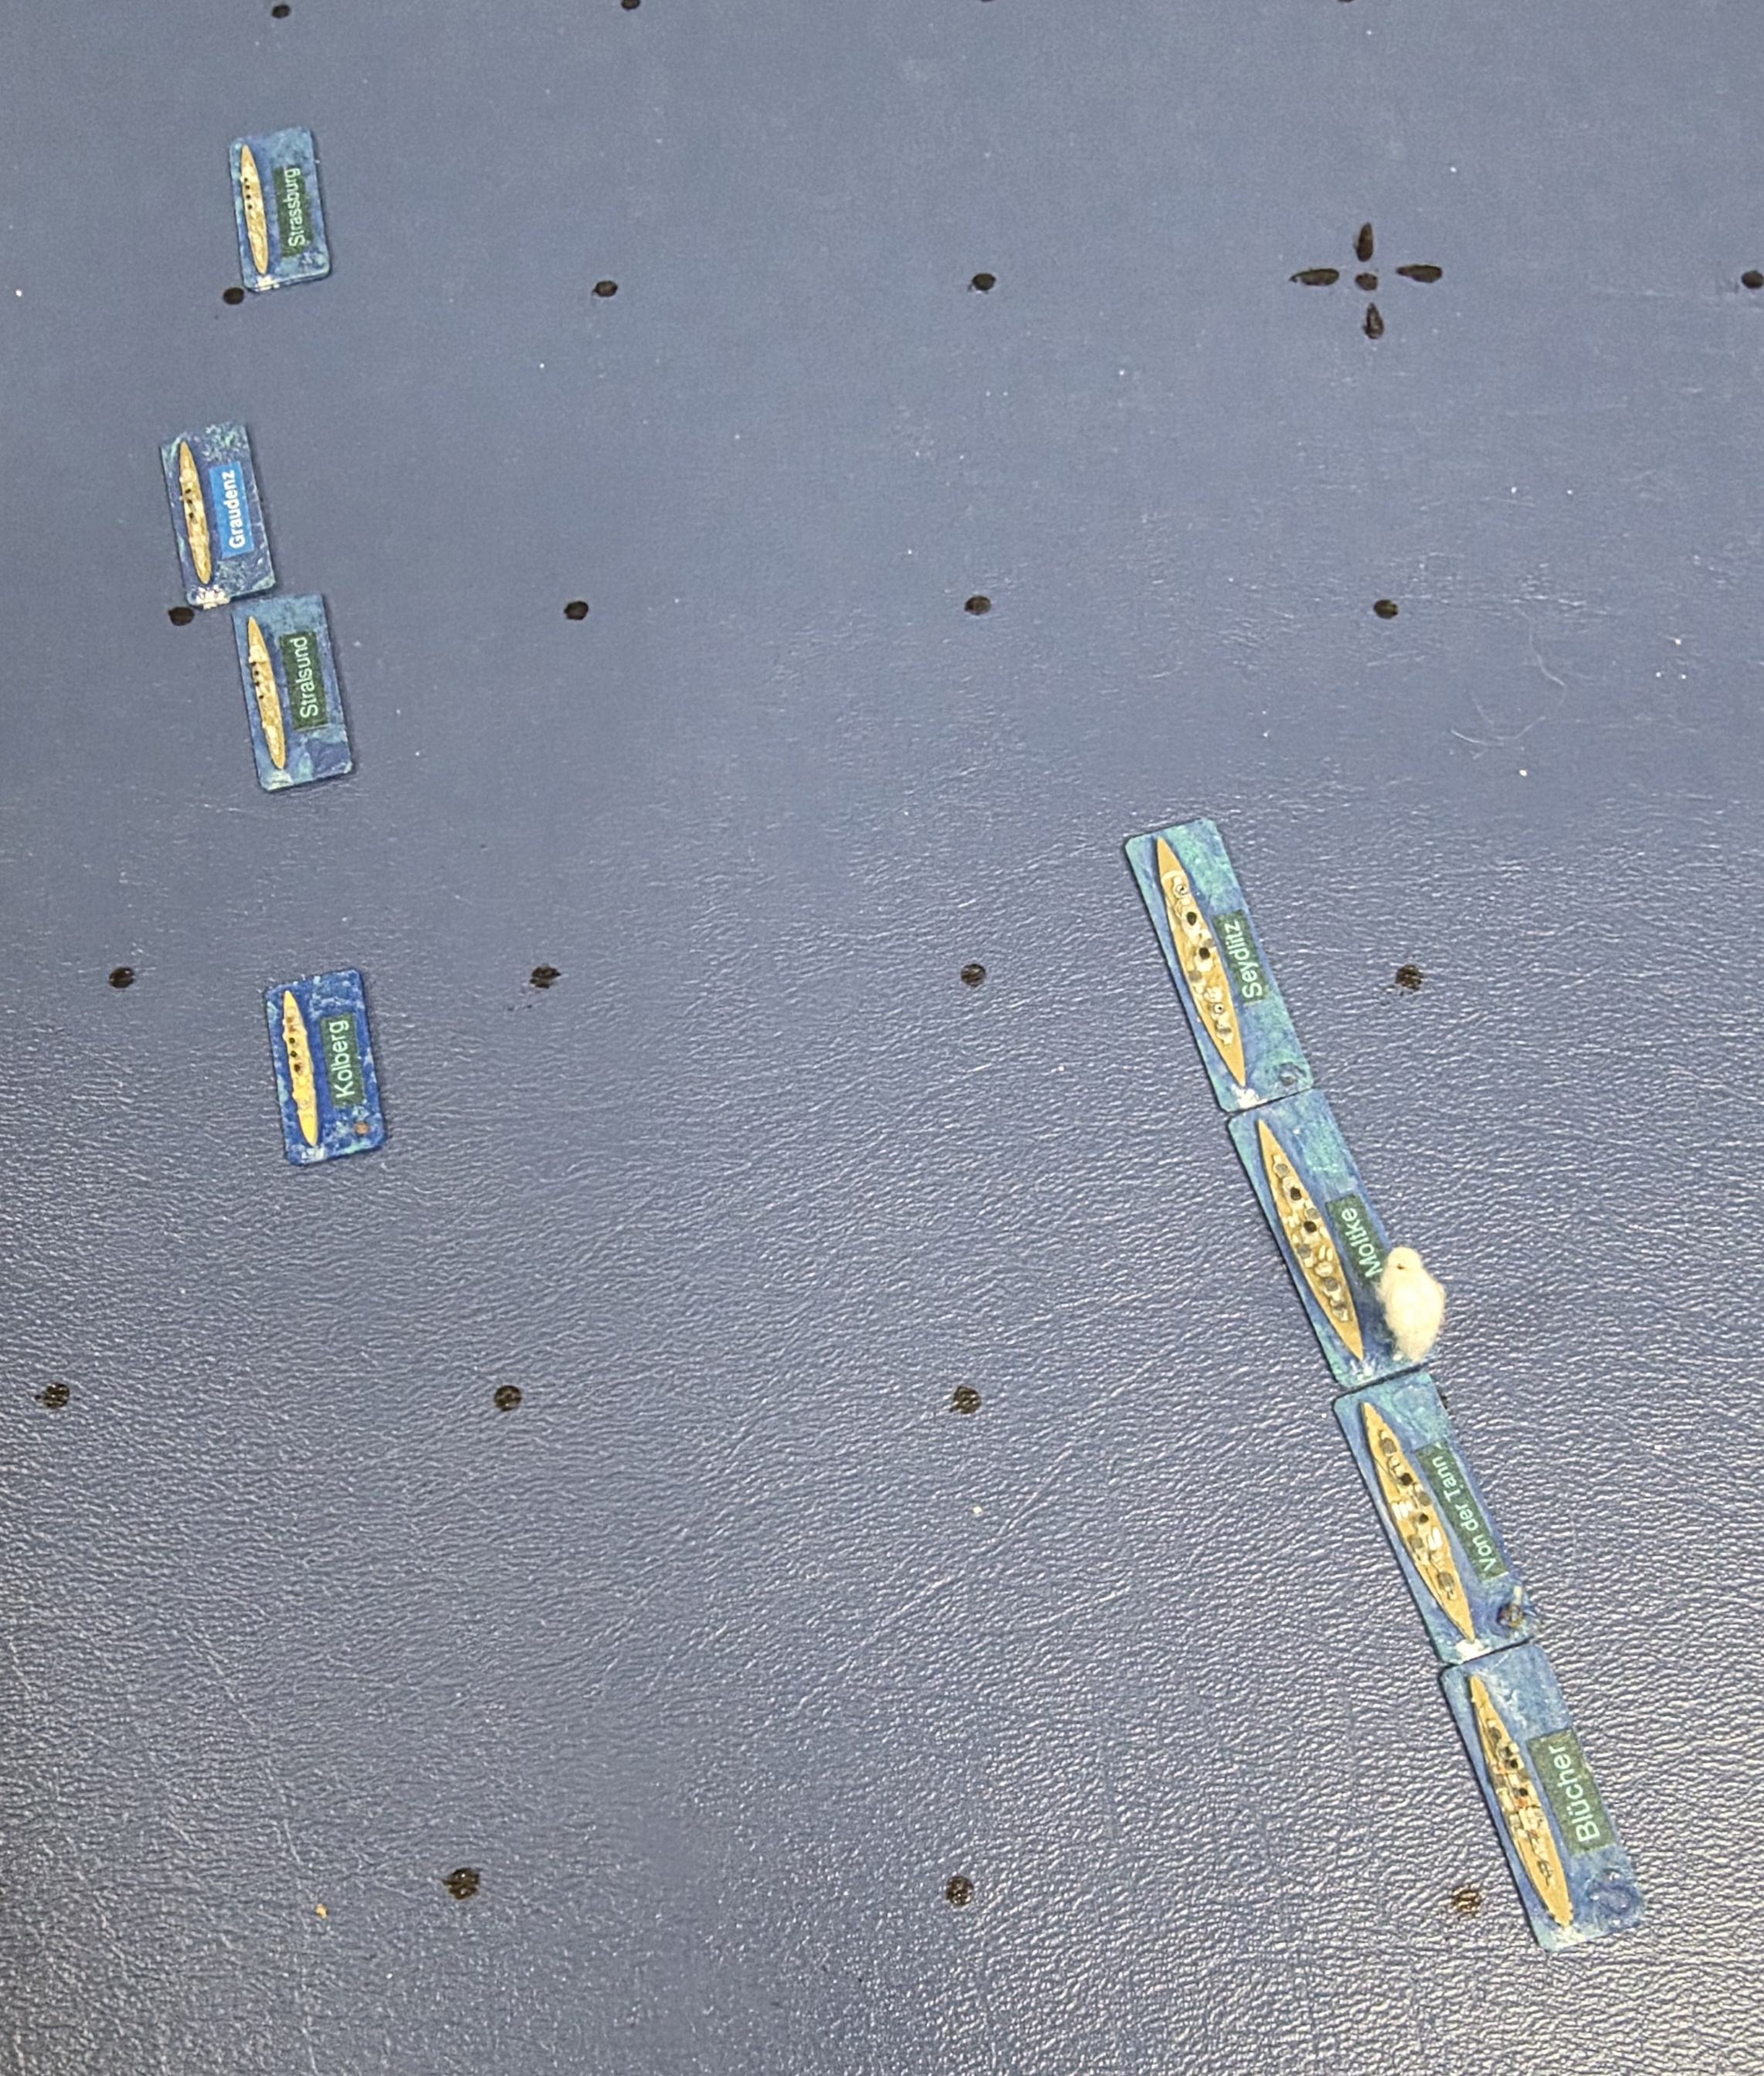
Plot from 10:30 to 11:15. The modern destroyers of the Harwich force and the older destroyers of the Channel Fleet attack. Two hits are scored on German battlecruisers. The German force retires to the north. A fourth pre-dreadnought capsizes and sinks due to progressive flooding.
Status at the end of the game:
Gunnery Logs:
Hit Logs:
Comments:
This game and several other replays indicate that the old ships of the Channel Fleet are outmatched by the German battlecruisers. On the other hand, there is little reason for the battlecruisers to engage, since sinking old ships will not help redress the balance of forces in the North Sea.

You must be logged in to post a comment.