Suffolk Raid, November 1914

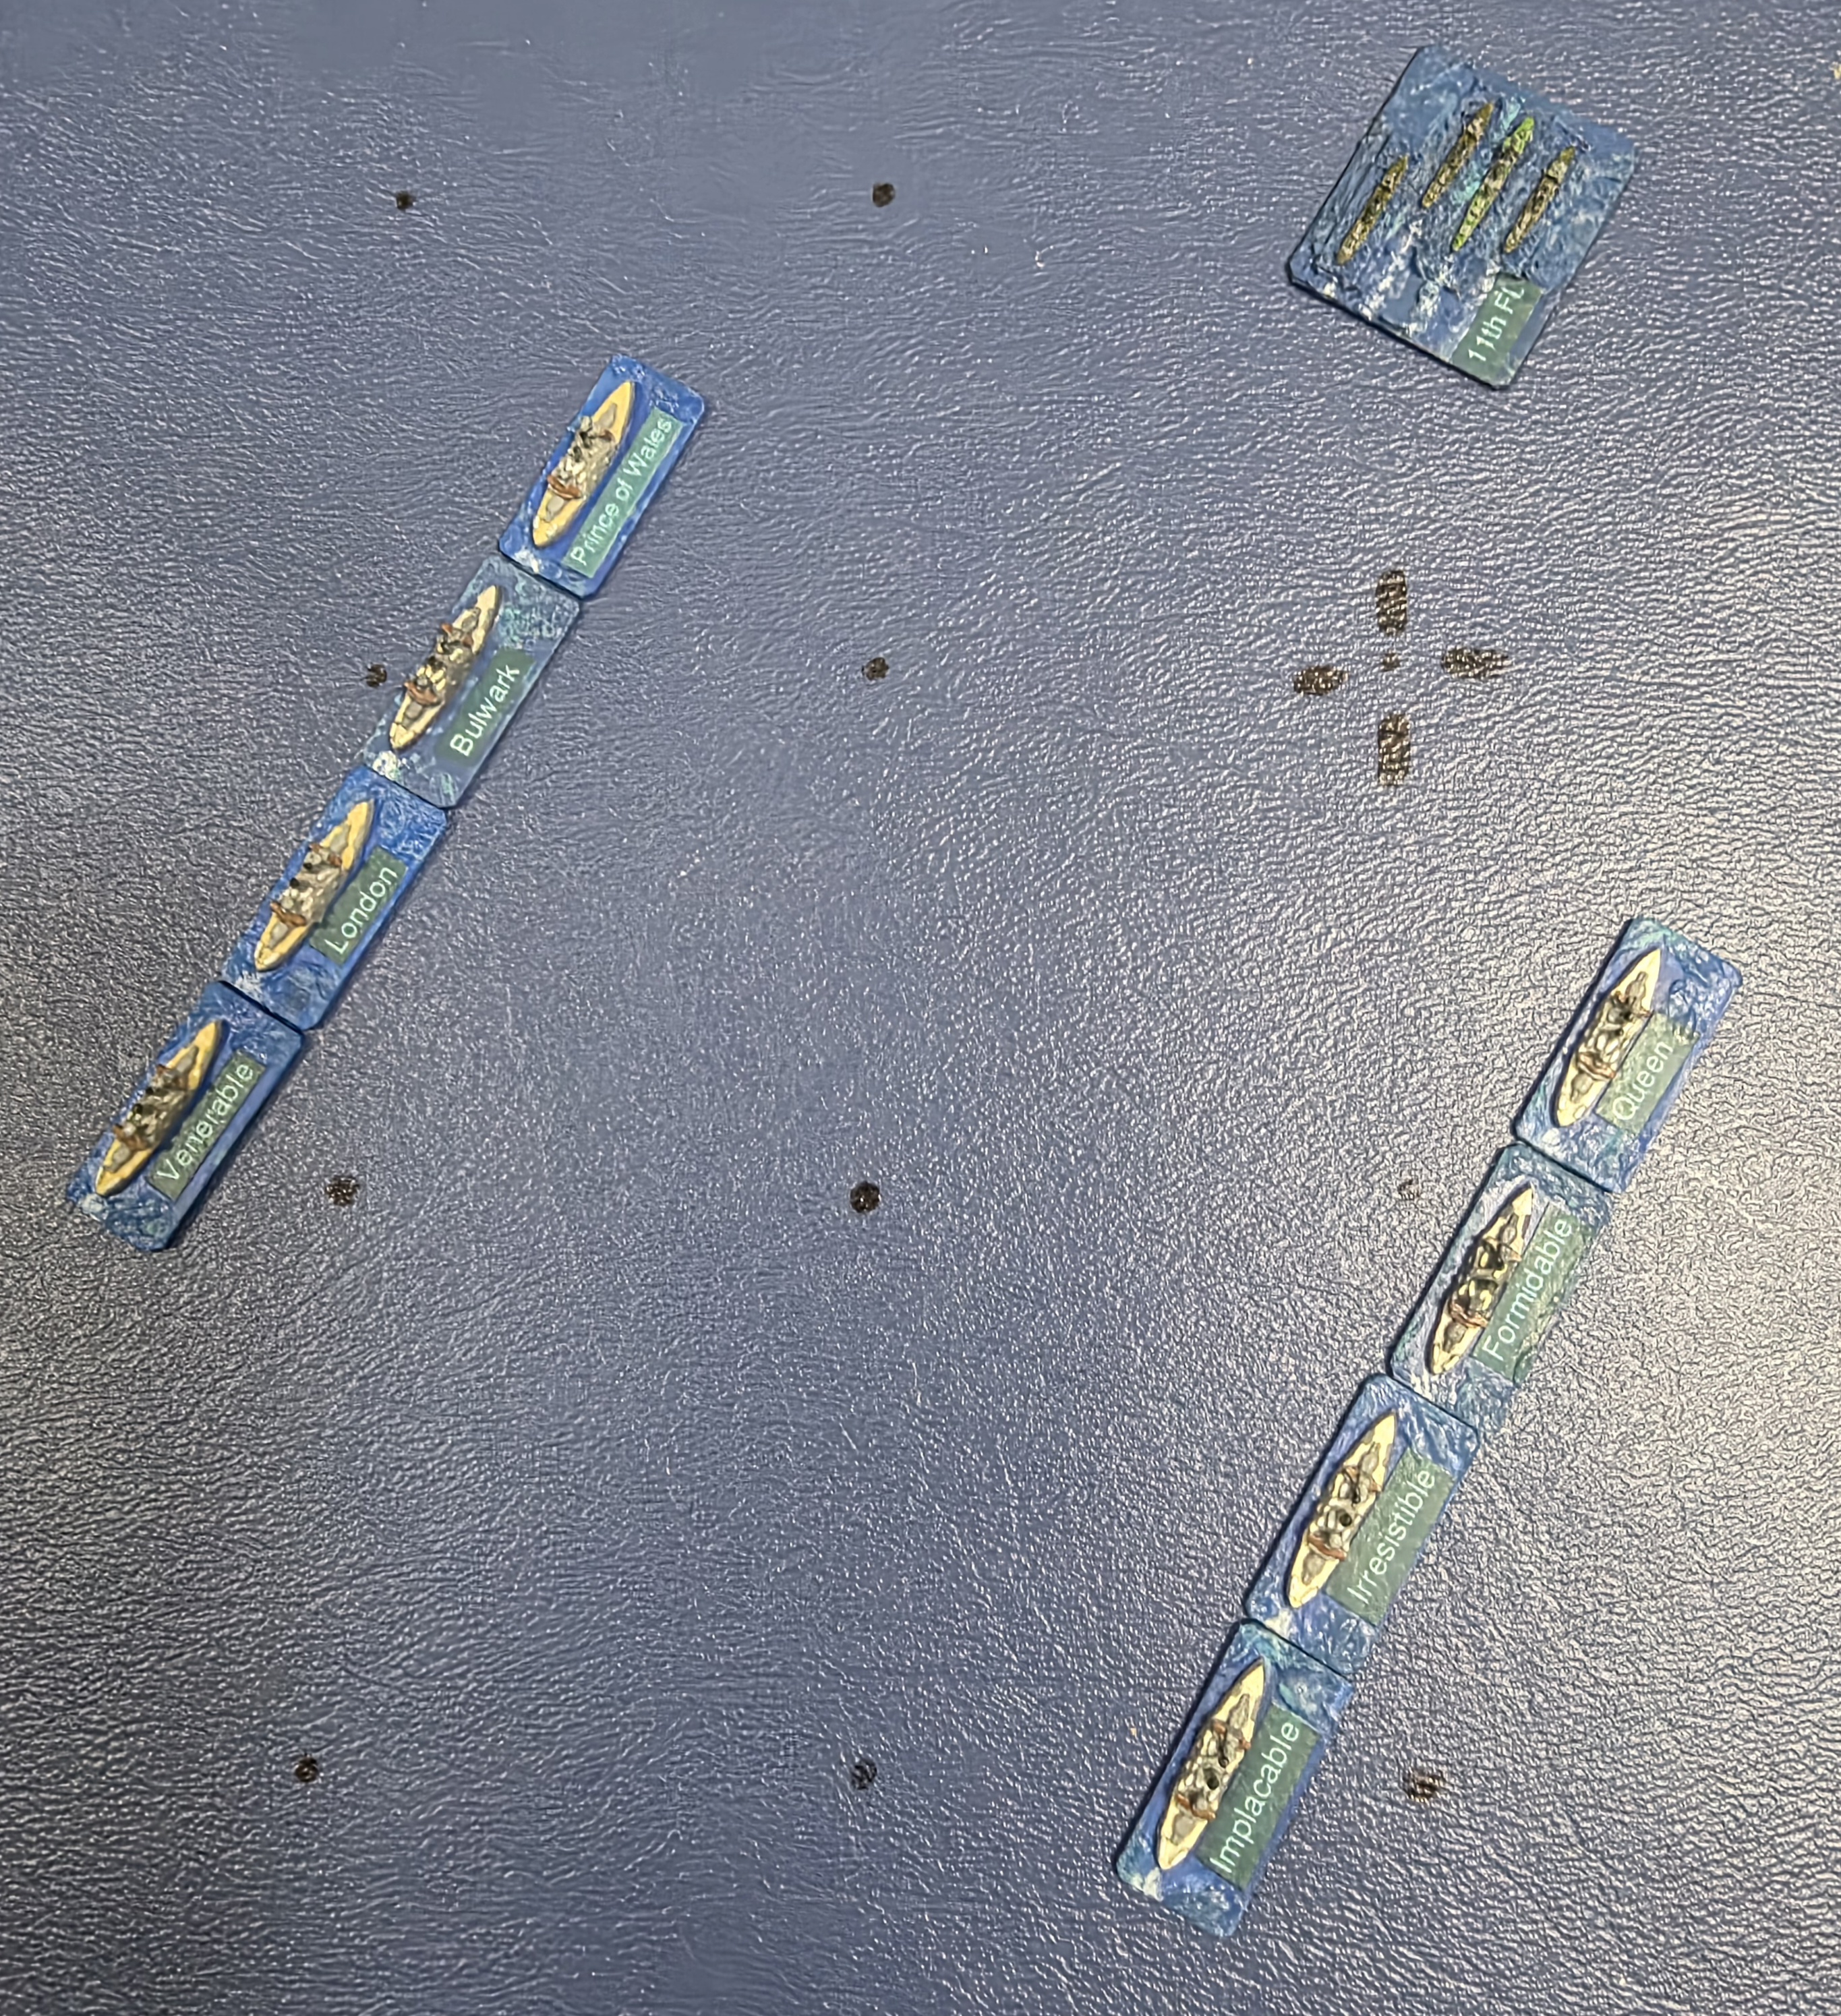
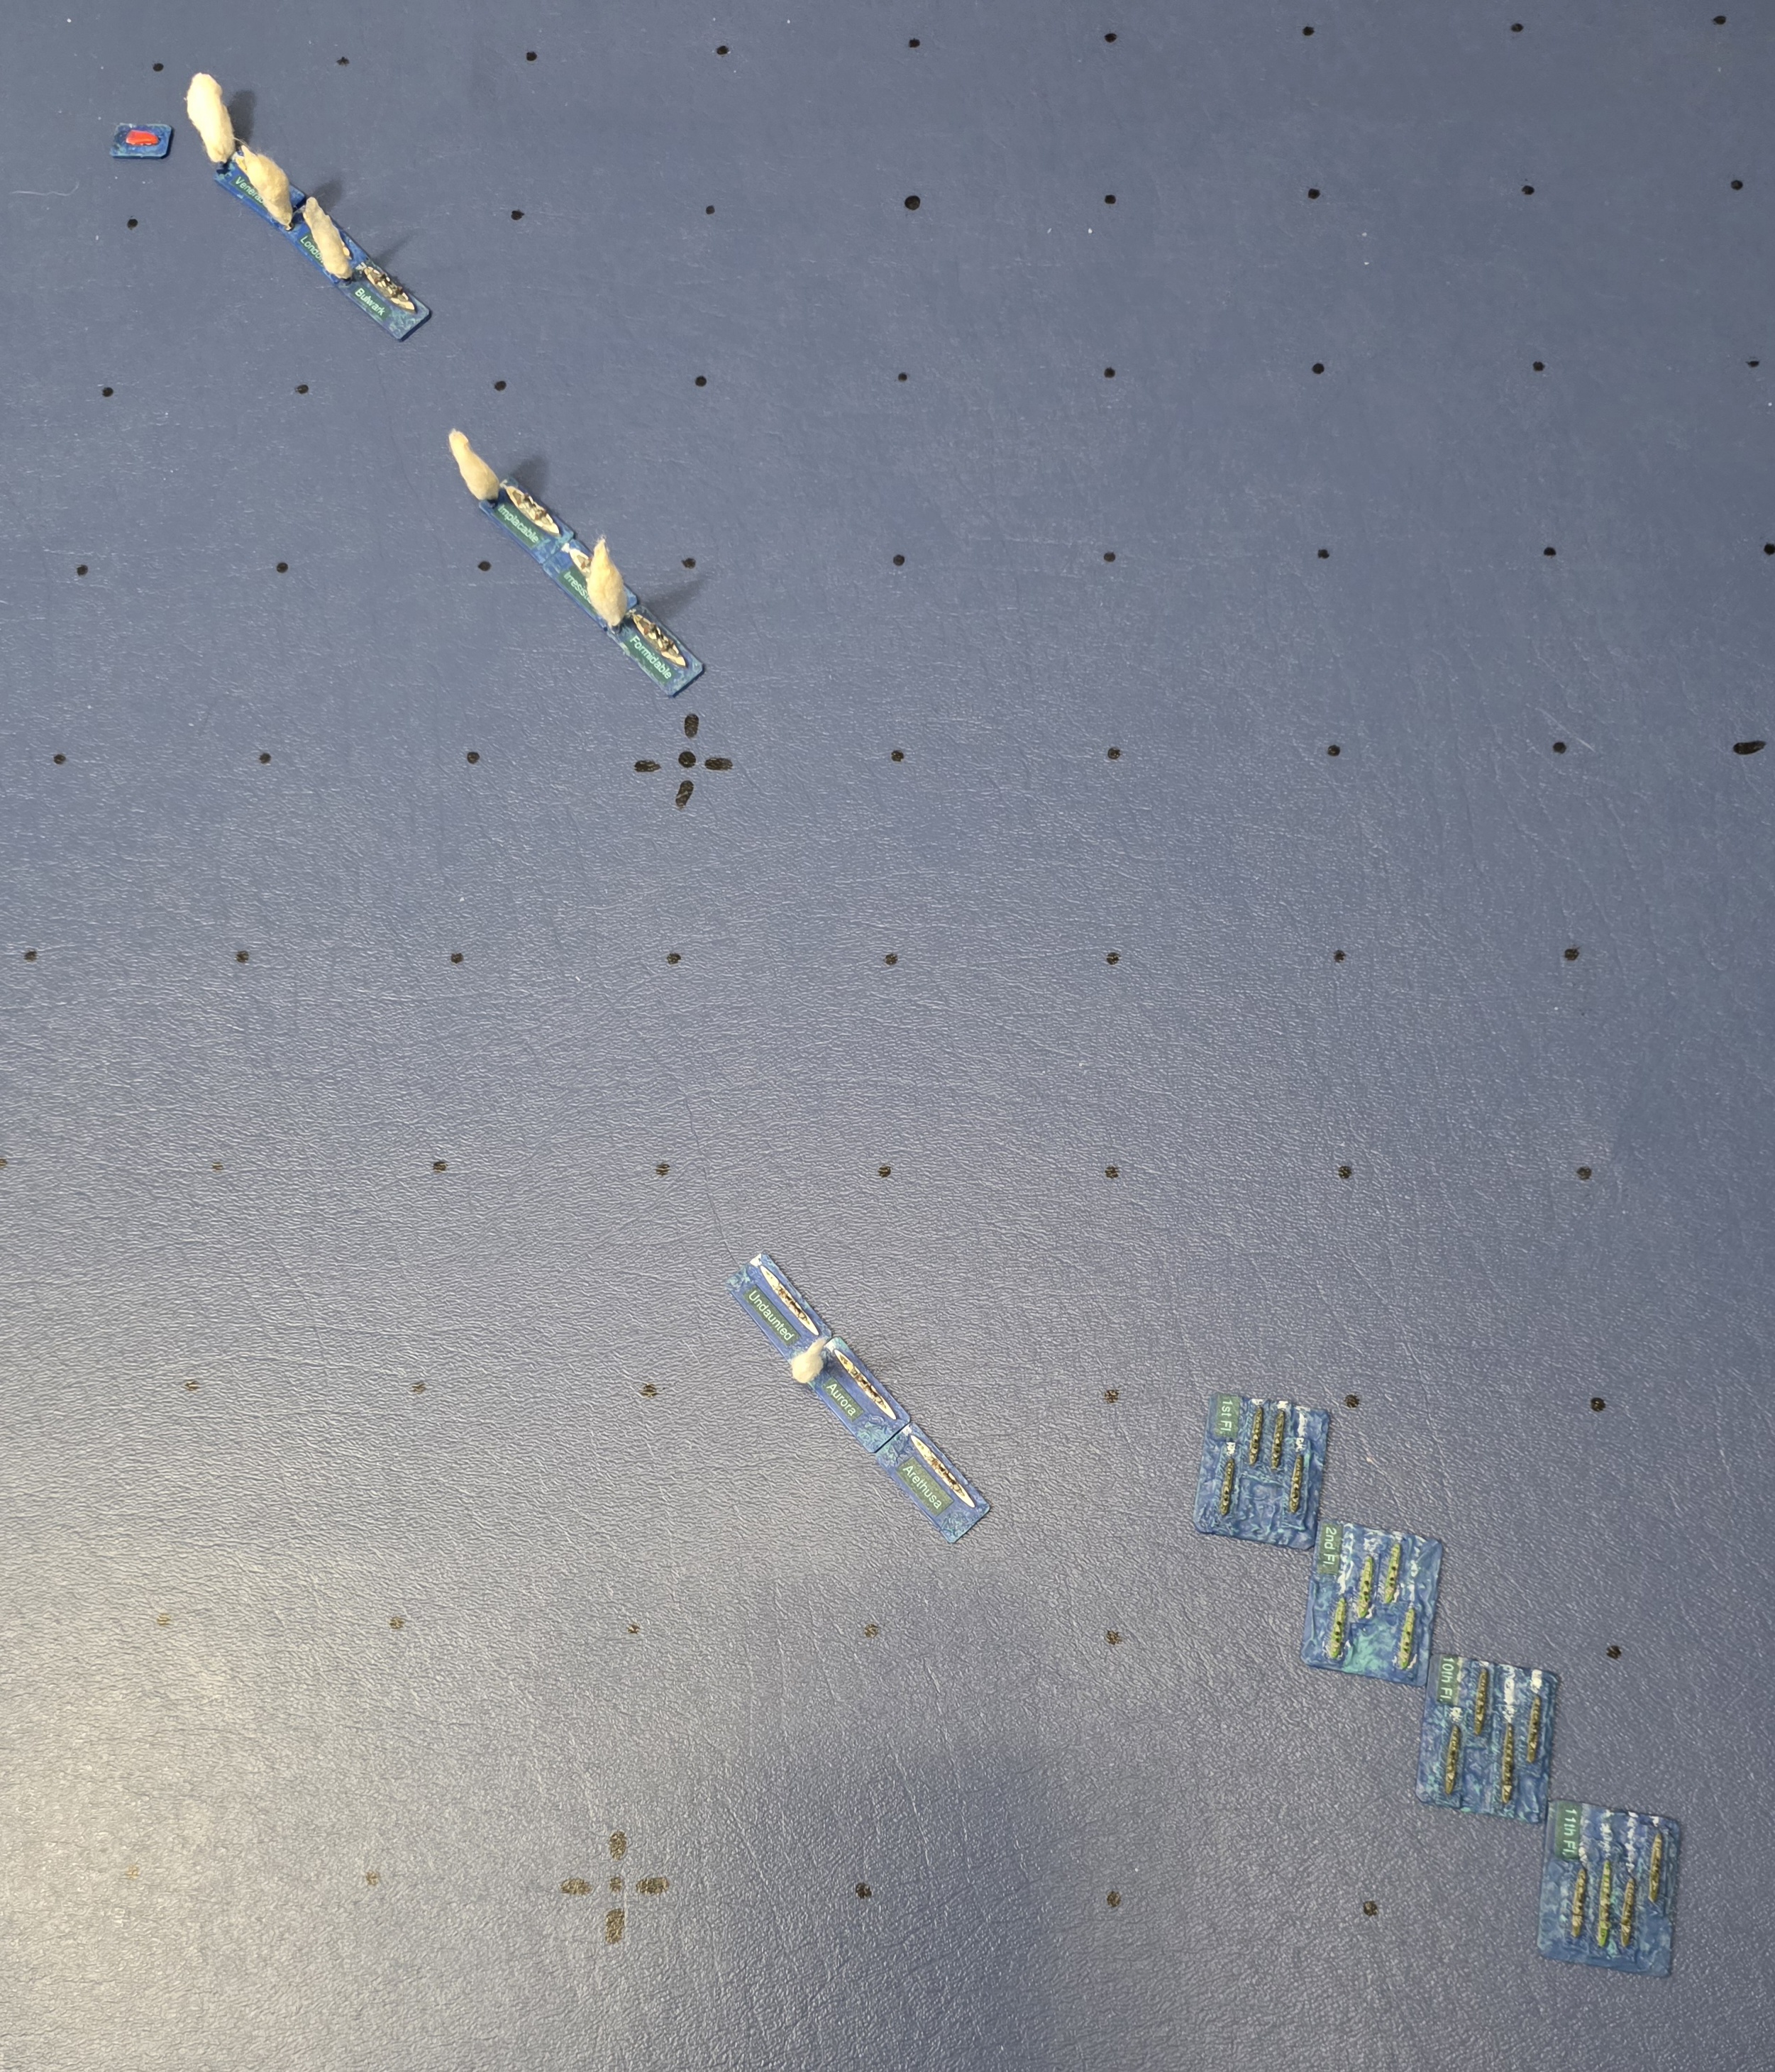
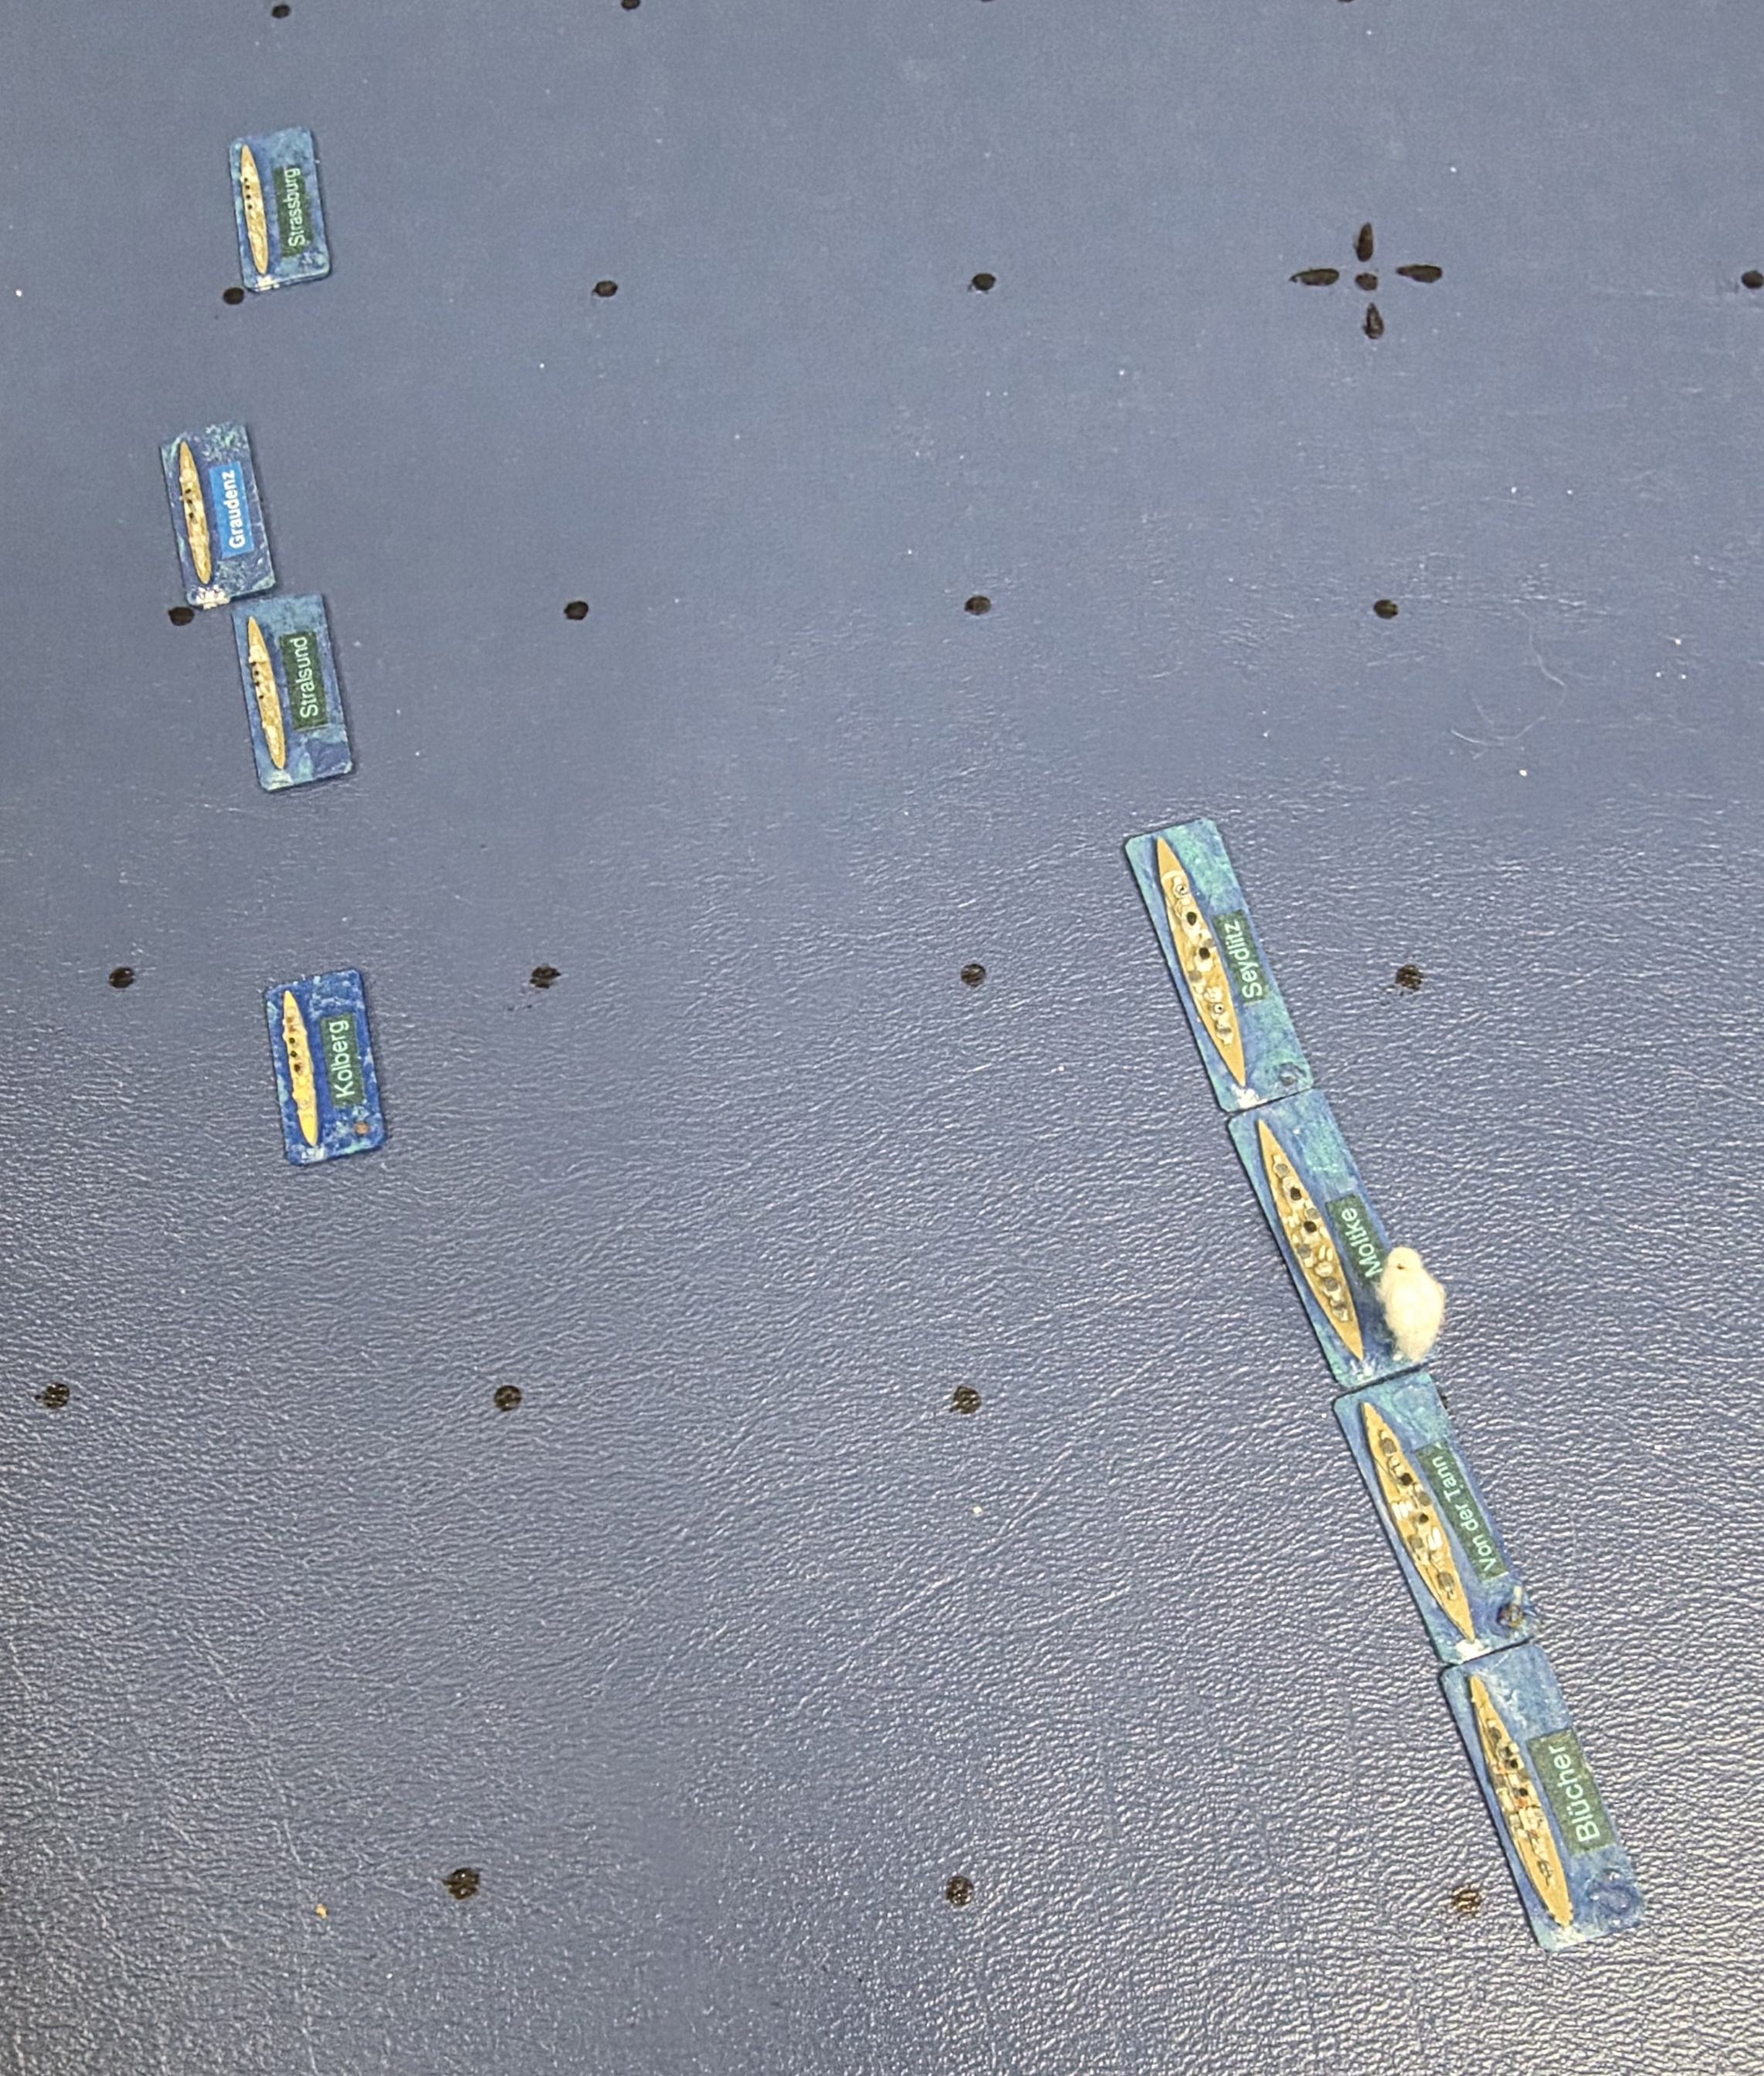
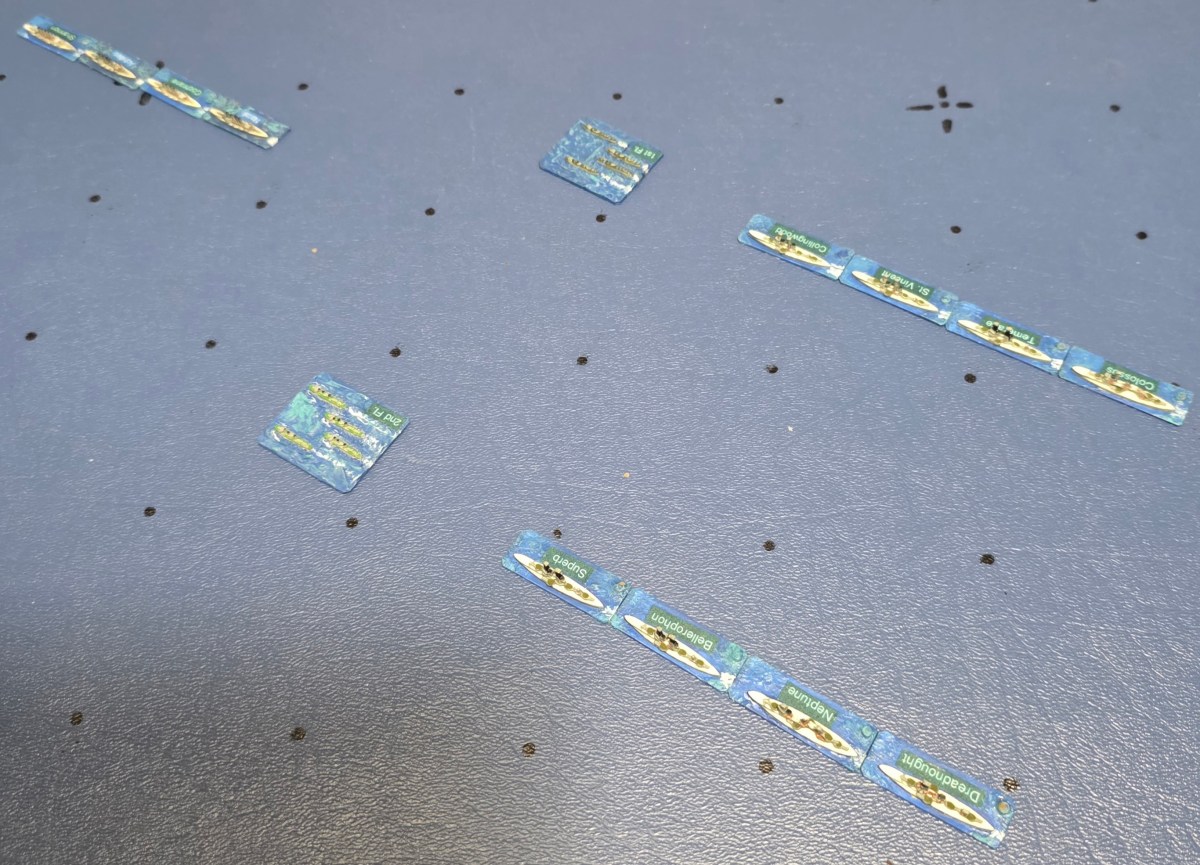
5th Battle Squadron November 1914
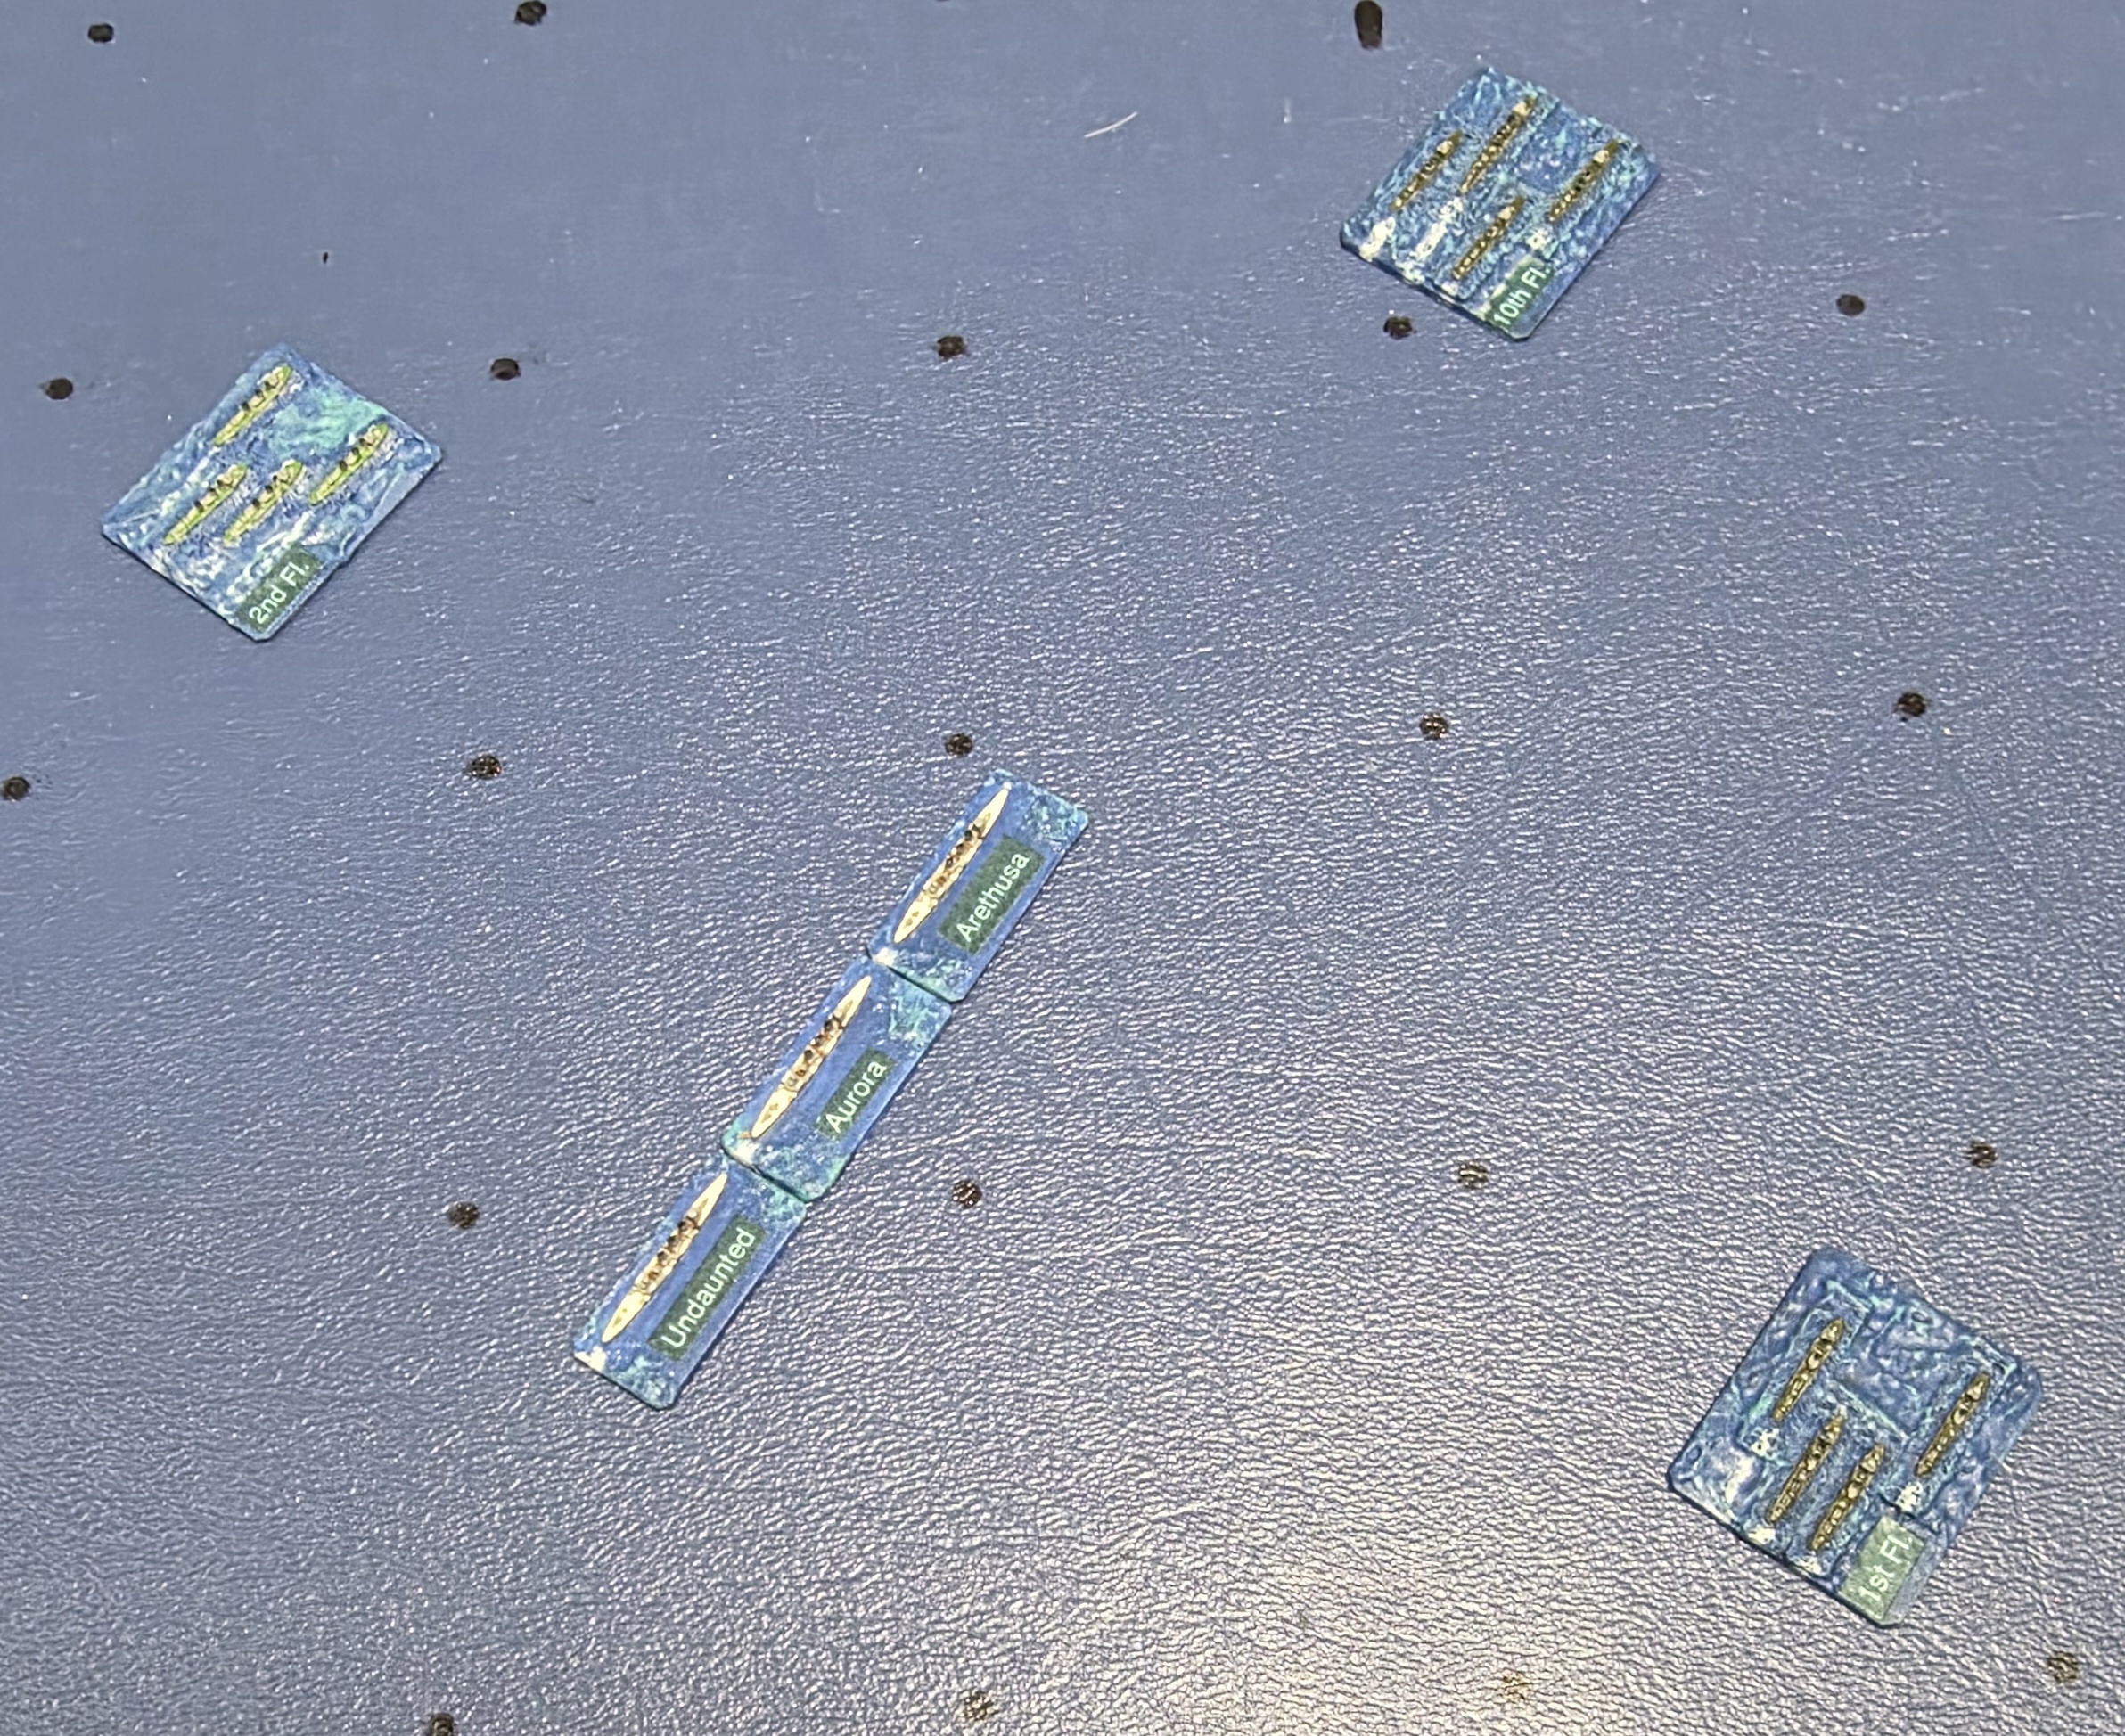
Harwich Force November 1914
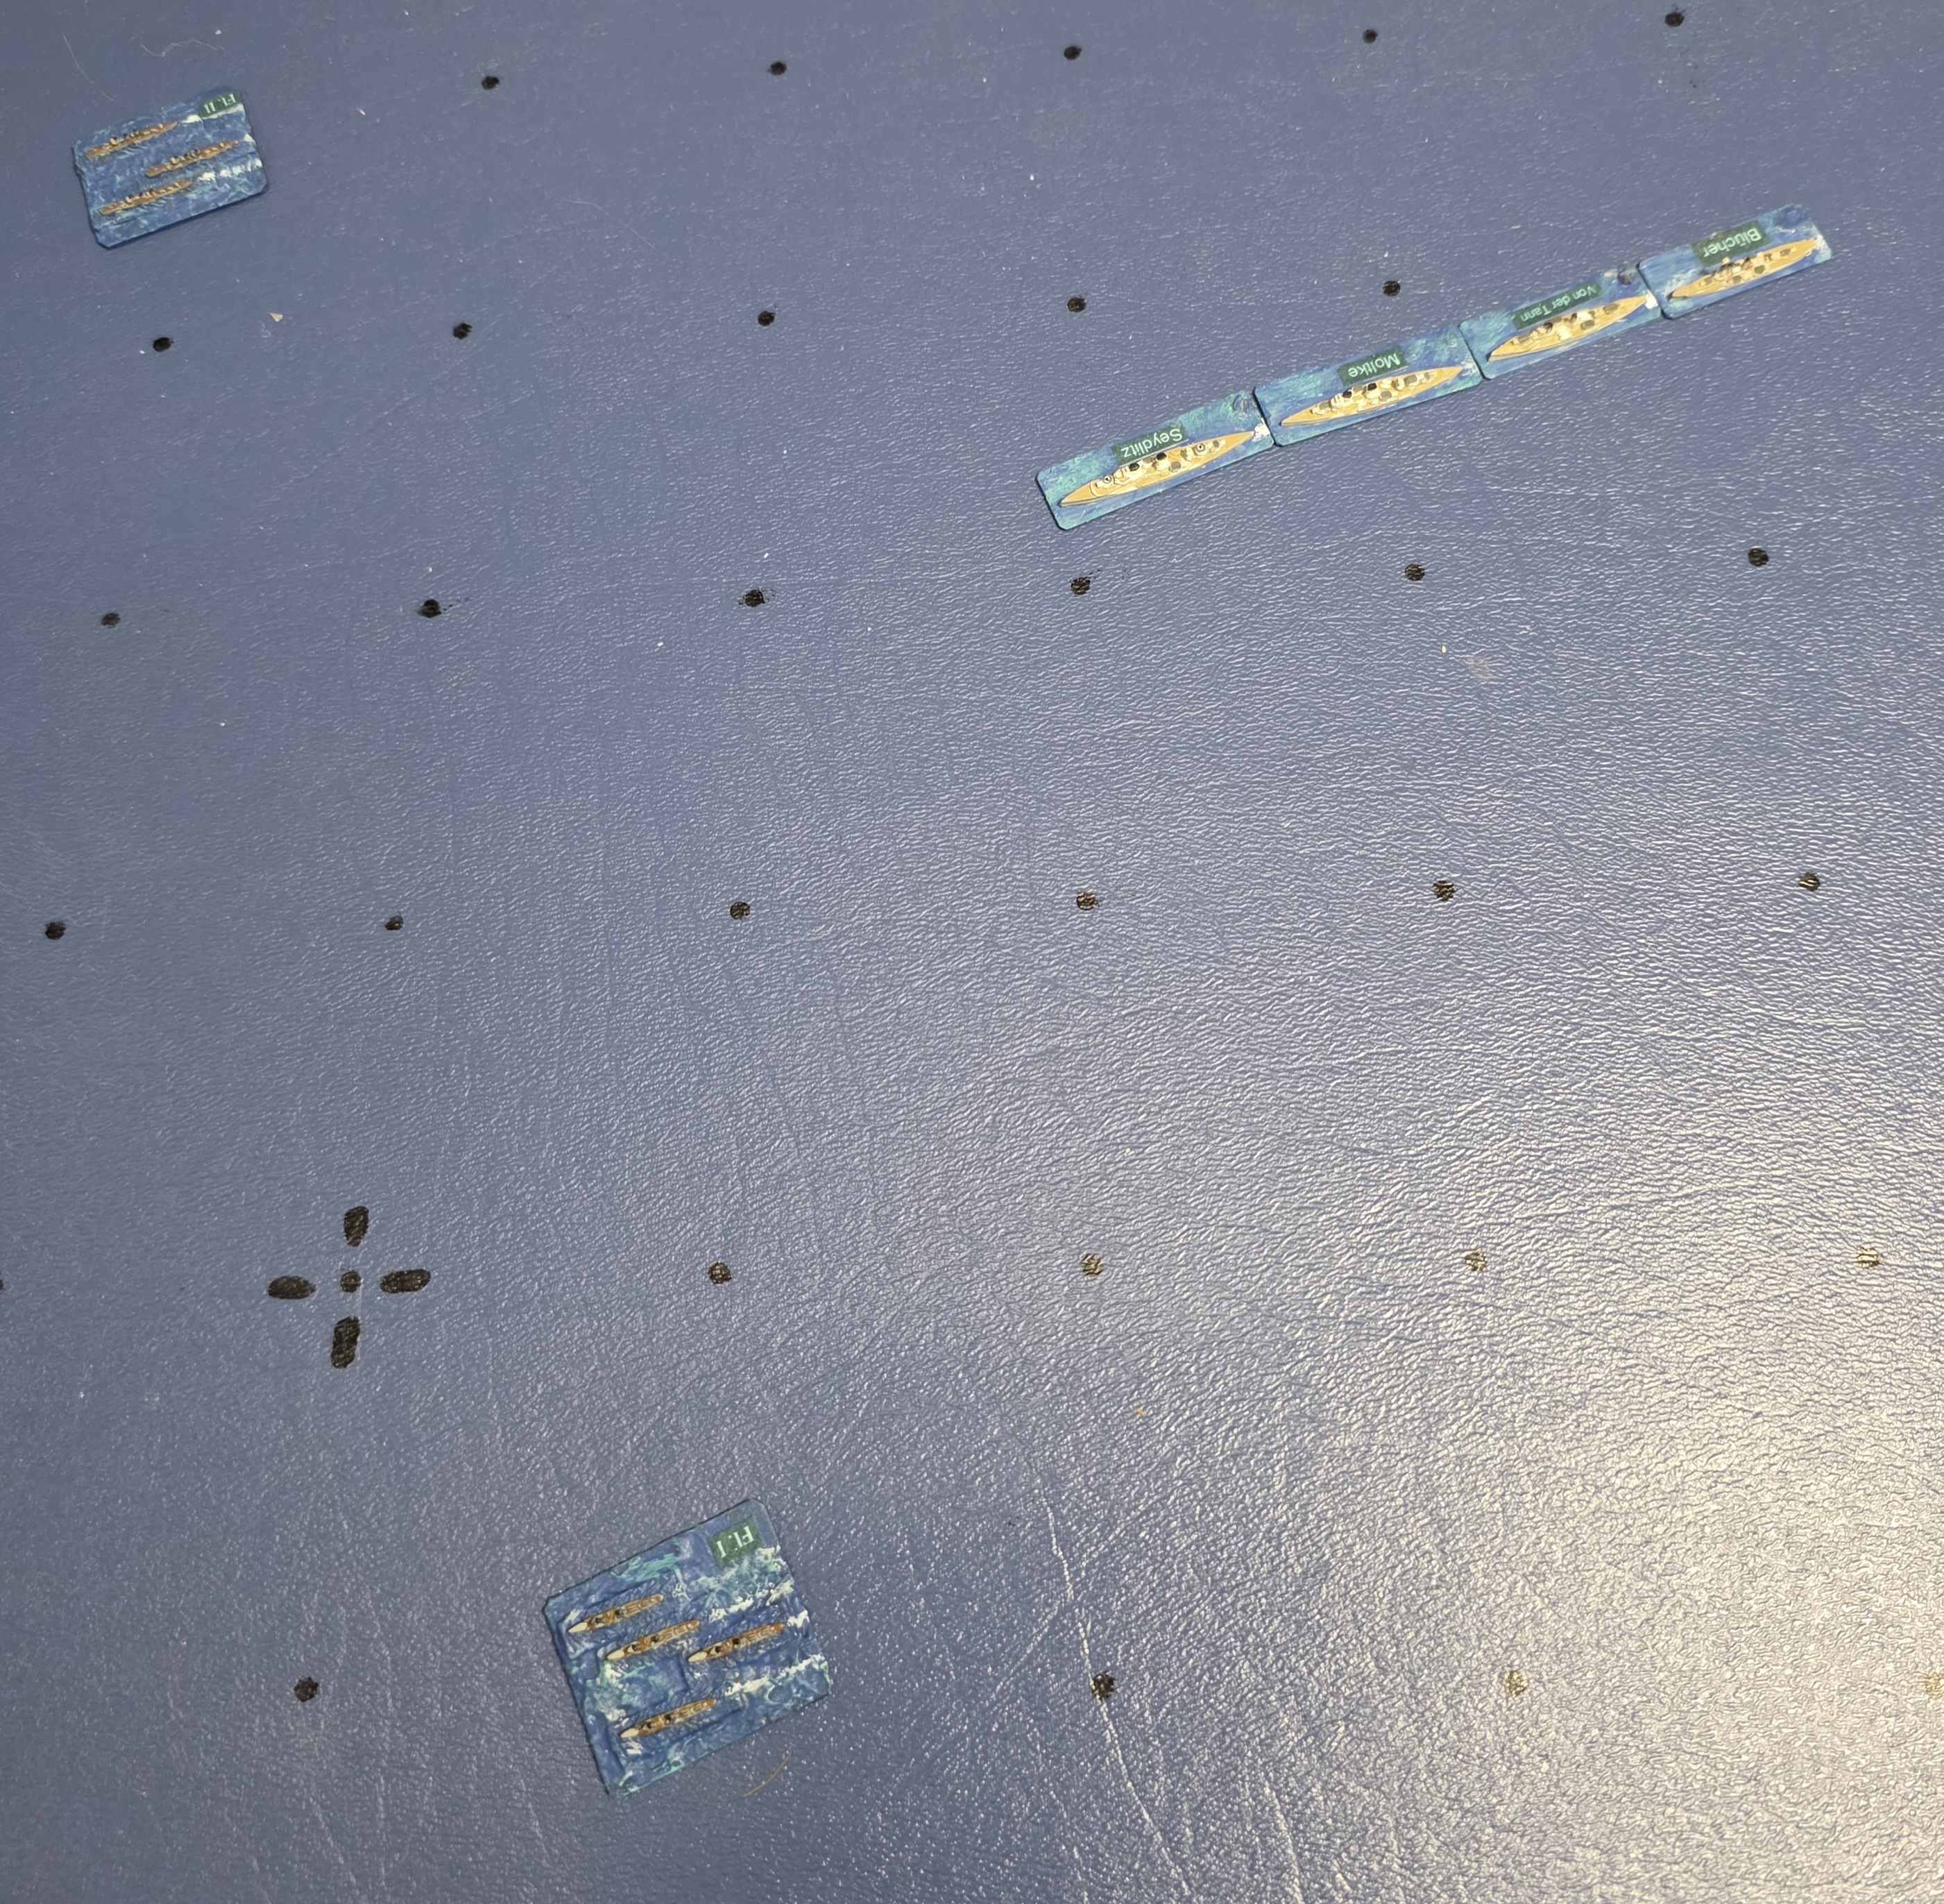
A.G.I November 1914


On November 14, 1914, the British naval forces on the east coast were reorganized to defend against raids such as the bombardment of Yarmouth on November 3rd. The 5th Battle Squadron of eight pre-dreadnought battleships was moved to Sheerness. Vice Admiral Burney’s orders were “that at the first intimidation of a hostile expedition he was instantly to attack it, regardless of its strength…”. (Corbett, “Naval Operations” Volume I, page 250, Volume II, page 10, and Marder, “From the Dreadnought to Scapa Flow” Volume II, page 130)

This scenario assumes that the German force used in the Yarmouth raid returns to the coast of Suffolk later in November, and that the 5th Battle Squadron and the Harwich force intercepted it.

Both sides were run by the code‘s automation algorithms.

The orders of battle are listed in the narrative file:


Plots:
Full scenario plot:


Simplified plot of lead battleships and battlecruisers.

Plot from 08:20 to 09:00. The German light cruiser screen and the Harwich Force engage.

Plot from 09:00 to 09:30. The German battlecruisers and the 5th Battle Squadron of the Channel Fleet deploy and open fire. A German battlecruiser is hit by a torpedo from a Harwich Force light cruiser. German fire is initially concentrated on the nearest pre-dreadnought, which sinks.

Plot from 09:30 to 10:00. The battle lines circle each other. The British pre-dreadnoughts take far more hits than they inflict. One pre-dreadnought capsizes and sinks.

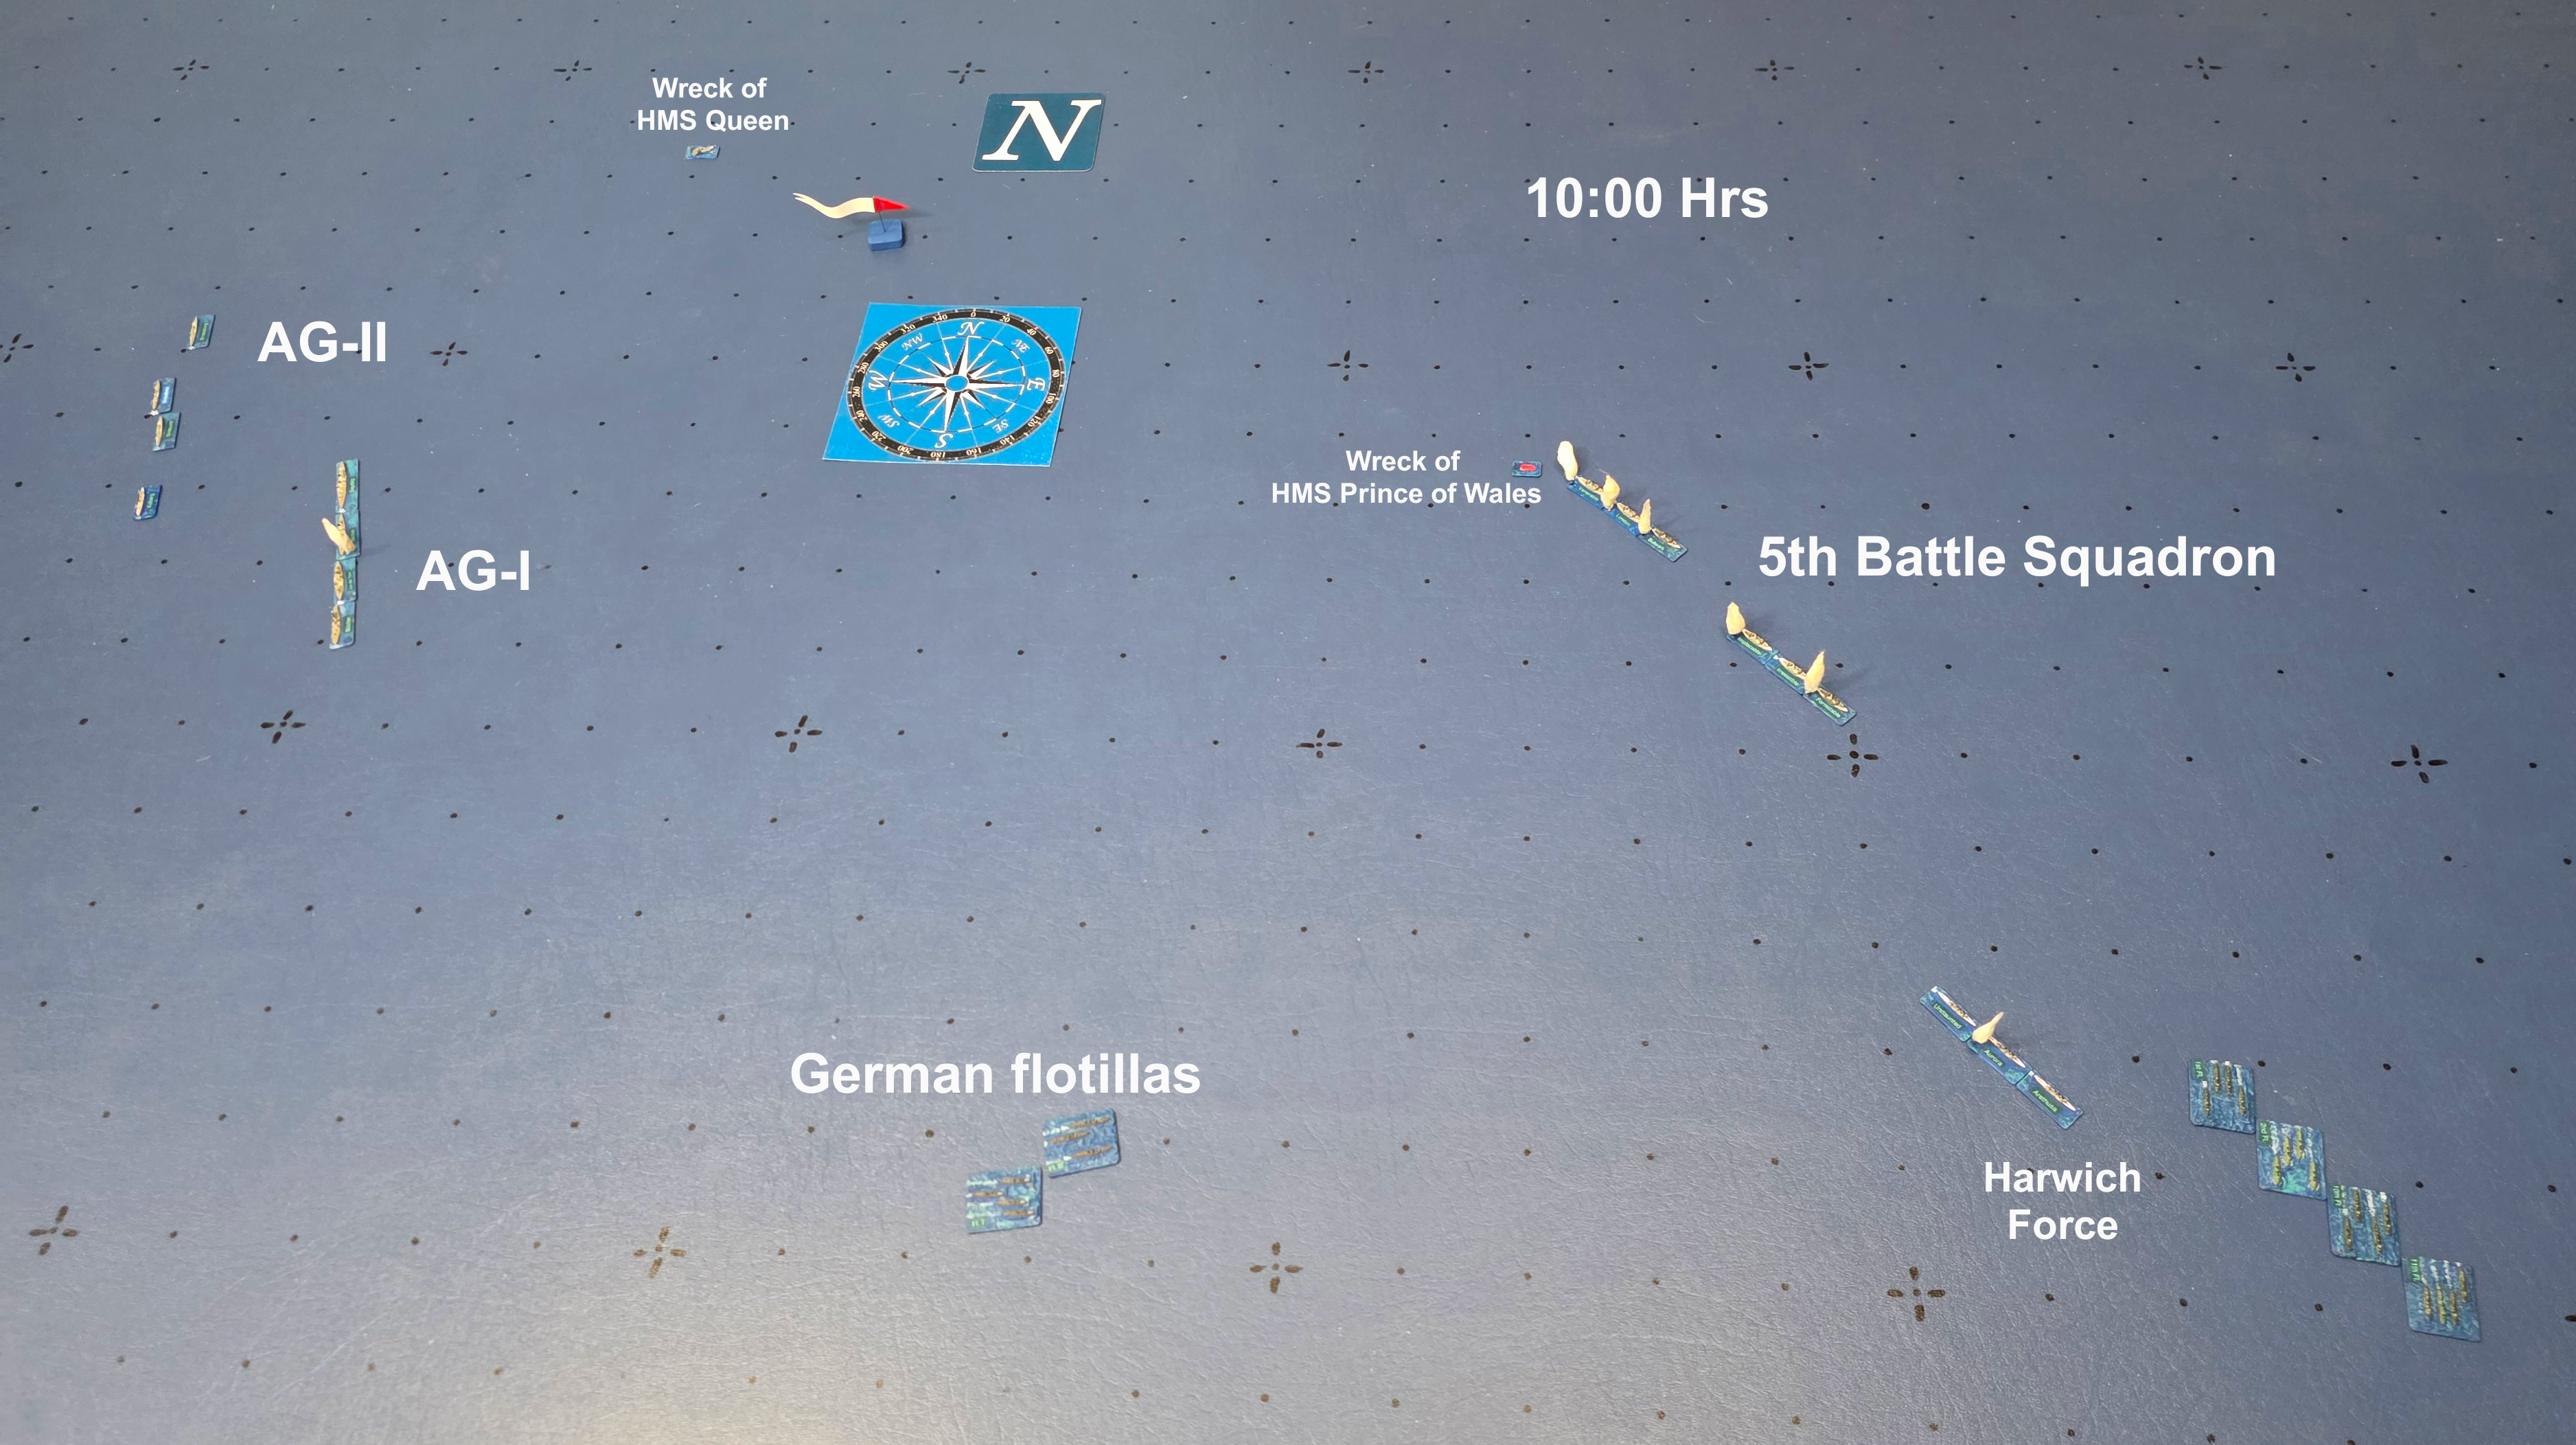
Situation at 10:00 Hrs
5th BS and Harwich Force, 10:00 Hrs
AG-I and AG-II, 10:00 Hrs

Plot from 10:00 to 10:30. The British force attempts to disengage. German torpedo boat flotillas attack and score torpedo hits on two pre-dreadnoughts, sinking one of them immediately.

Plot from 10:30 to 11:15. The modern destroyers of the Harwich force and the older destroyers of the Channel Fleet attack. Two hits are scored on German battlecruisers. The German force retires to the north. A fourth pre-dreadnought capsizes and sinks due to progressive flooding.

Status at the end of the game:

Gunnery Logs:

Hit Logs:

Comments:
This game and several other replays indicate that the old ships of the Channel Fleet are outmatched by the German battlecruisers. On the other hand, there is little reason for the battlecruisers to engage, since sinking old ships will not help redress the balance of forces in the North Sea.

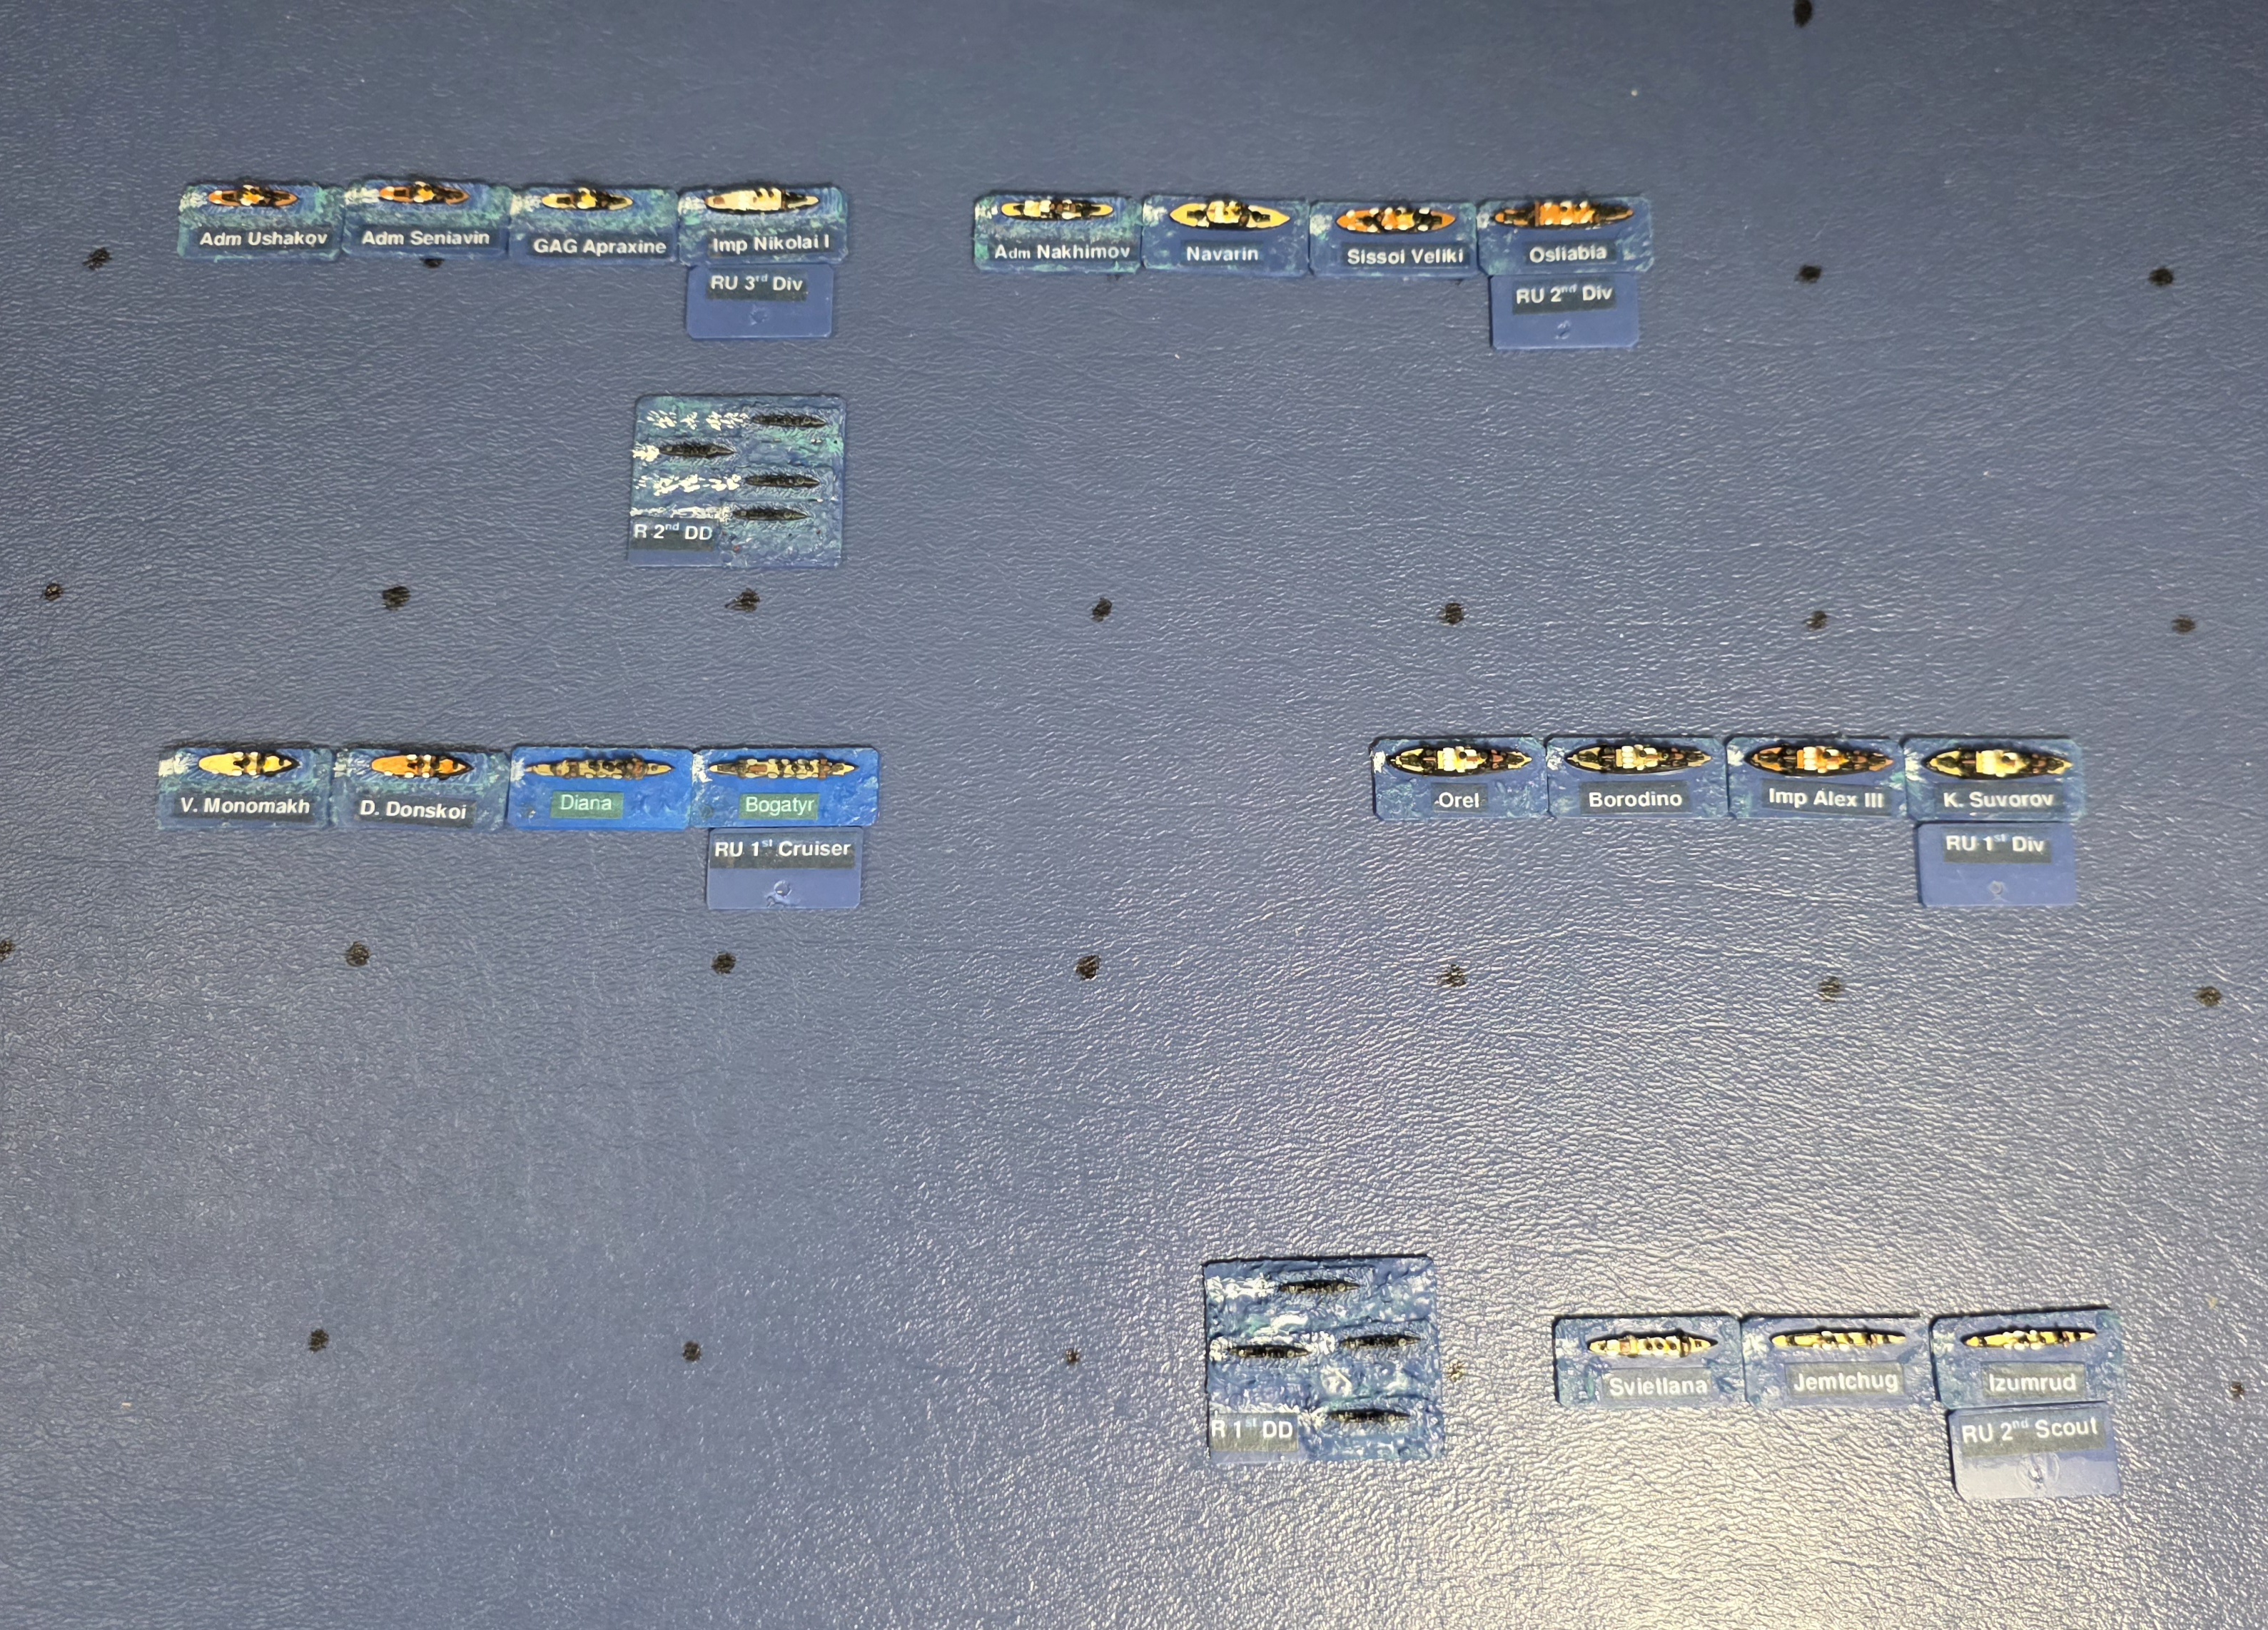
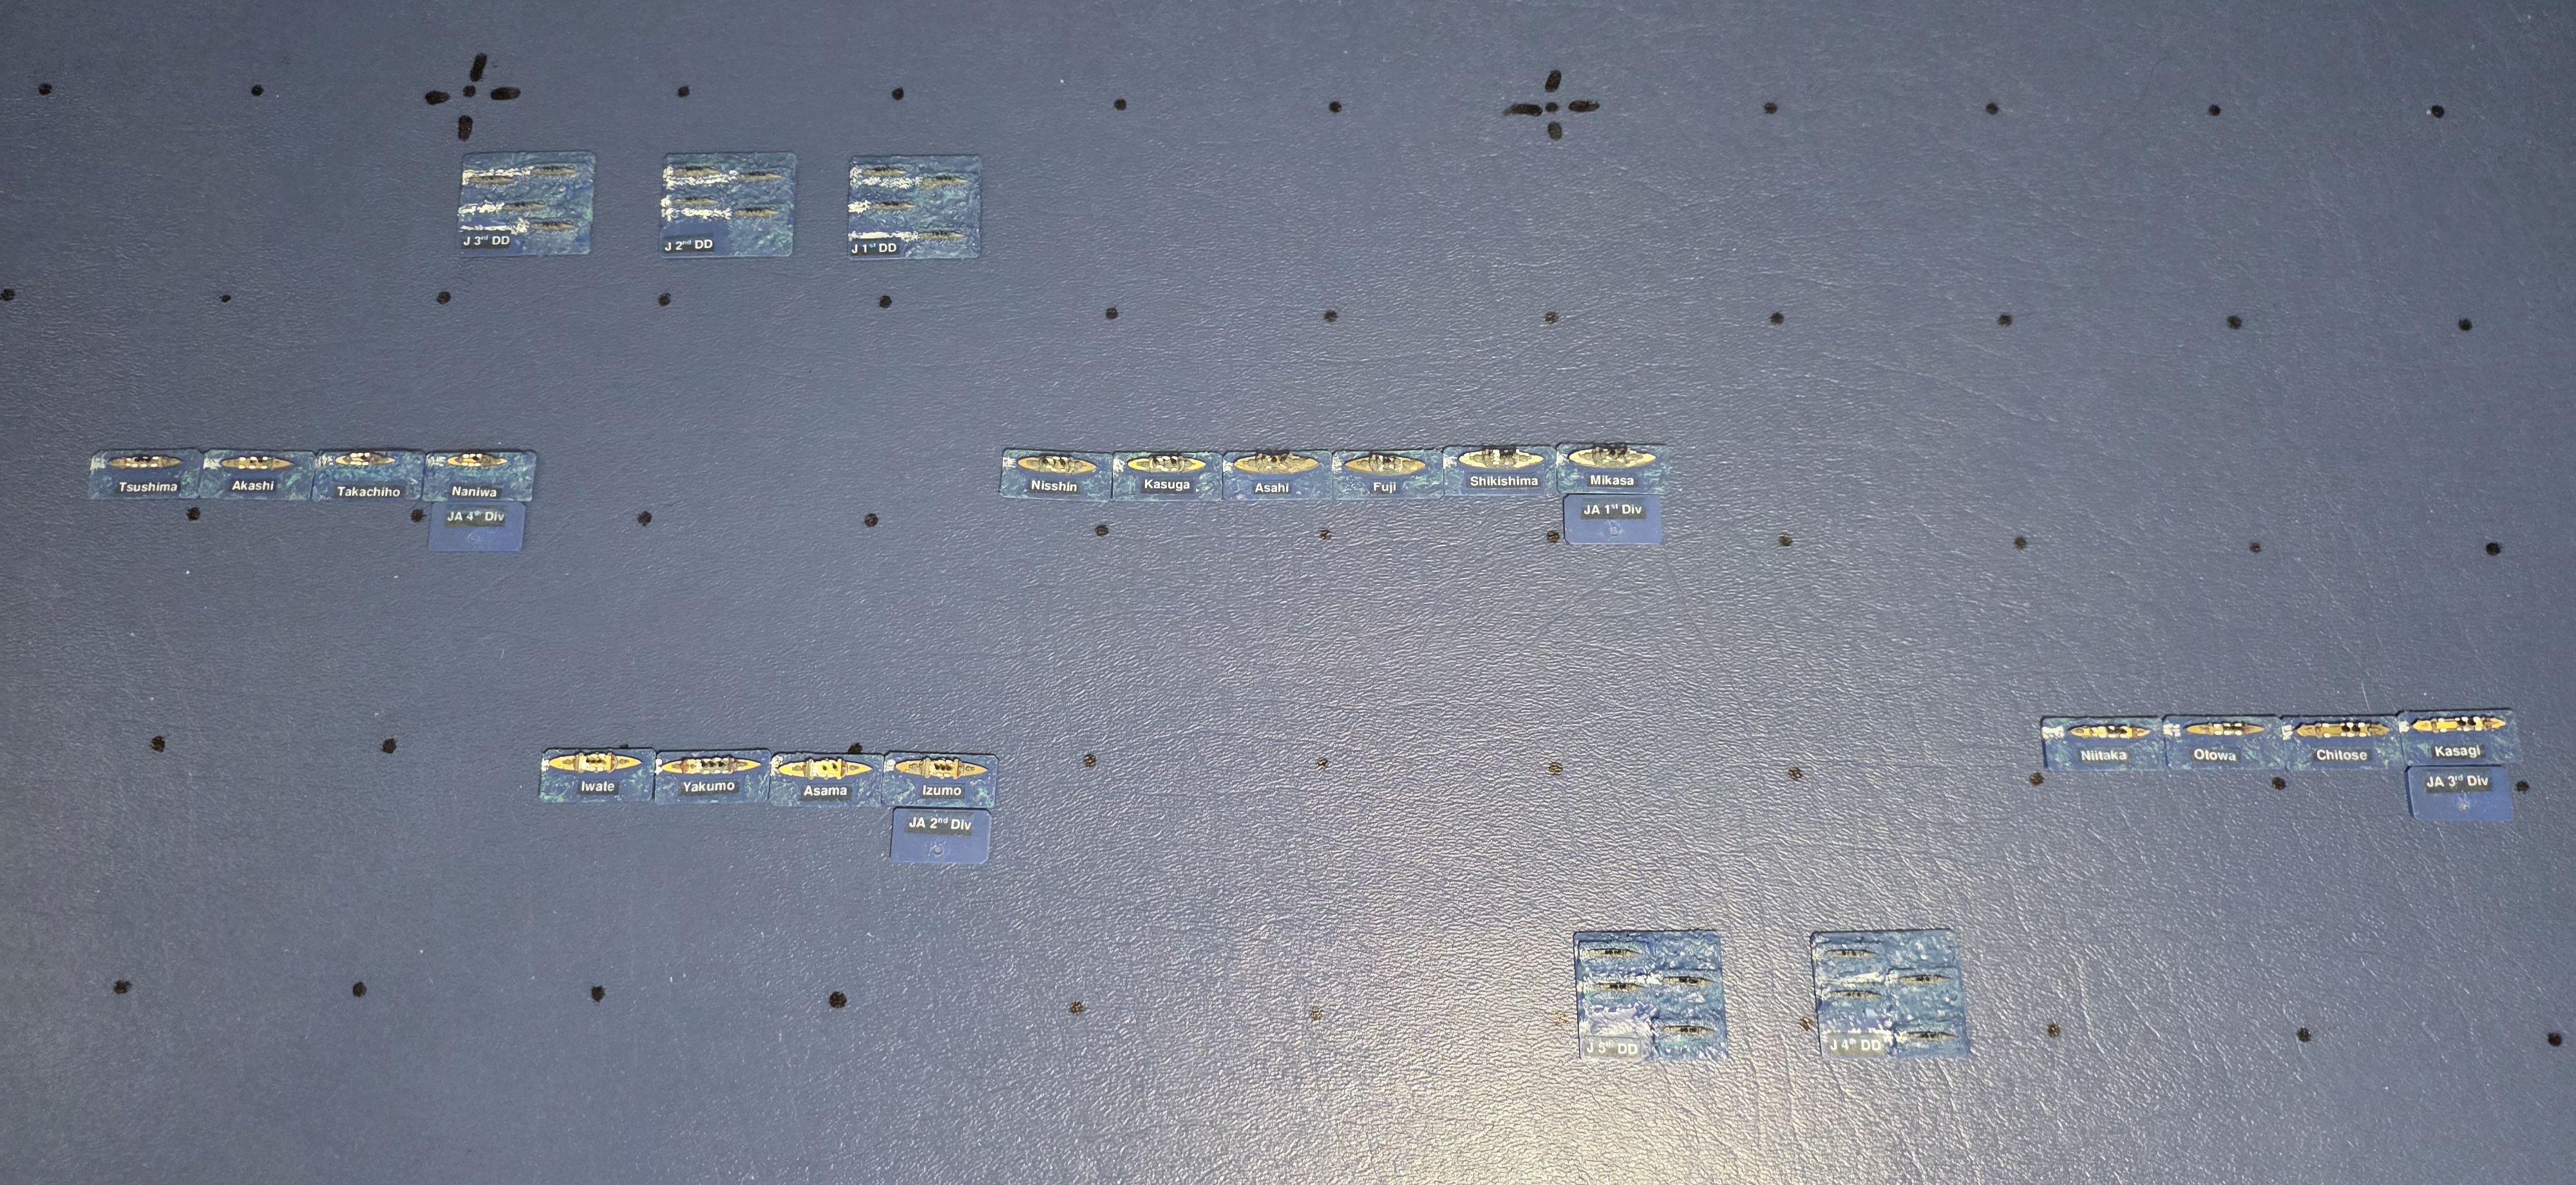
Tsushima, May 27th 1905

2nd Pacific Squadron
Combined Fleet

This scenario was based on the battle of Tsushima during the Russo-Japanese War of 1904-1905.

Both sides were run by the code‘s automation algorithms.

The orders of battle are listed in the narrative file:


Plots:
Full scenario plot:


Animated plot:


Plot of battleships and armored cruisers from the start to 14:05. Both sides have deployed from cruising formations to single line ahead and have engaged on opposite courses.

Plot of battleships and armored cruisers from 14:00 to 14:30. The Japanese battle line has reversed course to follow the Russian line north.

Plot of battleships and armored cruisers from 14:25 to the end. The Japanese gradually catch up and inflict heavier losses on the Russians. The 2nd Pacific Squadron retires to the northeast at 15:20, and the Combined Fleet disengages at 15:35.

The destroyers with their short range torpedoes were of little use in a daylight action. The code algorithms generally kept them on the disengaged side, however the code decided late in the battle to launch the entire Japanese destroyer flotilla (five divisions of four boats each) against the supposedly weakened Russian battle line. All five divisions were dispersed by damage from the tertiary guns of the battle line and supporting fire from protected cruisers Bogatyr and Aurora. This plot shows the flotilla attack from 15:11 to 15:30:


Status at the end of the game:

Gunnery Logs:

Hit Logs:

Comments:
The 2nd Pacific Squadron attempted to disengage at 15:20 due to heavy losses. The Combined Fleet followed until 15:35 when lack of ammo and operable guns caused it to break off the action.

The results were more even than would normally be expected, likely due to the early loss of 30 cm guns on the Combined Fleet’s battleships. Mikasa, for example, lost her after turret to a 254 mm hit and both guns of her forward turret to premature explosions of Shimose shells.

Naval Battle of Tunis 1901

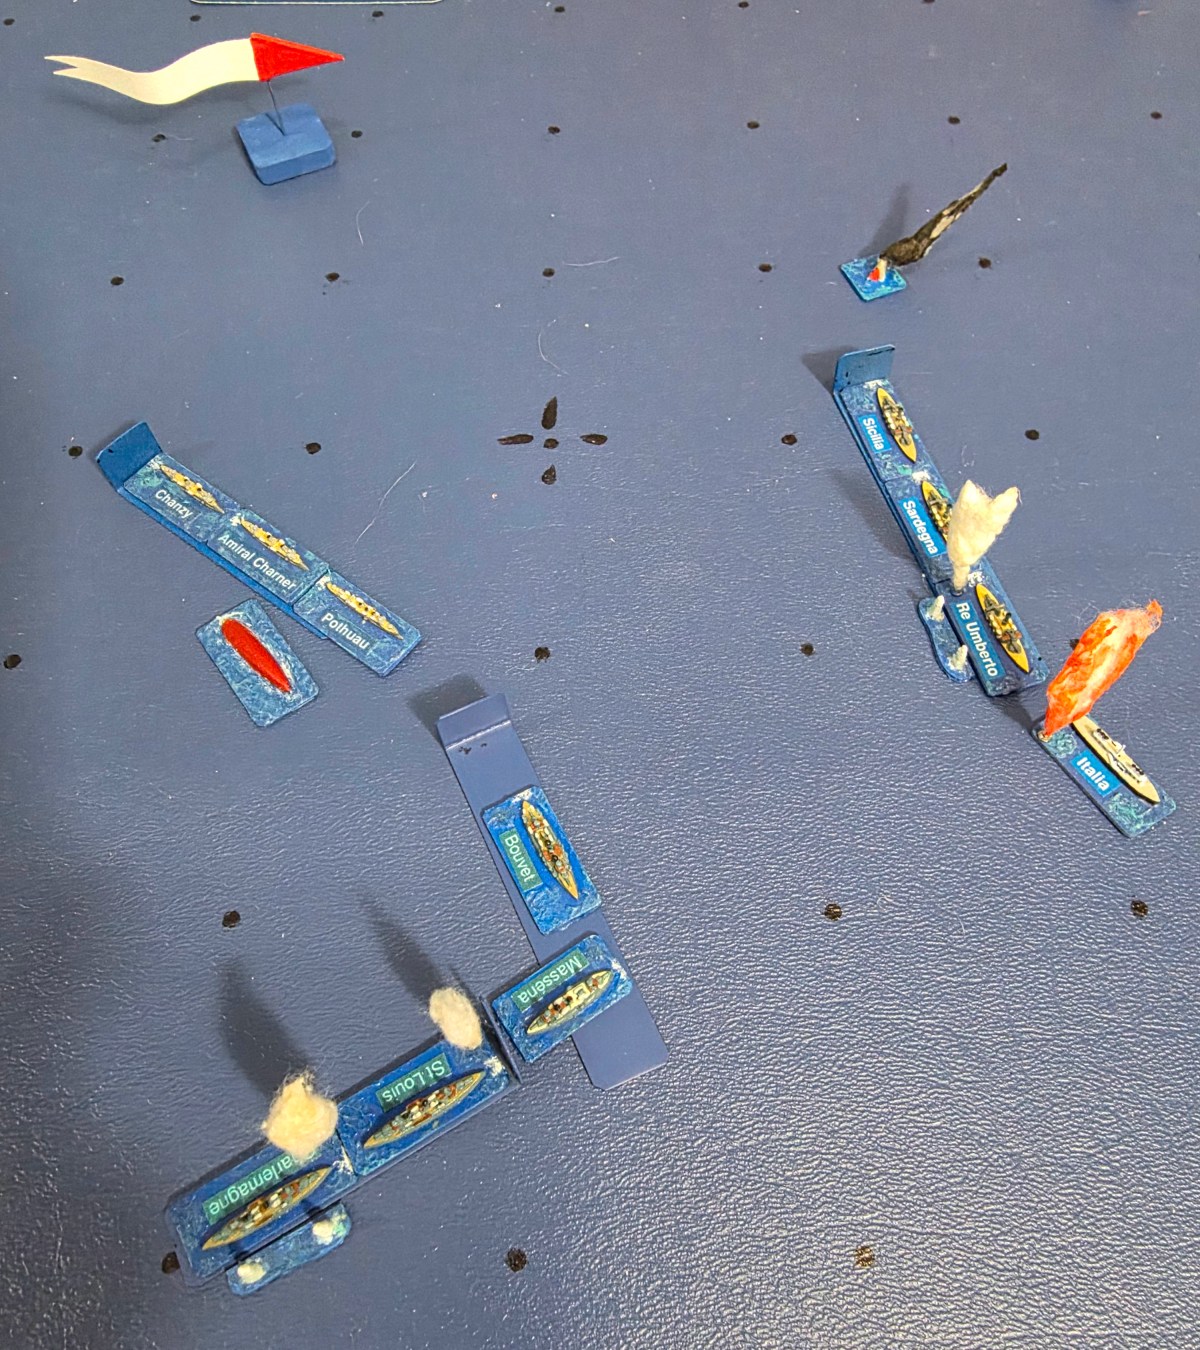
This scenario was inspired by an Admiral of the Fleet game run by the Seekrieg Admiralty at the HURRICON 2025 game convention. Photos of that convention game are in this Google photo album (about halfway down the page).

The description of the scenario is from the HURRICON events guide:
“After the French acquisition of Tunis in 1881, Italian aspirations regarding Tripoli were generally recognized by the Great Powers but tensions between the two countries eventually led to armed conflict in North Africa when Italy began a naval blockade of Tunis. In May of 1901, Italian battleships and cruisers meet their French counterparts in the Gulf of Tunis …”

While the French battleships, armored cruisers and their weapons were already included in the game codes, it was necessary to add the Friant class protected cruisers and all of the Italian ships and weapons. Code revisions were required to accommodate the long reload times of the Italian heavy guns. None of the new ships were available in the Figurehead 1:6000 scale line, so they were created by conversions or 3D printing. Small destroyer units (not present in the AOTF game) were added to each fleet.

Both sides were run by the code‘s automation algorithms.

The orders of battle are listed in the narrative file:


Photo album (Google)

Plots:
Full scenario plot:

Simplified plot of battleship movements:


Status at the end of the game:

Gunnery Logs:

Hit Logs:

Comments:
Although neither of the computer-controlled forces had yet chosen to break off the action, the loss of three Italian battleships and the French fleet’s attempt to open the range provided a reasonable opportunity to end the battle after a hour and twenty minutes.

Italian losses were much greater than French, primarily due to the ineffectiveness of the 17 inch guns of the two leading Italian battleships. These guns did not make any hits, with their long reload time (8 minutes) and consequent inability to achieve a good fire control solution. The two ships (Italia, Lepanto) fired only 9 and 8 heavy shells, respectively, so even one hit would have been a good hit rate. Putting the Re Umberto class ships in the van might have had better results, but their 13.5in/30 guns had a maximum rate of fire of only 0.3 rounds per minute, compared to 1 round per minute for the 305mm guns of the French battleships.

The destroyers with their short range torpedoes were of little use in a daylight action. The code algorithms kept them on the disengaged side so that they did not take many hits.

Battle of Cape Shoppek

This 1918 scenario is based on the following:
1. The Russo-Japanese War of 1904-1905 ended in a stalemate and the issue of who would dominate north-east Asia remains unresolved.
2. The First World War and Russian revolution have not yet occurred.
3. The naval building programs delayed or curtailed in 1914 have continued.

The Russian side was played by a remote gamer using text output files, plots of contact reports and photos of the table. The Japanese side was run by the code‘s AI.

The Orel class Russian dreadnoughts used in the game are based on the 1917 design described here:
https://ncc1717.com/2019/01/04/1-6000-naval-never-built-ships/

Russian Player briefing:

Based on their actions in the war of 1904, it is expected that Japanese naval forces will attempt to gain control of the Yellow Sea to allow troop landings somewhere on the Korea Bay. Attacks will likely precede a declaration of war. Although significant Japanese naval units are reported in the Pescadores Islands, the newest ships are believed to have remained at Sasebo. These may include battleships of the Fuso, Ise, Nagato or Kaga classes.

You are ordered to sweep the area south of Cape Shantung and Cape Shoppek. If the Japanese fleet is discovered it should be assumed that hostilities have begun, and that it is your duty and privilege to engage and destroy it.

The orders of battle are listed in the narrative file:


Photo album (Google):https://photos.app.goo.gl/ss8J54zJYH8Ejmmz8

Plots:
This animated plot shows the movements in 10 minute increments:

Full scenario plot:

Plot of movements and reports to 1100 hours as seen by the Russian player:

Simplified plot of battleship movements and all torpedo tracks:

Plot of action from 1100 to 1200 hours:

Plot of action from 1200 to 1245 hours:


Status at the end of the game:

Gunnery Logs:

Hit Logs:

Comments:
The Russian force did better in the scouting battle, due to the heavier armament of the light cruisers, aggressive tactics, and the use of seaplanes. The Japanese cruiser screen was driven back and unable to locate the Russian battleline. As a result, the Japanese force did not deploy from its cruising formation until the battleships were engaged.

In the early part of the battleship engagement the Russian fire was hampered by smoke from having the upwind position. This improved later after a slight turn to a more easterly course.

Both sides sent destroyers to attack the opposite battlelines at about the same time. The Japanese flotillas were better positioned ahead and able to launch torpedoes at a greater distance (and take less damage). The Russian flotillas eventually launched, but suffered more from close range secondary fire.

The scenario was fairly evenly matched in terms of damage, with each side having three of eight battleships surviving (Tosa is considered as lost since, with only 3% flotation and being ~400 miles from a safe haven, she would need to be scuttled). The remaining Japanese battleships were in somewhat better condition, but lower on ammunition.