This scenario was based on the battle of Tsushima during the Russo-Japanese War of 1904-1905.
Both sides were run by the code‘s automation algorithms.
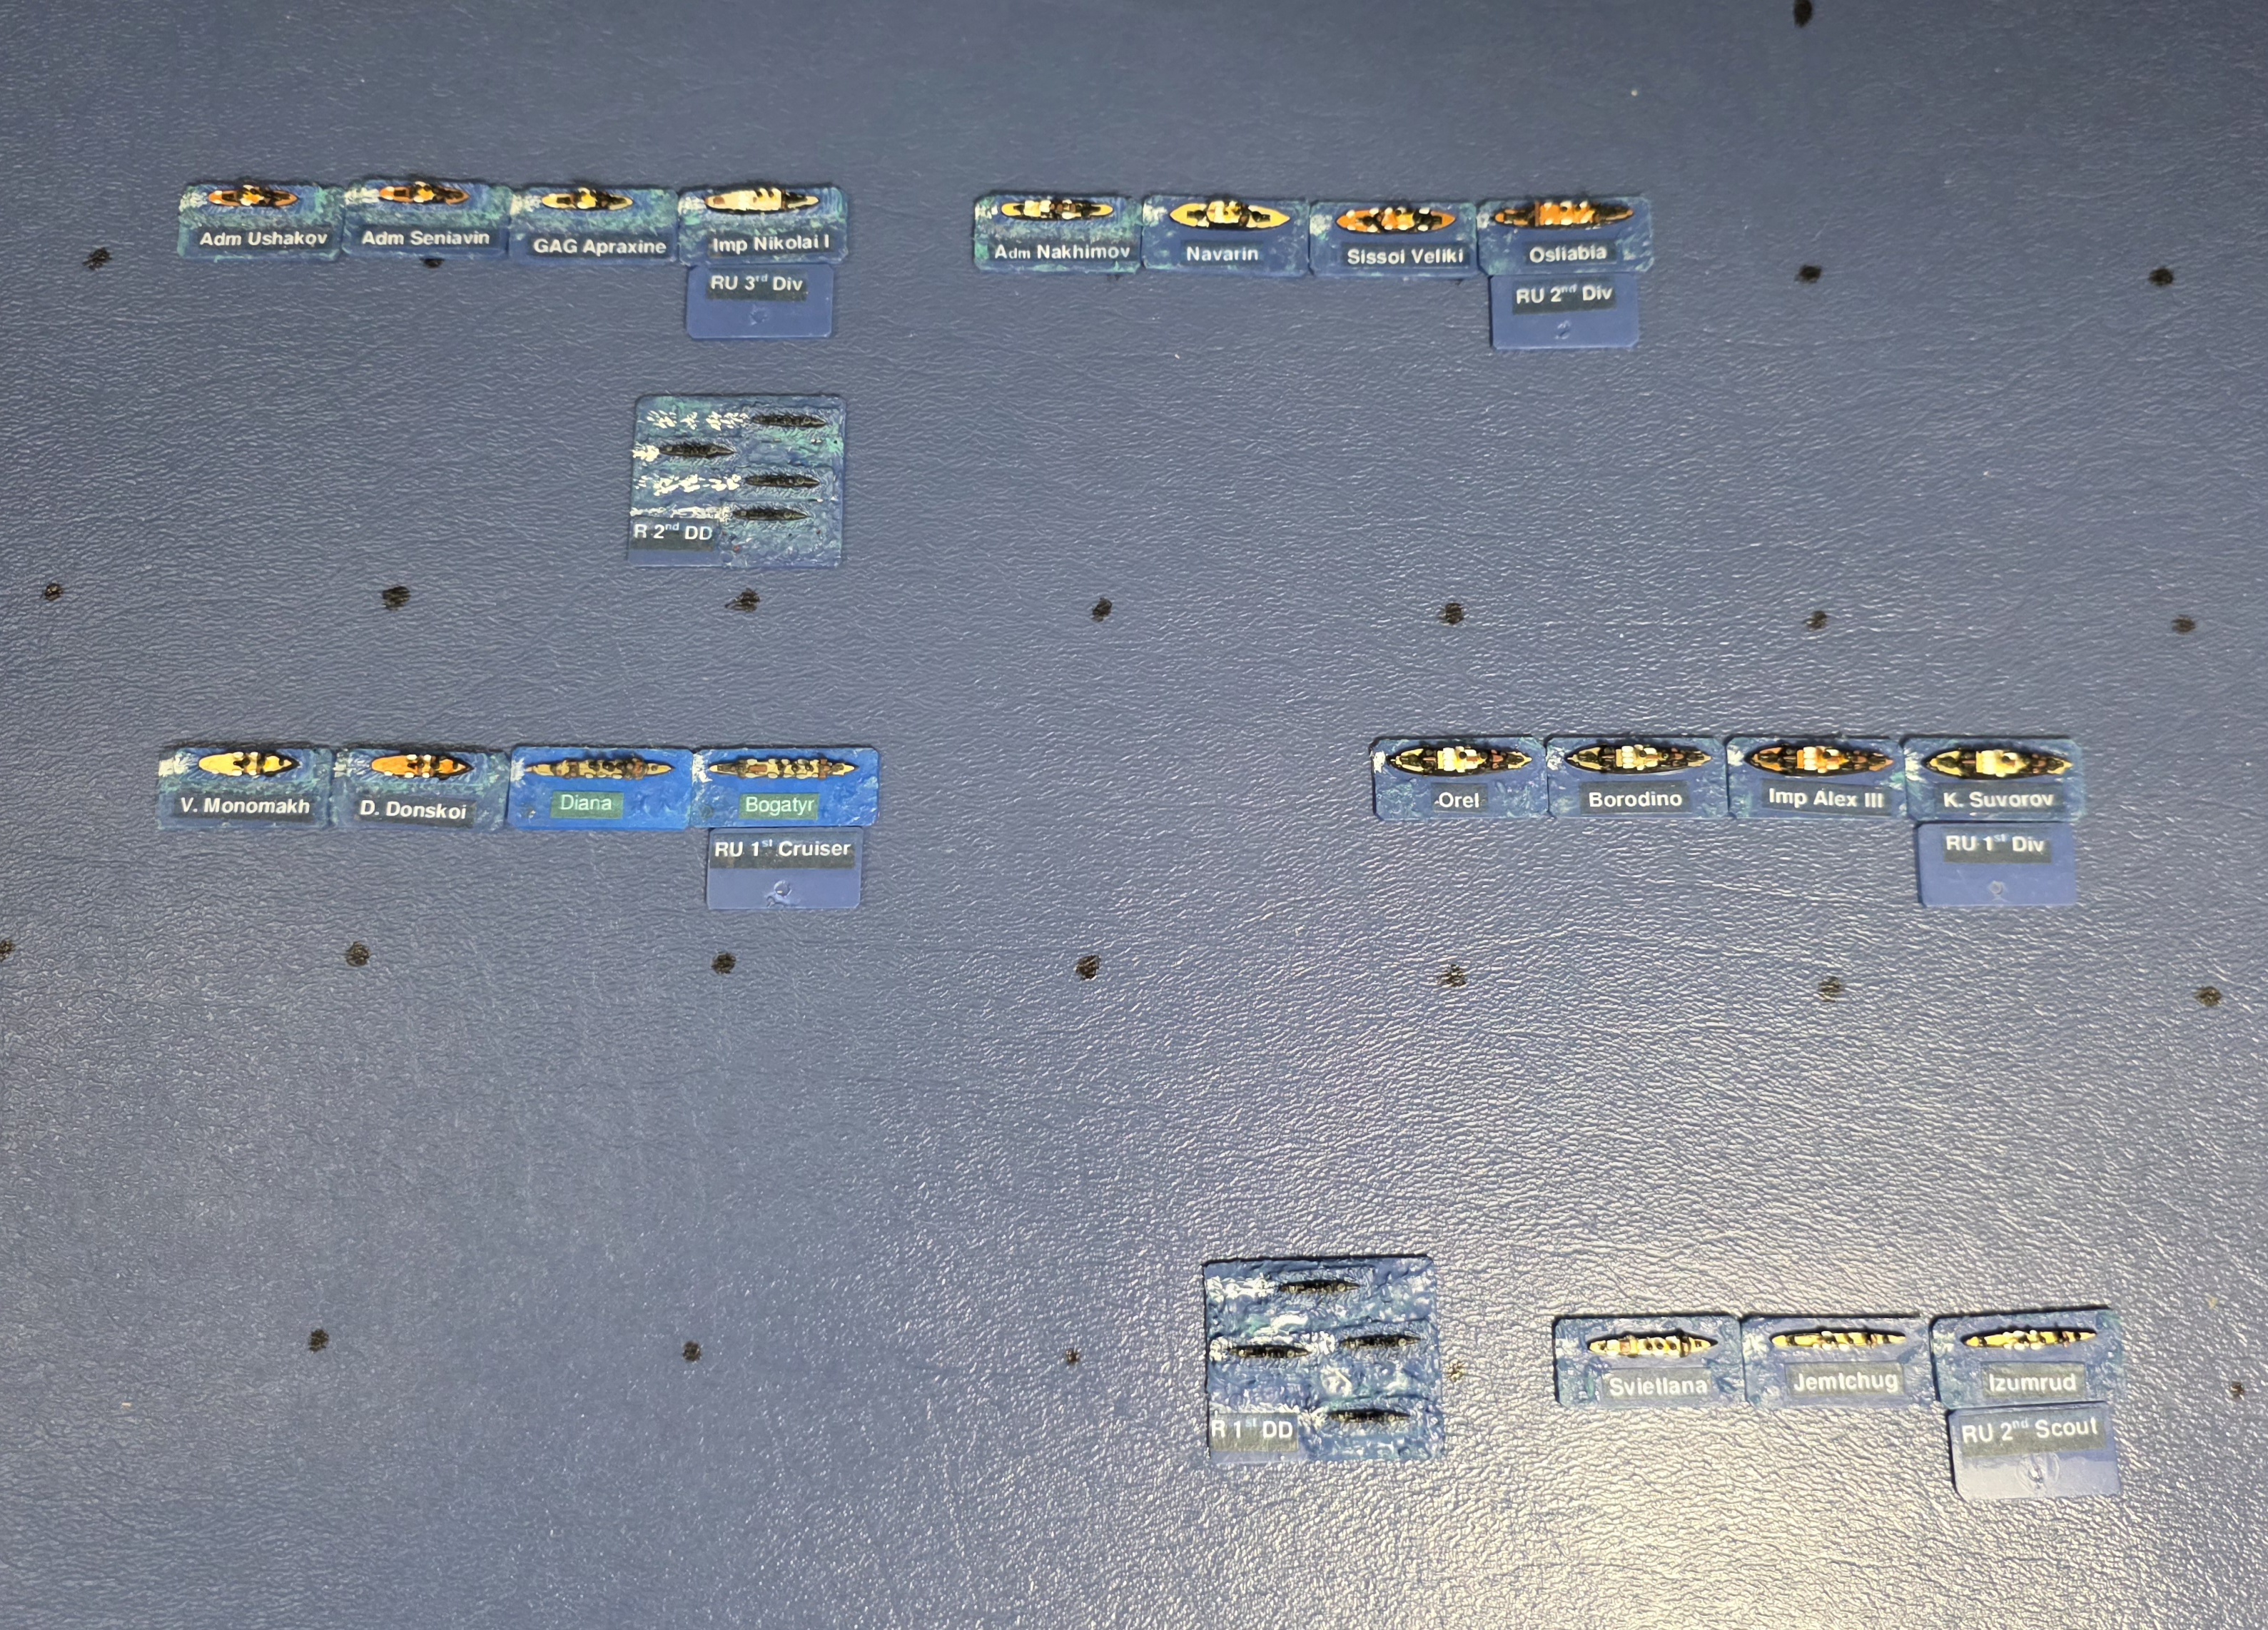
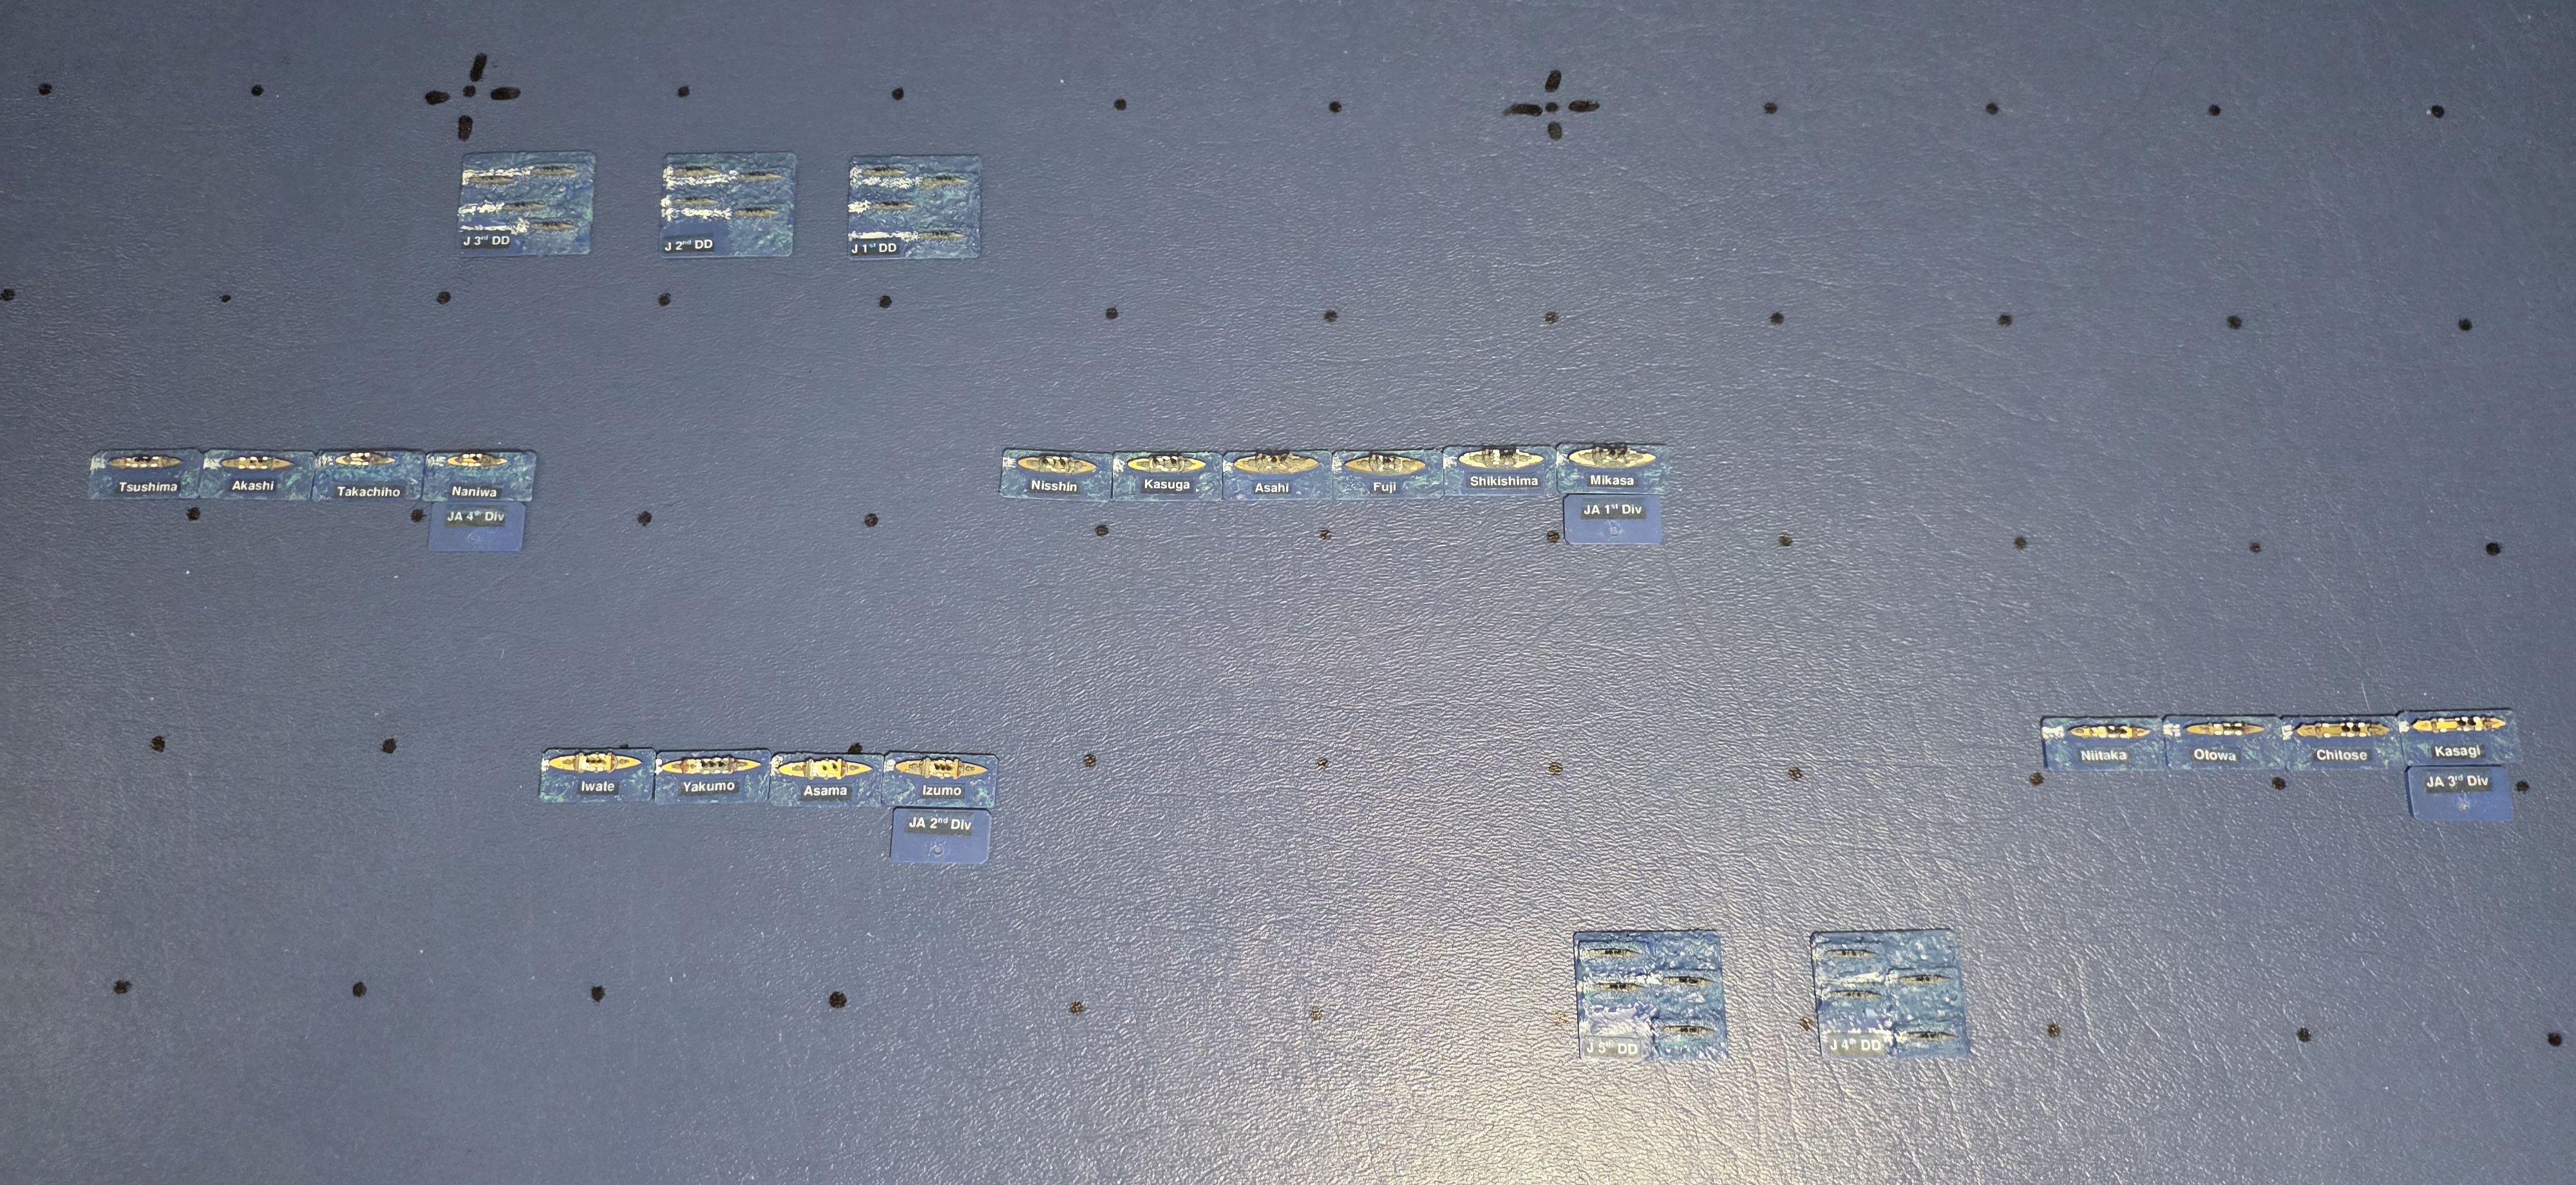
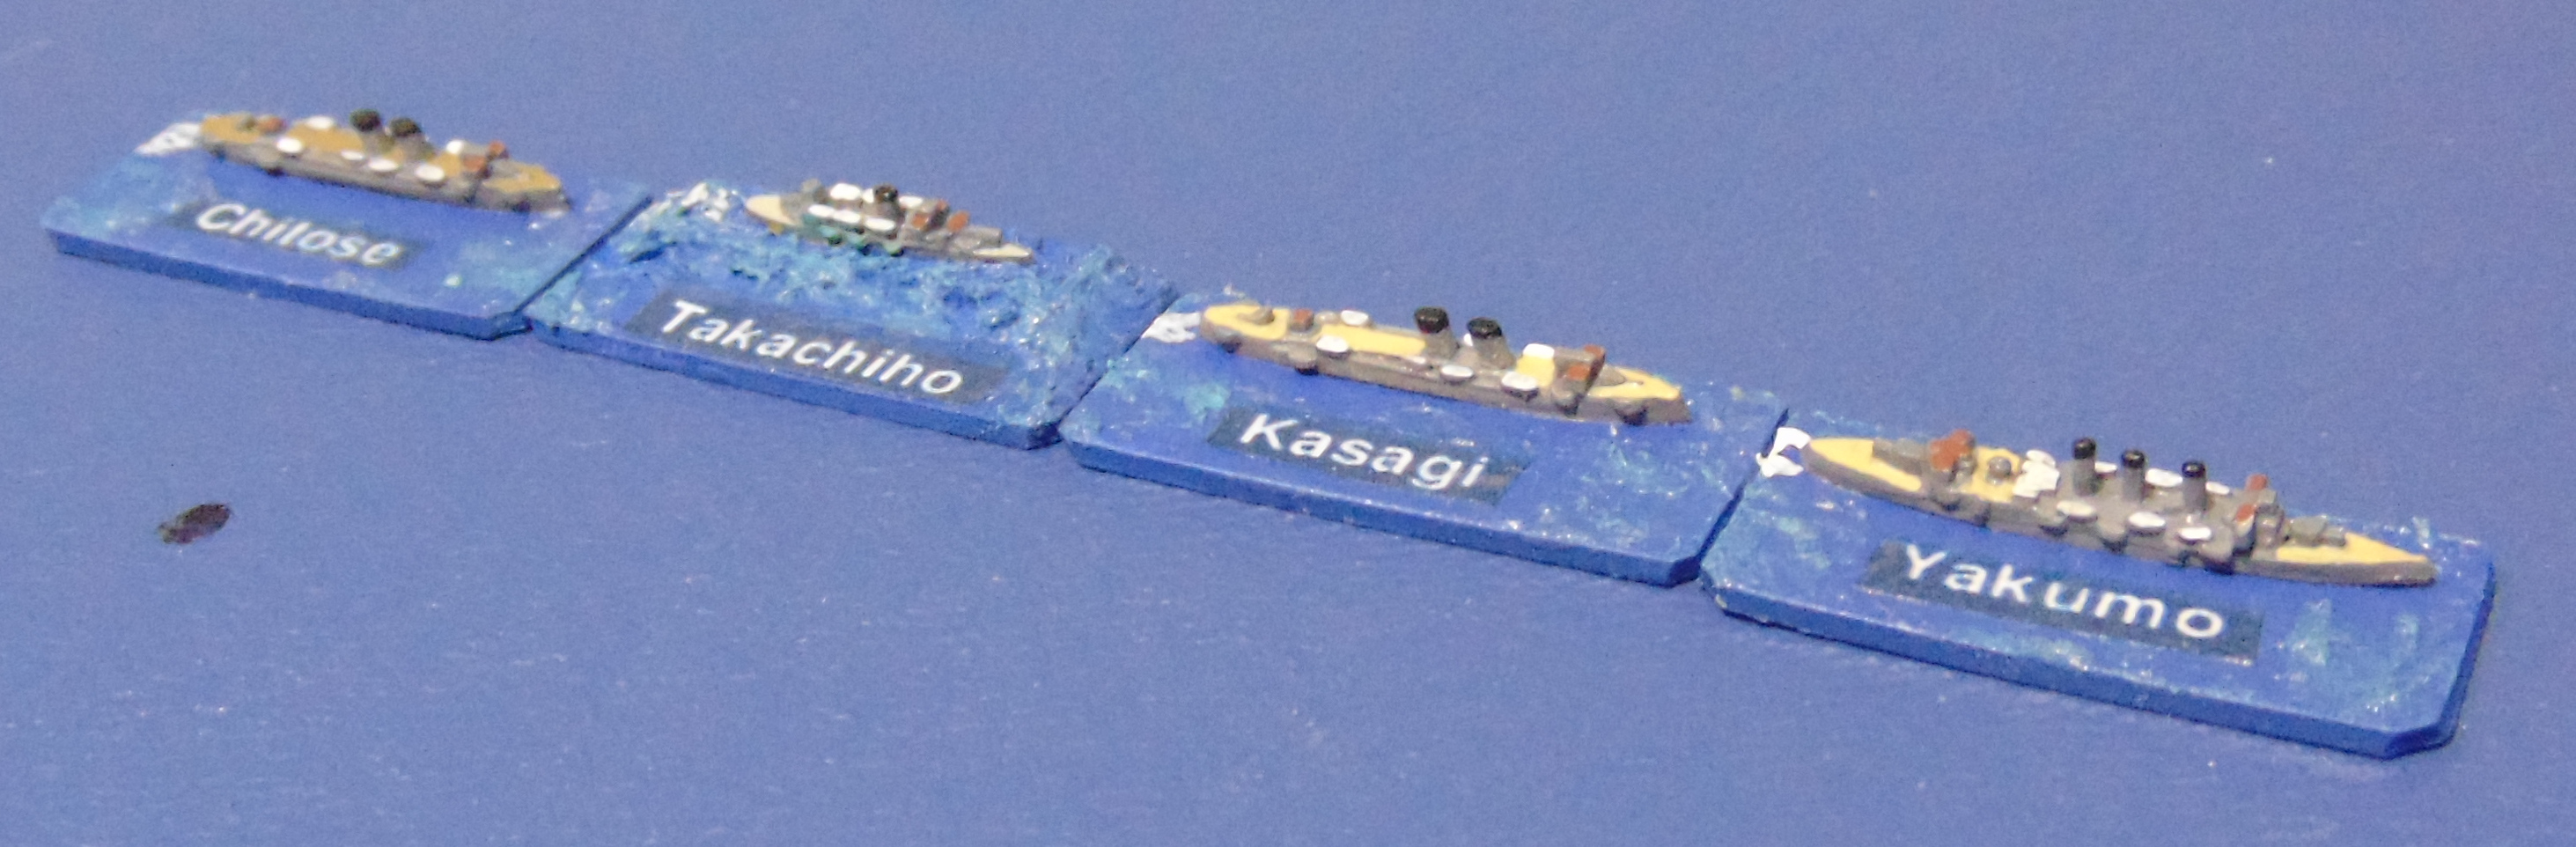
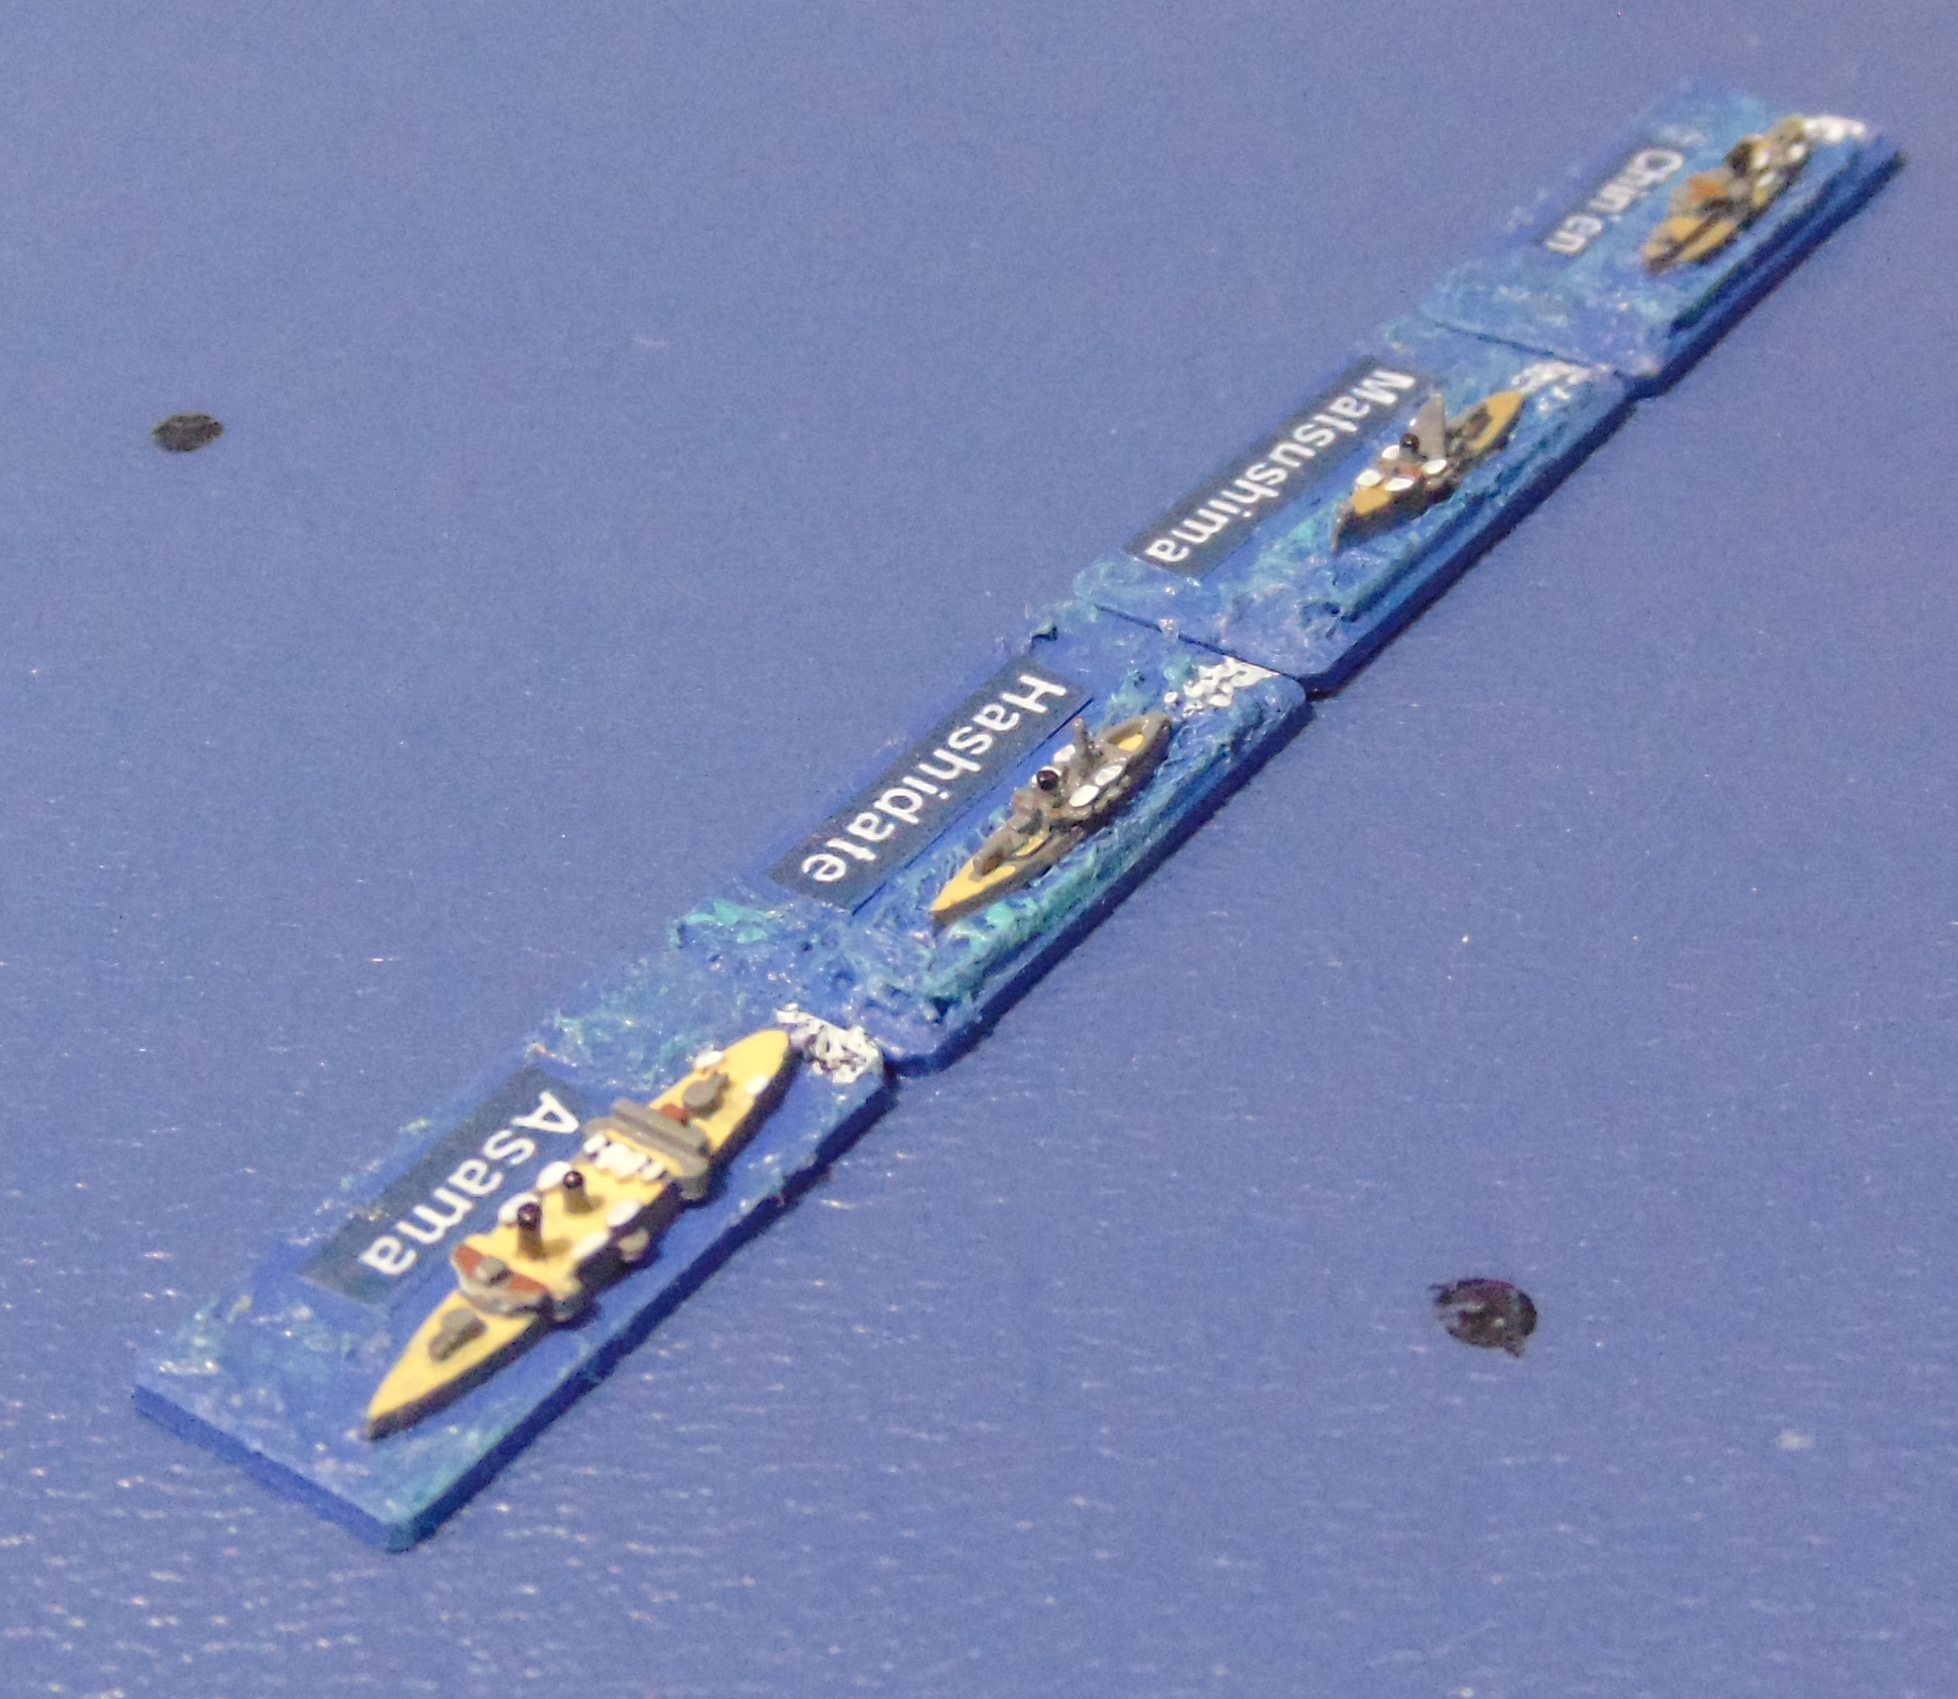
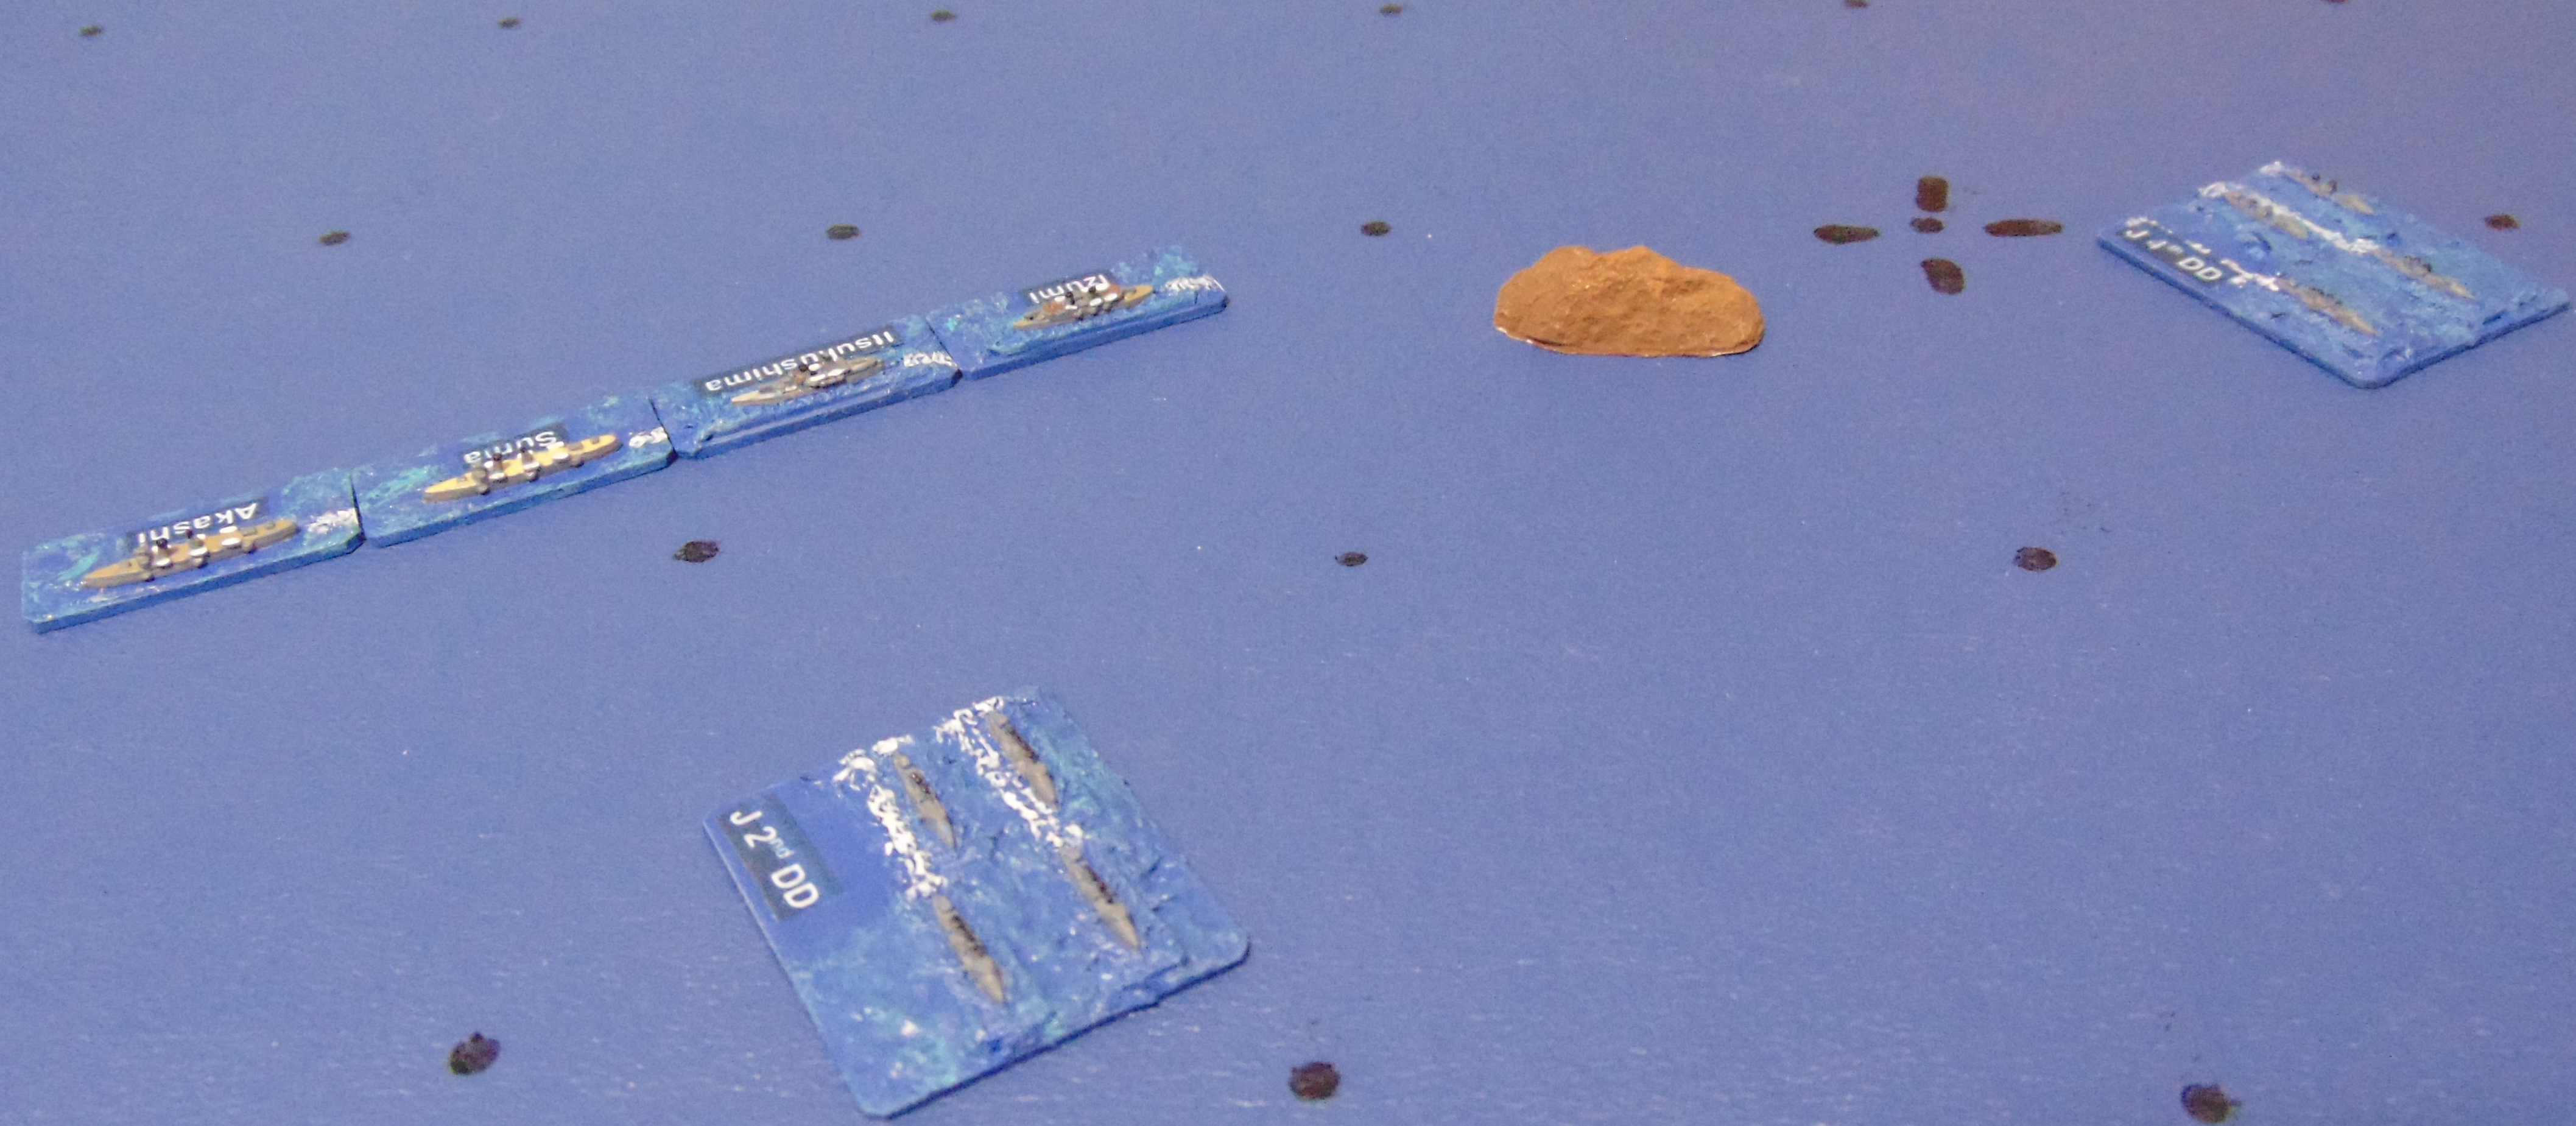
The orders of battle are listed in the narrative file:
Plots:
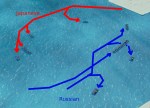
Full scenario plot:
Animated plot:
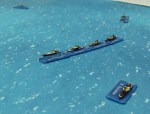
Plot of battleships and armored cruisers from the start to 14:05. Both sides have deployed from cruising formations to single line ahead and have engaged on opposite courses.
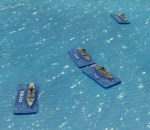
Plot of battleships and armored cruisers from 14:00 to 14:30. The Japanese battle line has reversed course to follow the Russian line north.
Plot of battleships and armored cruisers from 14:25 to the end. The Japanese gradually catch up and inflict heavier losses on the Russians. The 2nd Pacific Squadron retires to the northeast at 15:20, and the Combined Fleet disengages at 15:35.
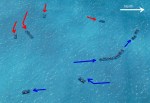
The destroyers with their short range torpedoes were of little use in a daylight action. The code algorithms generally kept them on the disengaged side, however the code decided late in the battle to launch the entire Japanese destroyer flotilla (five divisions of four boats each) against the supposedly weakened Russian battle line. All five divisions were dispersed by damage from the tertiary guns of the battle line and supporting fire from protected cruisers Bogatyr and Aurora. This plot shows the flotilla attack from 15:11 to 15:30:
Status at the end of the game:
Gunnery Logs:
Hit Logs:
Comments:
The 2nd Pacific Squadron attempted to disengage at 15:20 due to heavy losses. The Combined Fleet followed until 15:35 when lack of ammo and operable guns caused it to break off the action.
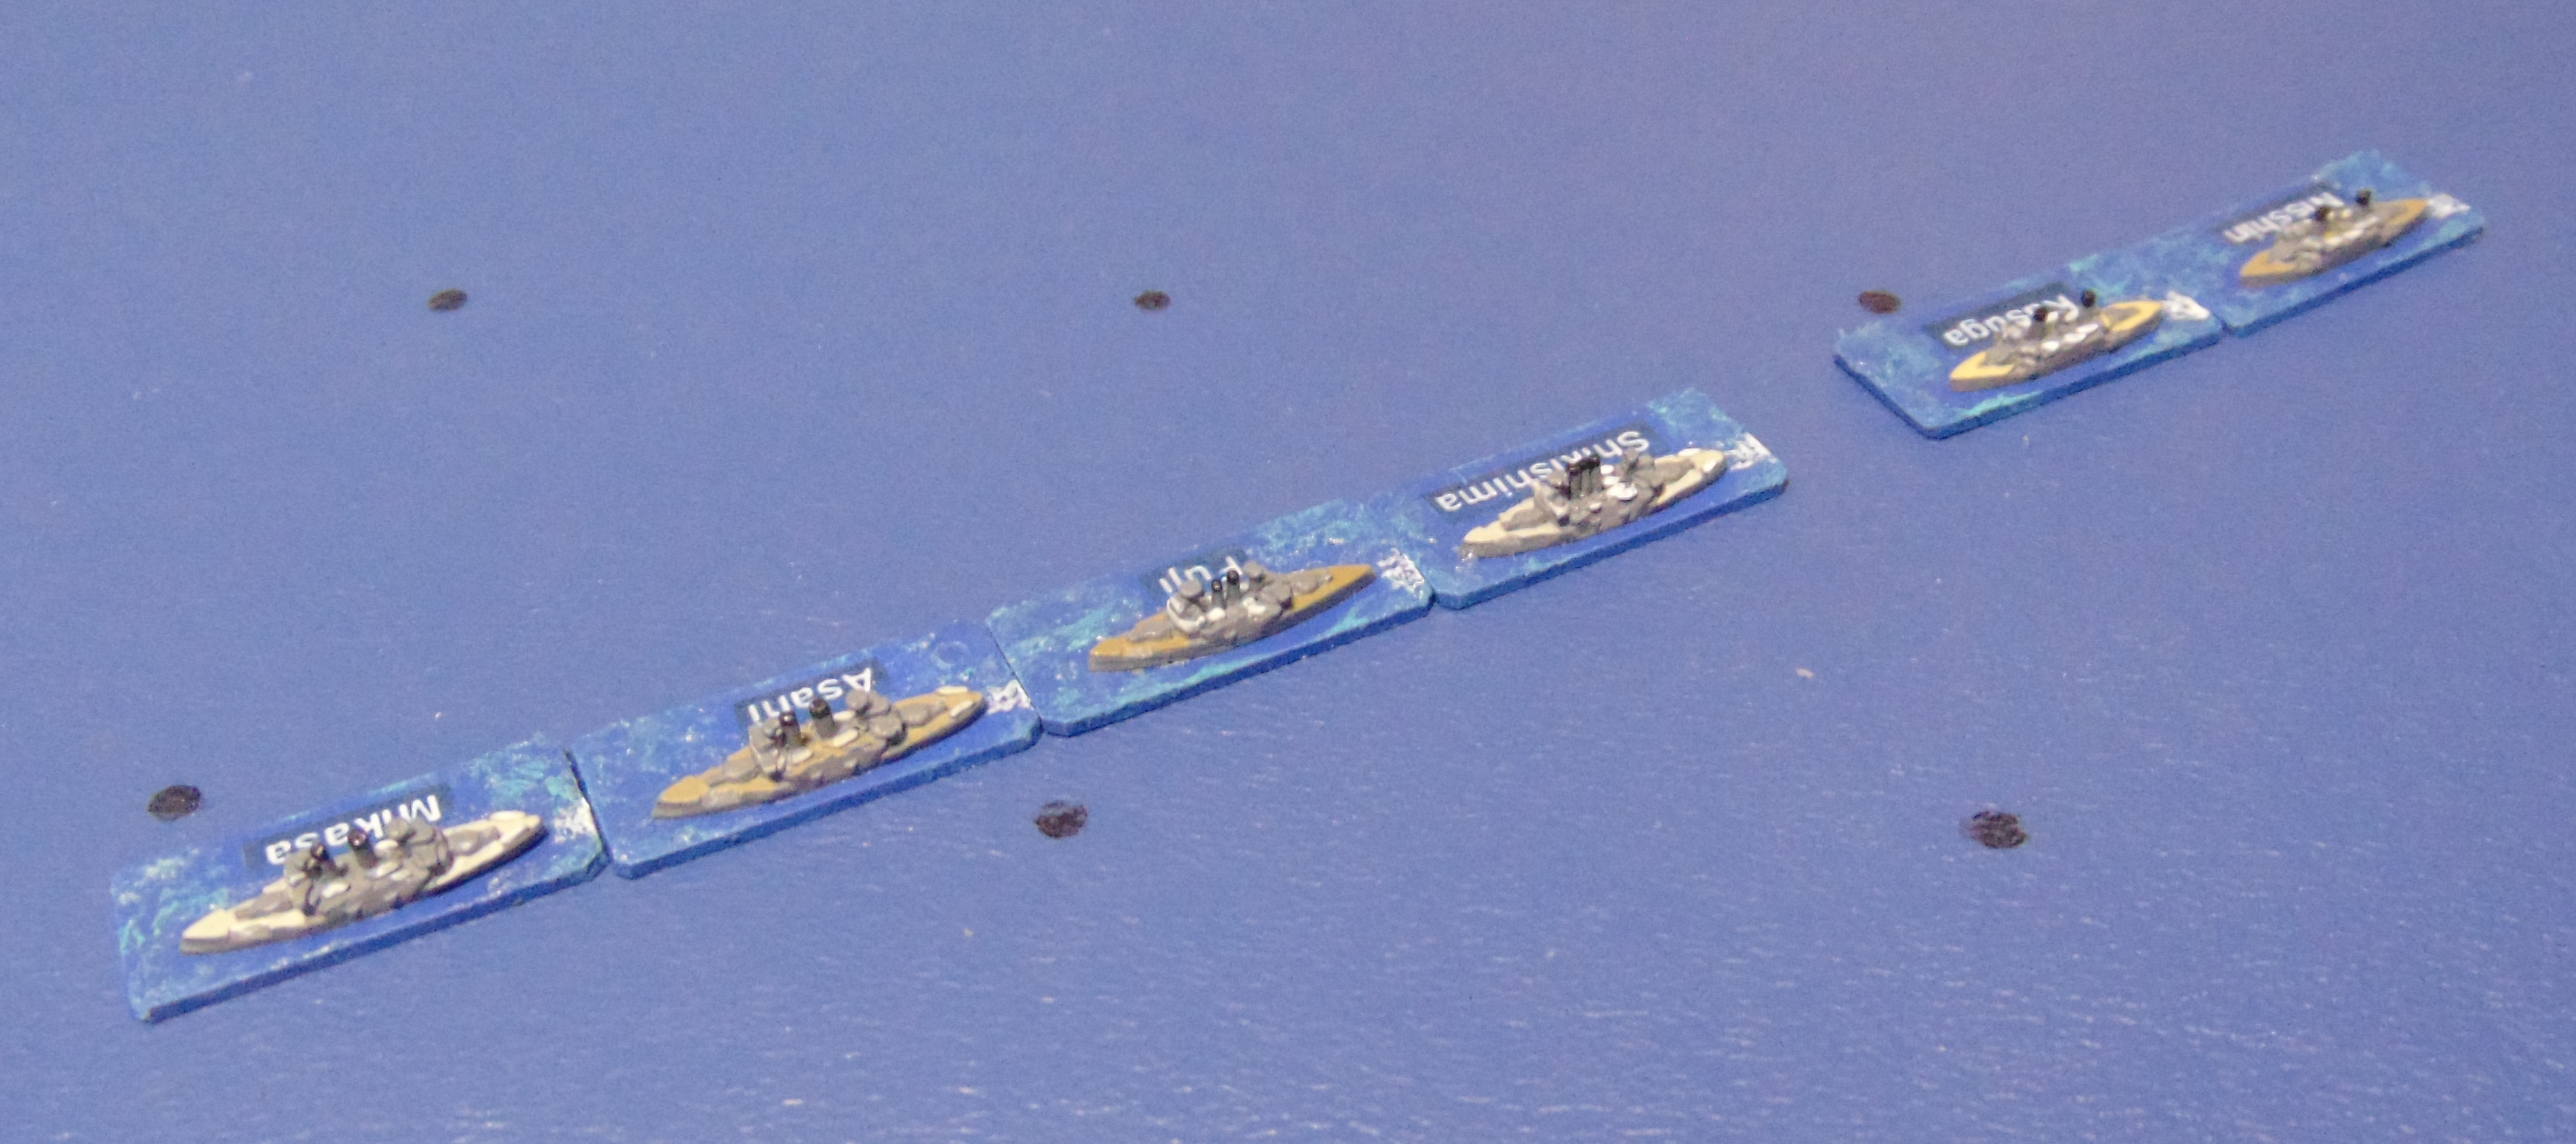
The results were more even than would normally be expected, likely due to the early loss of 30 cm guns on the Combined Fleet’s battleships. Mikasa, for example, lost her after turret to a 254 mm hit and both guns of her forward turret to premature explosions of Shimose shells.


You must be logged in to post a comment.