In order to test recent AI code changes, a large engagement was created using forces generally available on May 31st, 1916. Several changes were made to the Battle of Jutland orders of battle to give more balanced forces:
- The older British 12 inch gunned battleships and German pre-dreadnought battleships were omitted.
- The 3rd Battle Cruiser Squadron (Invincible class) and British armoured cruisers were omitted.
- Two ships not available historically were added: Queen Elisabeth, Australia.
- British battleships were organized into 5 ship divisions.
- The 3rd Light Cruiser Squadron and the light cruisers attached to the battle squadrons were omitted.
In order to insure a clash between the majority of the forces on each side and to give sufficient daylight for the action, the movements of the fleets prior to the clash were modified:
- The British rendezvous between the battle fleet and the battle cruisers was moved to the south-west and occurred earlier in the day.
- The German operational plan to have the battle cruisers demonstrate off the Norwegian coast and the Skagerrak was followed, but earlier in the day.
As a result, the German fleet was returning south and the British fleet was heading north-east on an intercept course. The scenario starts at 15:00 hours.
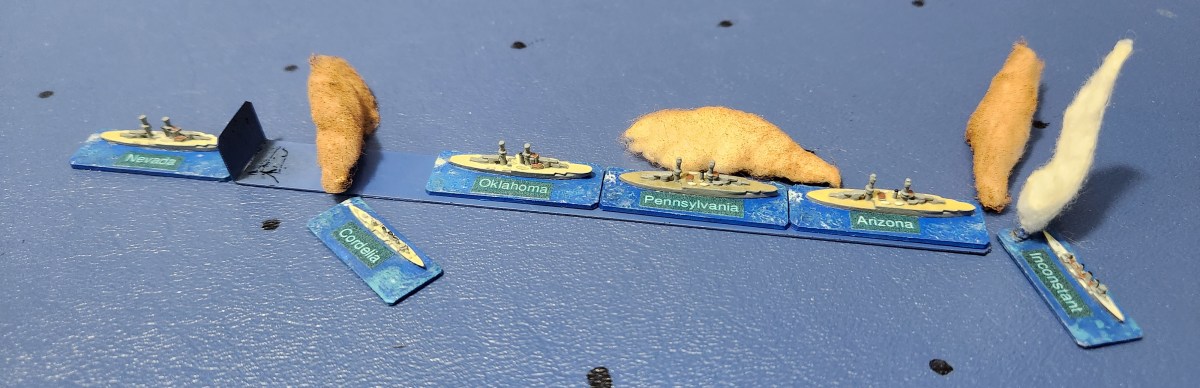
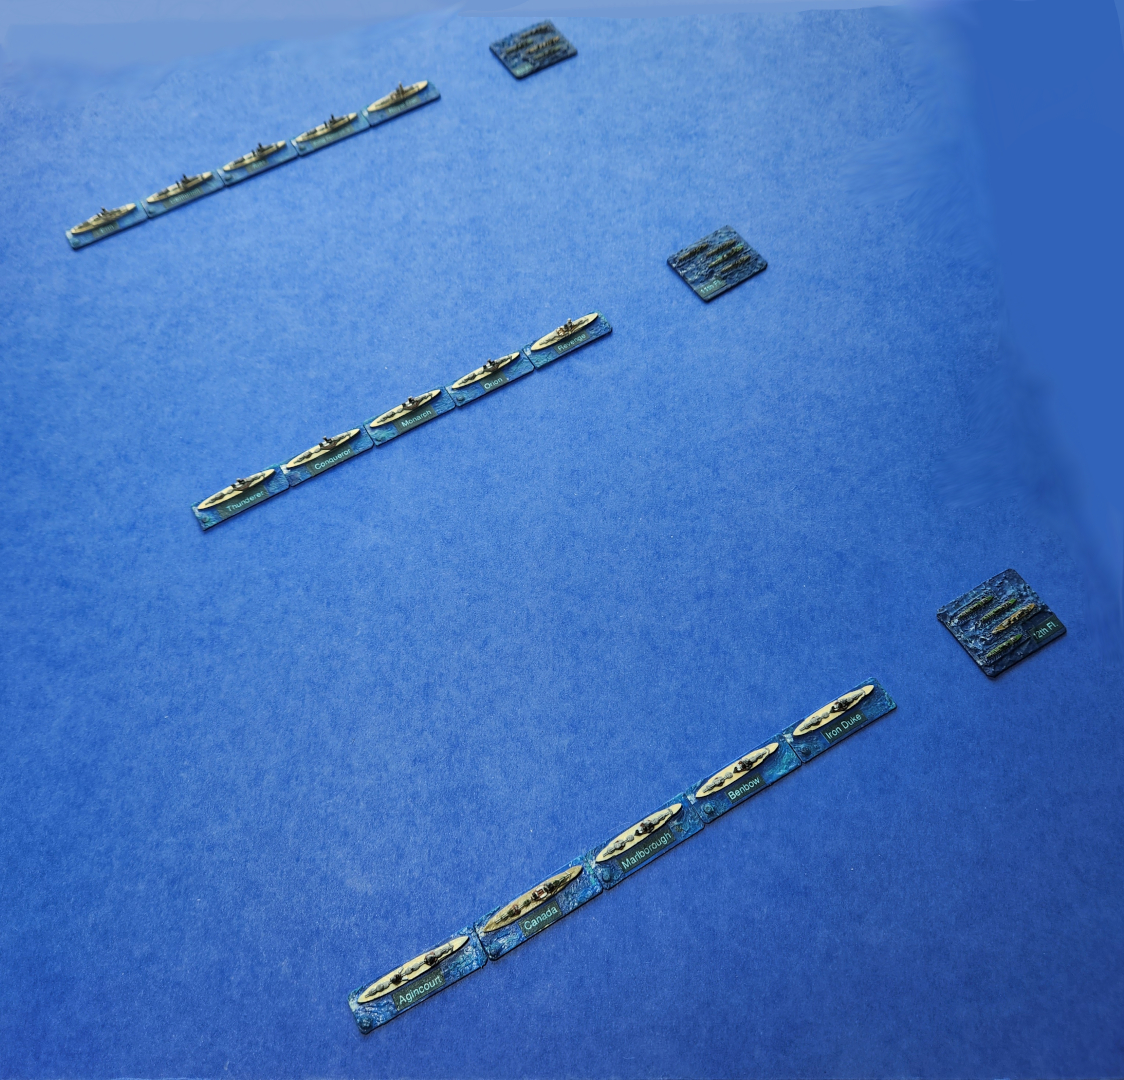
The British fleet is in a cruising formation based in principle on the Grand Fleet Battle Orders (GFBO). The 1st , 2nd and 3rd battleship divisions are disposed abeam, the battle cruisers are stationed 20 NM ahead and the 5th Battle Squadron (4th Division in the scenario) are stationed 10 NM ahead (see GFBO, page 32, Dec 1915, Cruising Dispositions Battle Cruiser Fleet Present, V. Day Normal Visibility).
The German fleet is in a single line ahead, with the battle cruisers stationed 10 NM ahead.
The orders of battle are listed in the narrative file:
Plot from 15:51 to 16:25 hours
Opposing light cruisers open fire and continue to close until British cruisers identify the German battle cruisers at 16:04.
16:05 – the British battle cruisers deploy to starboard to close. German cruisers identify the British battle cruisers at 16:11.
16:17 – British light cruisers identify the leading ships of the German battle line and at 16:20 the British battle fleet deploys into a single line ahead to follow the battle cruisers. The British light cruiser screen is recalled to take stations protecting the battle fleet.
16:25 – The opposing battle cruisers begin exchanging fire.
Plot from 16:25 to 17:10 hours
Two plots for this and following periods are shown. The simplified versions showing only the lead ships of the battleship and battle cruiser units will be easier to follow in some cases.
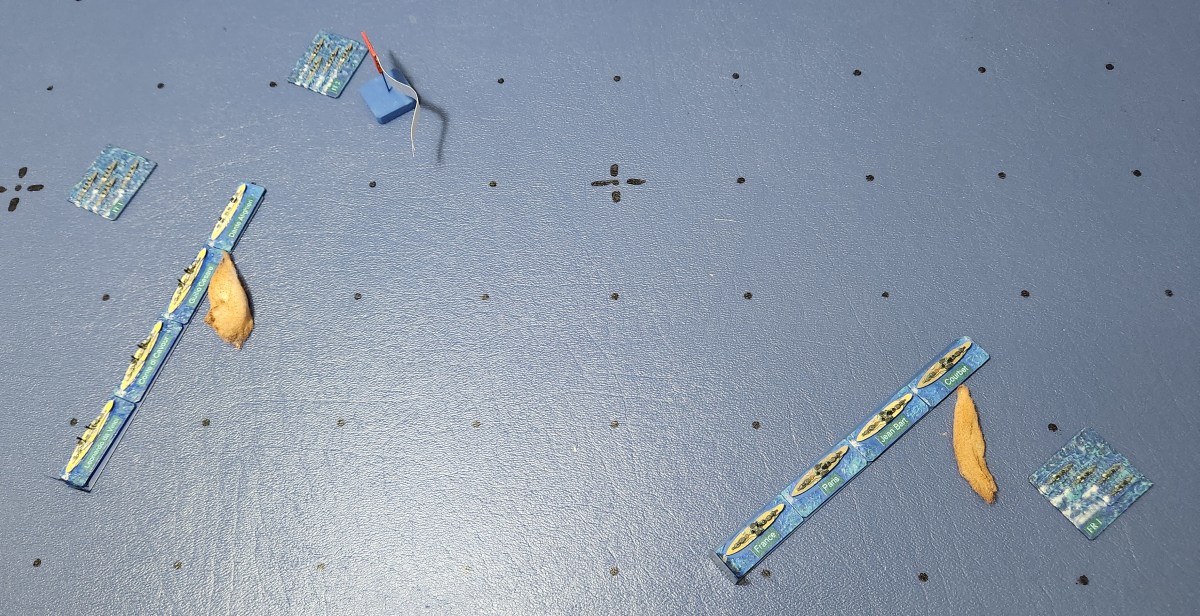
16:30 – German Flotilla VI launches torpedoes toward Lion. The turn to the south of Lion and the following battle cruisers at 16:32 conveniently places them on a parallel course to the German battle cruisers and allows the engagement to continue at a reasonable range. However, the Germans have the downwind position.
16:55 – Three German Flotillas are ordered to attack the head of the British battle cruisers and can be seen turning westward to get to launch positions.
16:59 – Flotilla VI launches torpedoes toward Lion.
17:04 – German cruisers sight the British ‘fast wing’ battleships of the Queen Elizabeth class.
17:05 – The German battleships deploy, technically to port based on the bearing to the sighted battleships, but it is only a 10 degree starboard course change since they are already in line ahead. The German light cruiser screen is recalled to take stations protecting the battle fleet.
17:07 – British battle cruisers turn to the west to avoid torpedoes from Flotilla VI.
Plot from 17:10 to 17:50 hours
17:17 – Flotilla IX launches torpedoes toward New Zealand.
17:19 – Flotilla VI launches torpedoes toward Lion.
17:21 – British 4th Division (Queen Elizabeth class) opens fire on the lead German battleships. The radical course changes by the 4th Division during this period result from trying to keep station 10 NM ahead of the main battleline, which is itself maneuvering.
17:23 to 17:24 – British battle cruisers turn away from torpedoes.
17:25 – British and German battle cruisers are recalled to join their respective battle fleets. Lion’s intercept course to her station ahead of the British battleline takes her toward the approaching German battle fleet.
17:41 to 17:50 – The lead ships of the British battleline (Iron Duke, etc.) open fire on the German battleships.
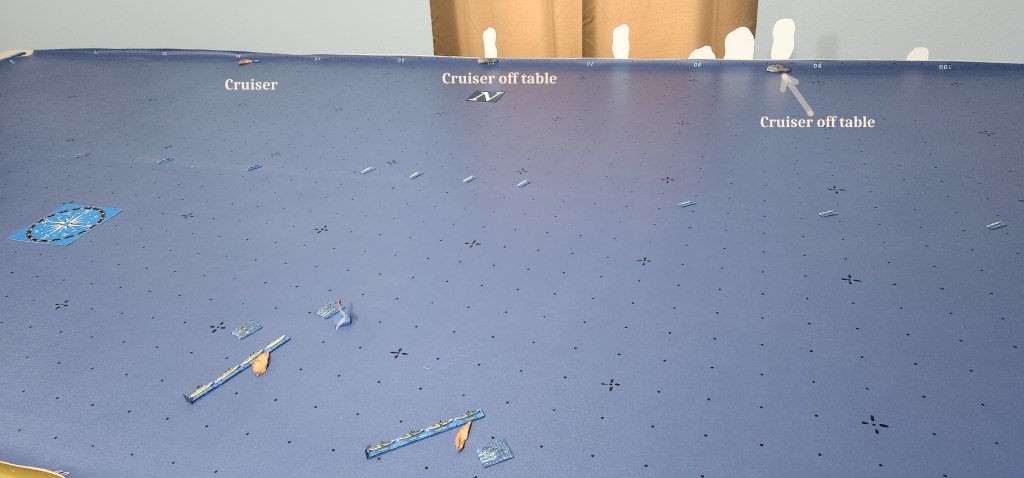
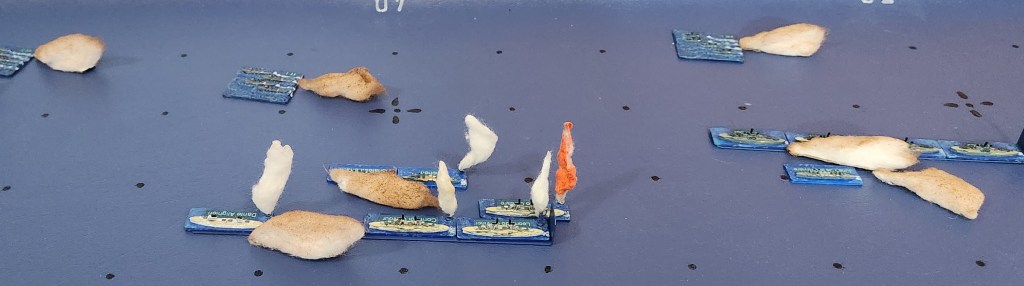
Plot from 17:50 to 18:40 hours
18:05 to 18:10 – The German fleet reverses course to the northward (toward the British fleet), with the battle cruisers taking station ahead.
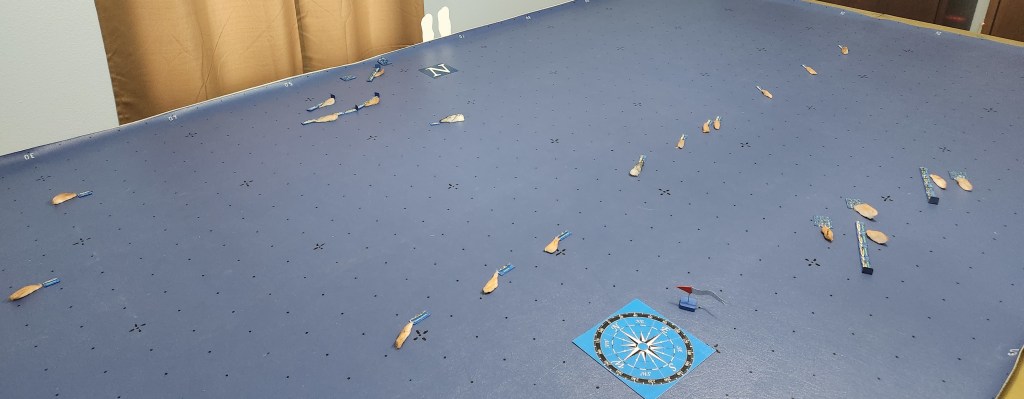
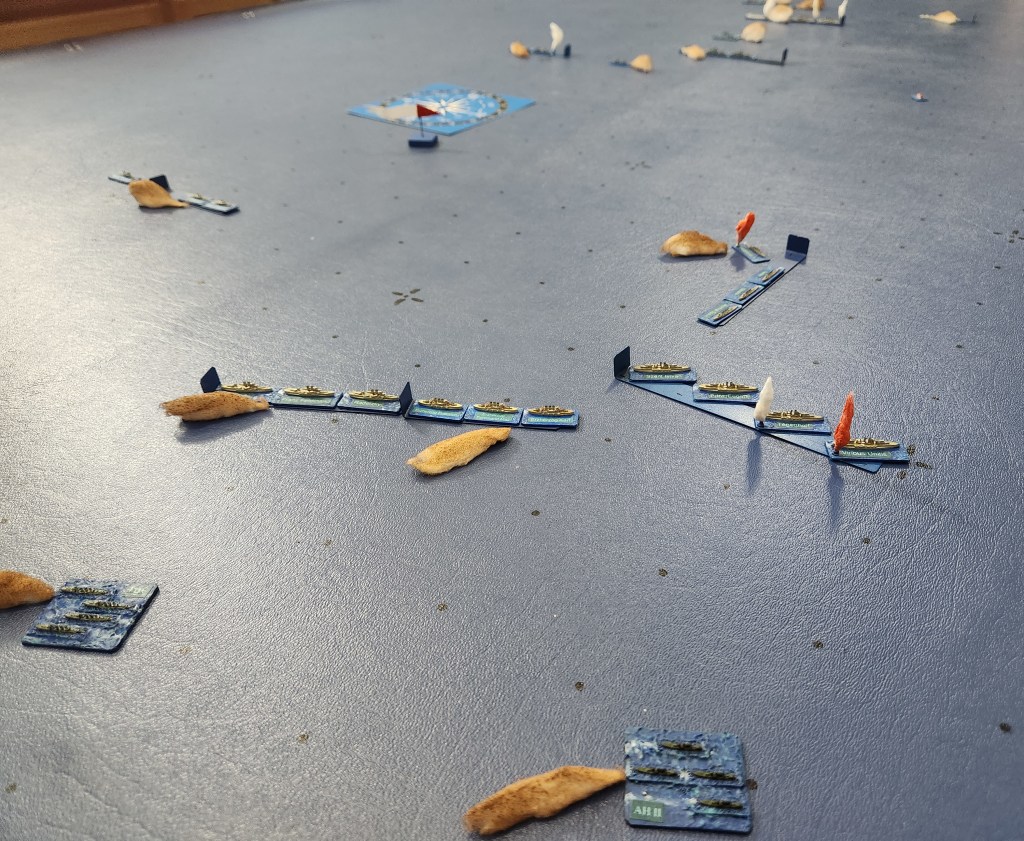
Plot from 18:40 to 19:25 hours
18:40 – Six British flotillas are ordered to make torpedo attacks on the German battleline.
18:46 – 4th Flotilla launches torpedoes toward Konig.
18:50 – The German battle divisions turn northeastward together toward the torpedo launch.
18:53 – 1st Flotilla launches torpedoes toward Posen.
18:54 – 11th Flotilla launches torpedoes toward Konig.
18:56 to 19:01 – German ships maneuver to avoid multiple torpedo attacks. These maneuvers result in closing with the British battle fleet, ultimately to point blank fire and collision avoidance ranges.
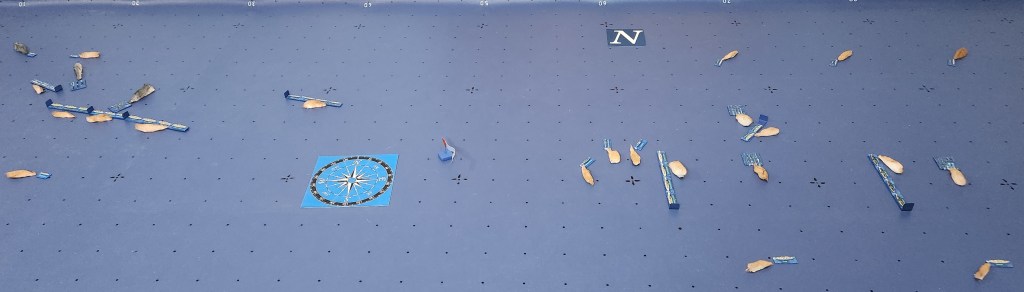
Plot of the entire battle:
Status at the end of the game:
Code AI algorithm problems:
- The movements of the ‘fast wing’ unit (historically the British 5th Battle Squadron) are not satisfactory. The unit needs to support the battle cruisers while avoiding action alone against the entire opposing battleline. Taking station ahead of a friendly battleline which changes course results in radical movements of the station location.
- Torpedo avoidance maneuvers need to consider the range to the enemy to prevent closing to suicidal ranges.
- Courses chosen to take assigned stations should avoid close approaches to more powerful enemy forces.


You must be logged in to post a comment.