This 1918 scenario is based on the following:
1. The Russo-Japanese War of 1904-1905 ended in a stalemate and the issue of who would dominate north-east Asia remains unresolved.
2. The First World War and Russian revolution have not yet occurred.
3. The naval building programs delayed or curtailed in 1914 have continued.
The Russian side was played by a remote gamer using text output files, plots of contact reports and photos of the table. The Japanese side was run by the code‘s AI.
The Orel class Russian dreadnoughts used in the game are based on the 1917 design described here:
https://ncc1717.com/2019/01/04/1-6000-naval-never-built-ships/
Russian Player briefing:
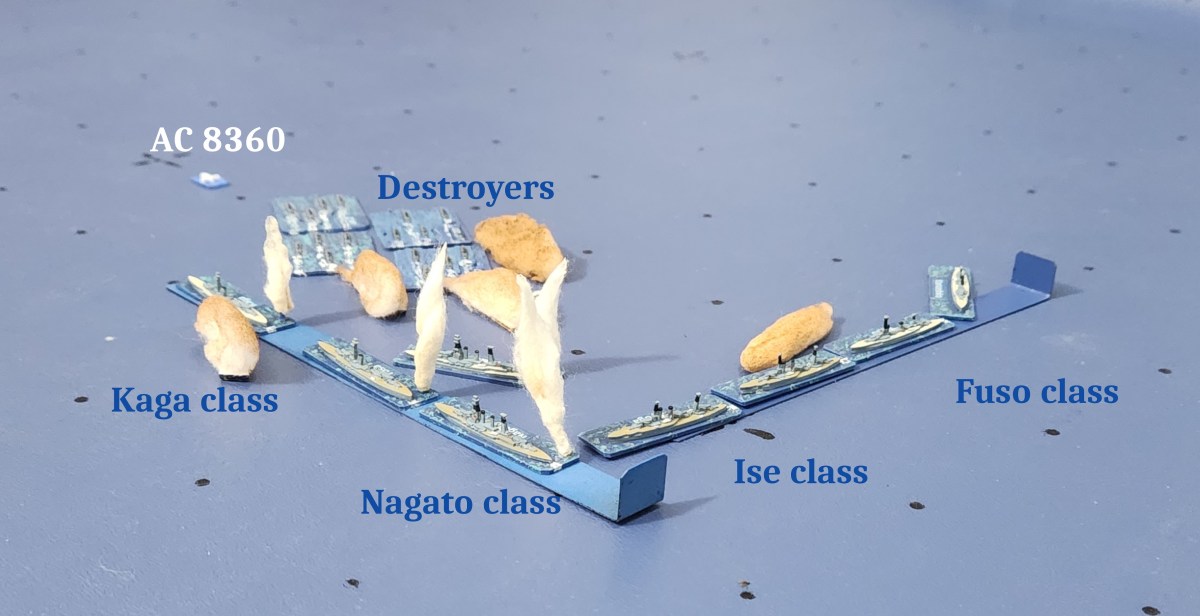
Based on their actions in the war of 1904, it is expected that Japanese naval forces will attempt to gain control of the Yellow Sea to allow troop landings somewhere on the Korea Bay. Attacks will likely precede a declaration of war. Although significant Japanese naval units are reported in the Pescadores Islands, the newest ships are believed to have remained at Sasebo. These may include battleships of the Fuso, Ise, Nagato or Kaga classes.
You are ordered to sweep the area south of Cape Shantung and Cape Shoppek. If the Japanese fleet is discovered it should be assumed that hostilities have begun, and that it is your duty and privilege to engage and destroy it.
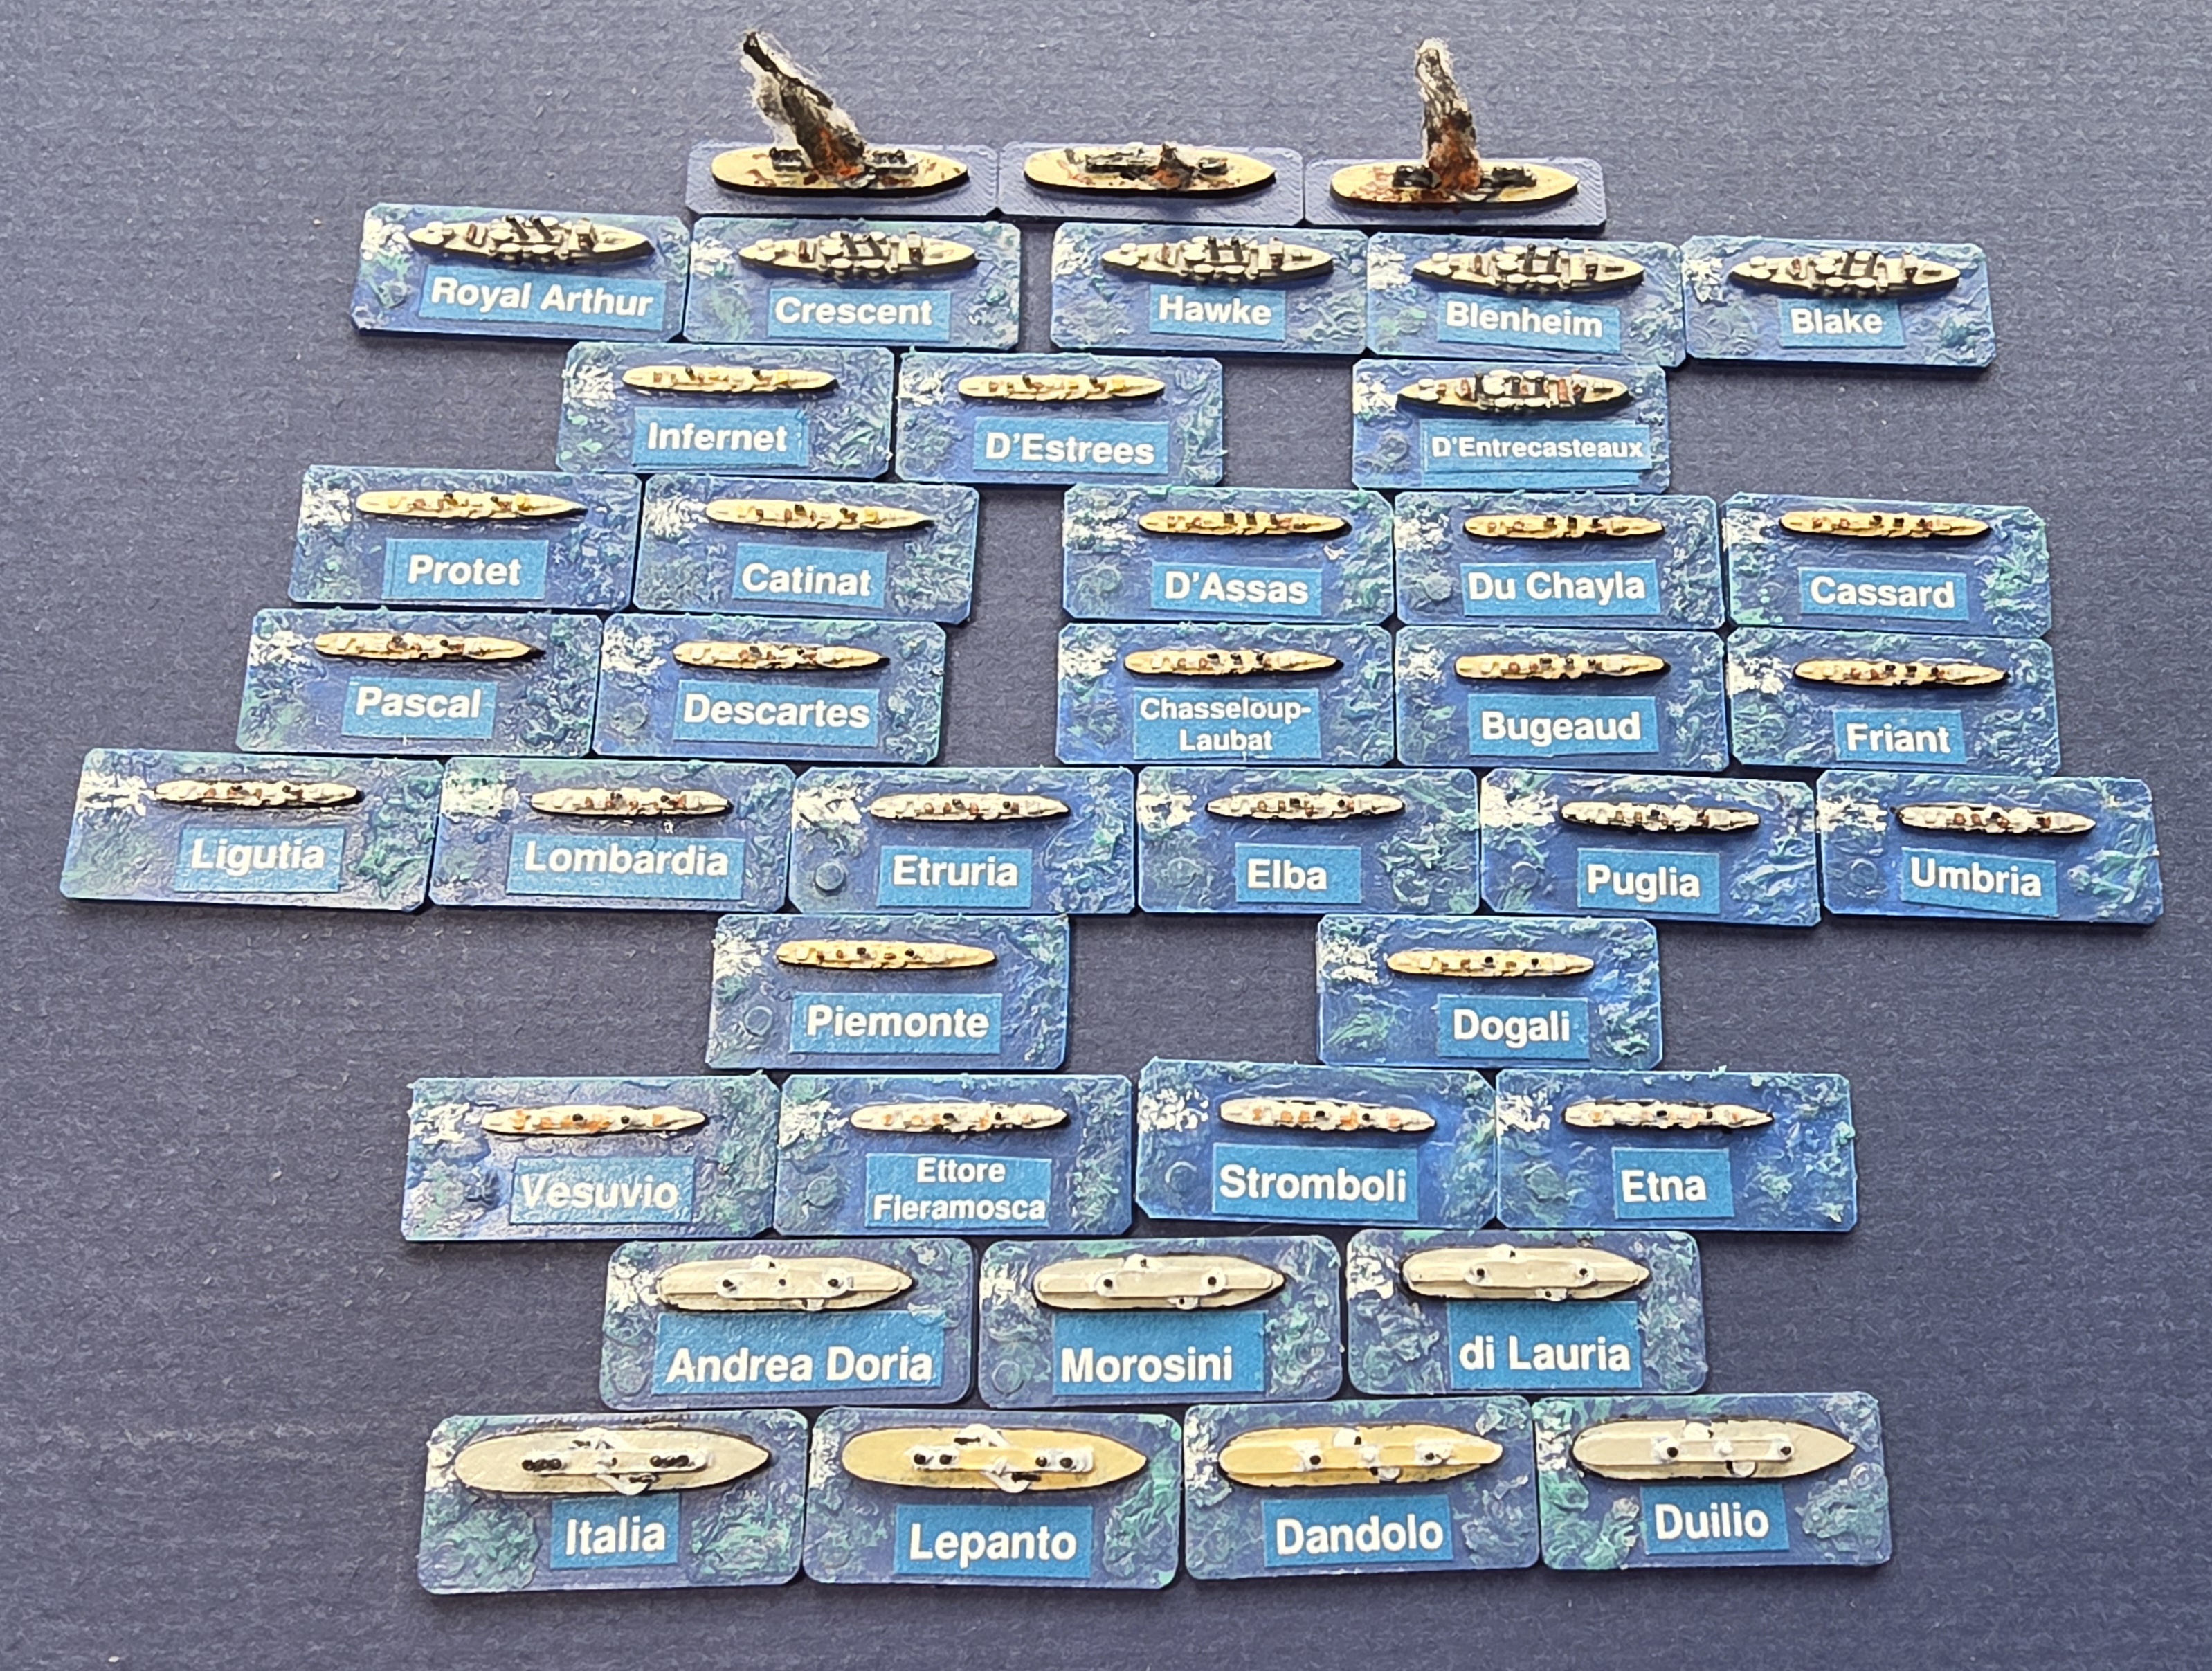
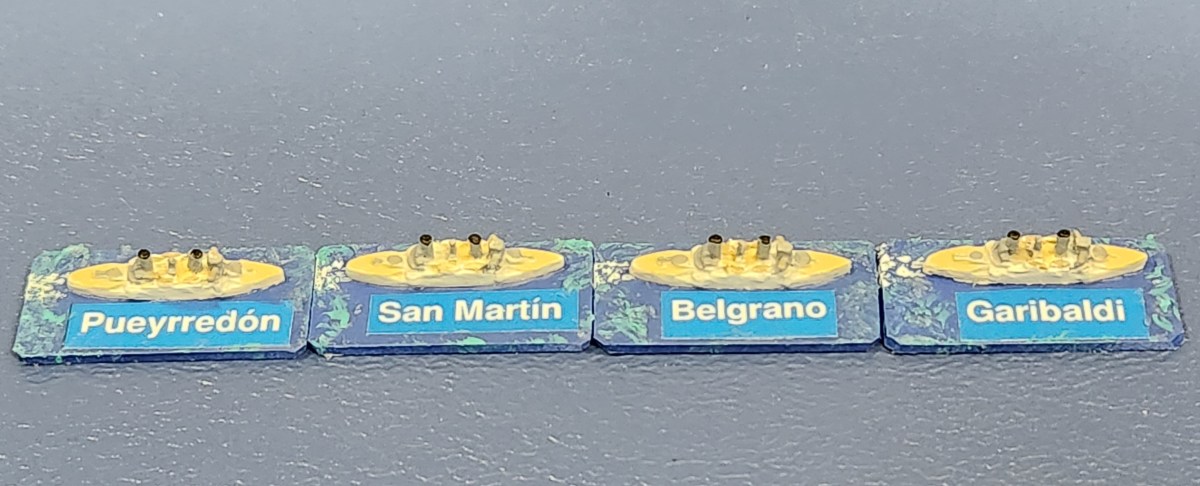
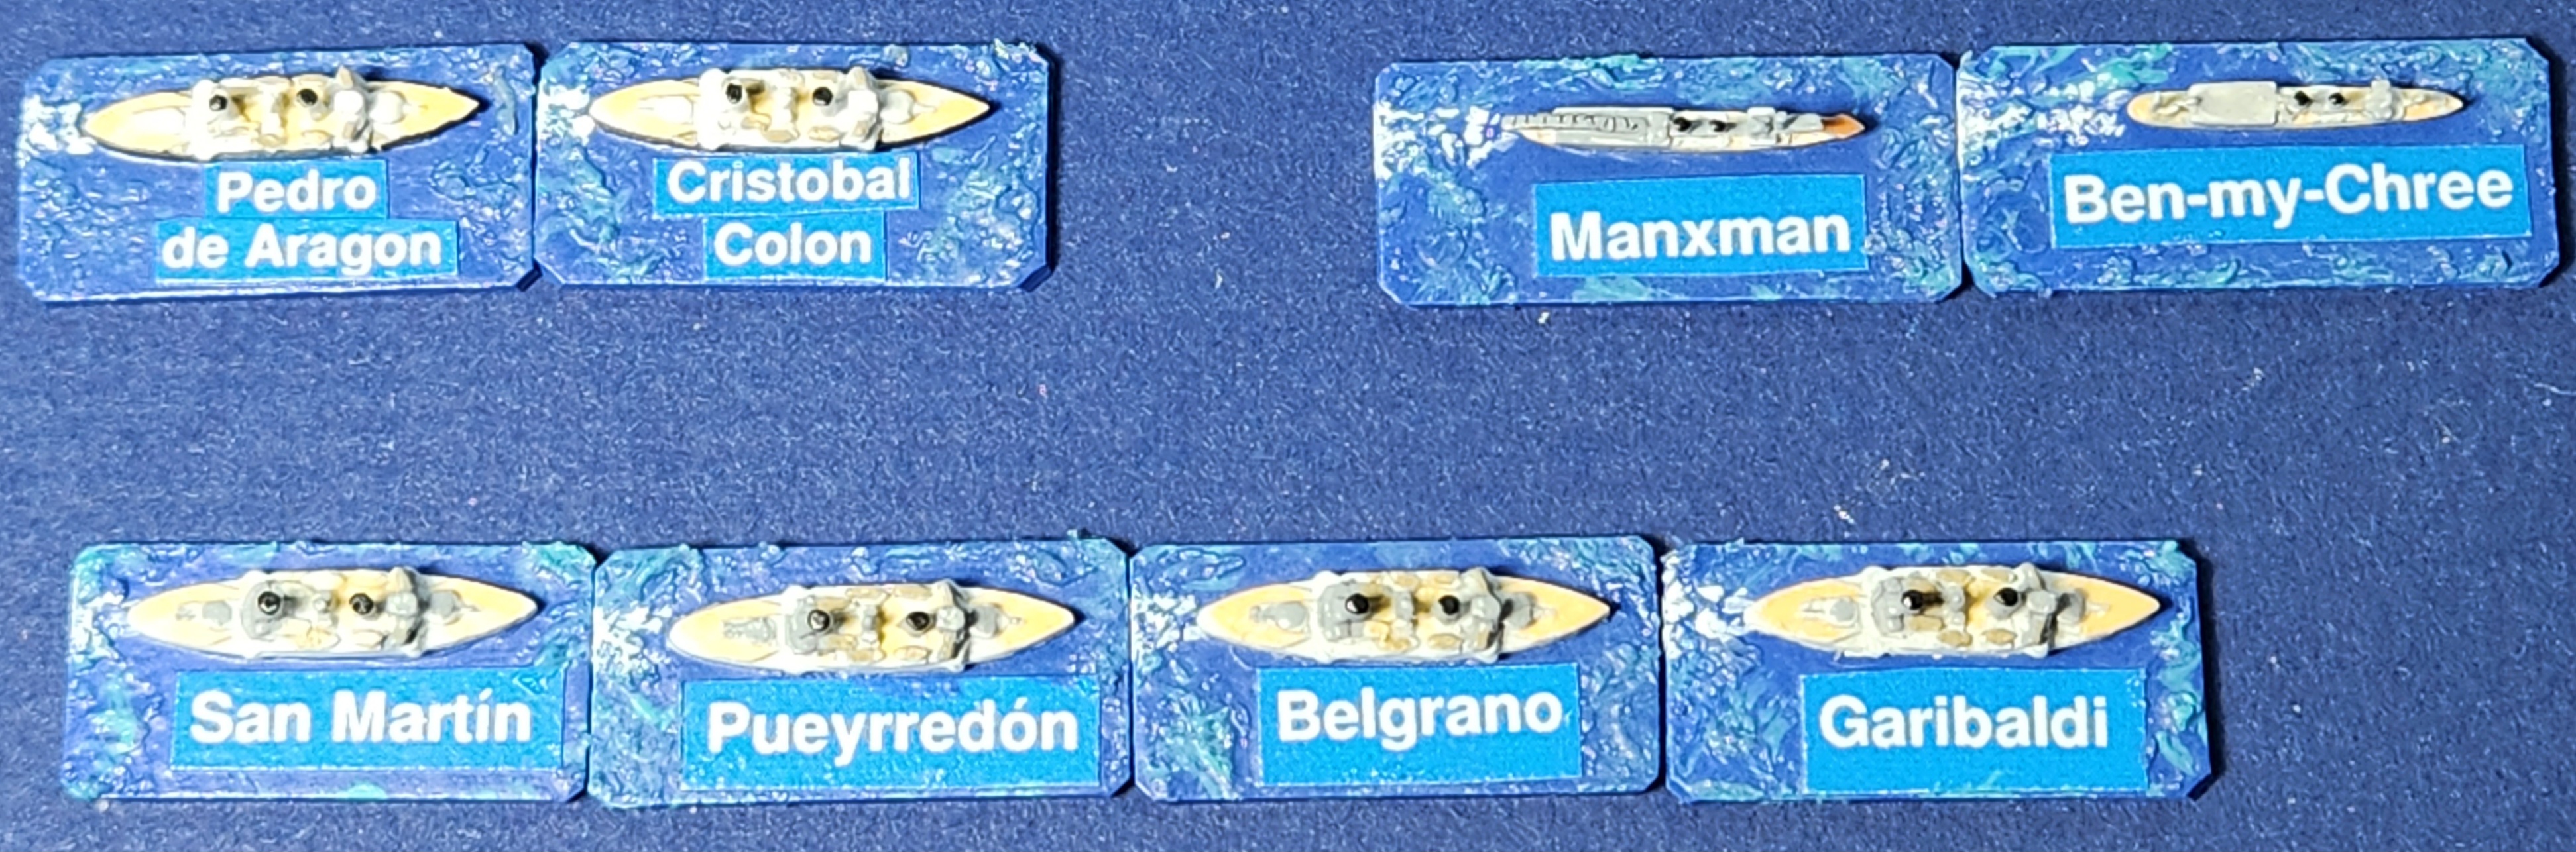
The orders of battle are listed in the narrative file:
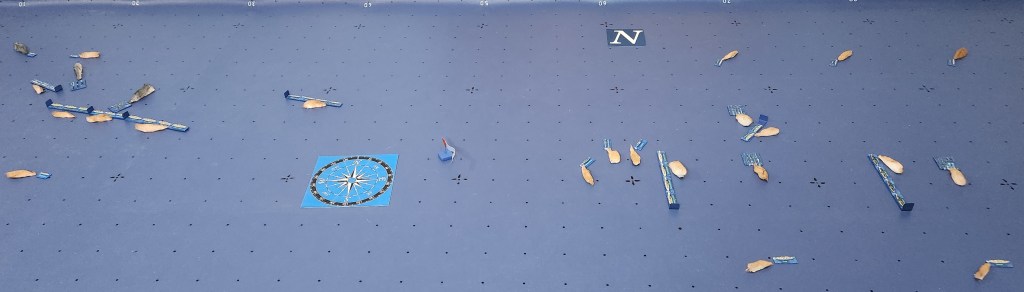
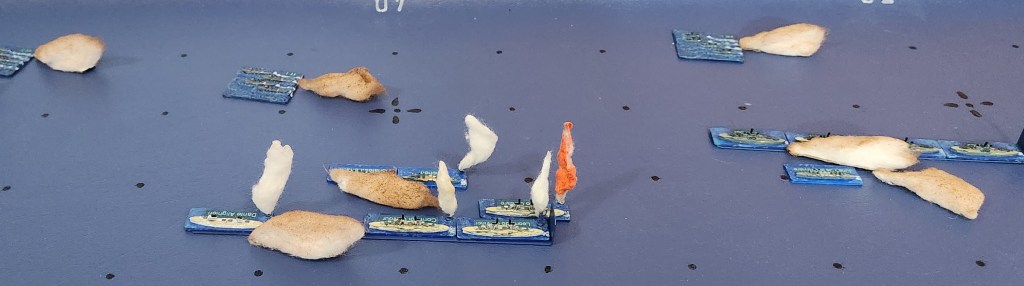
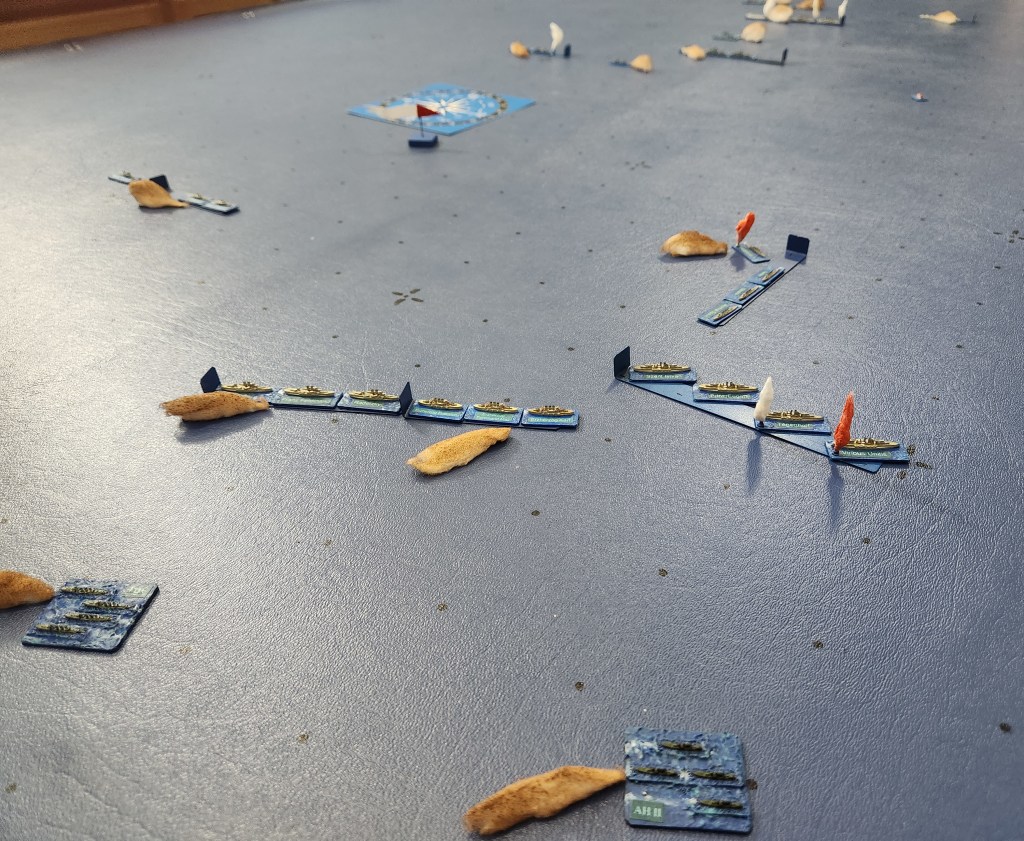
Photo album (Google): https://photos.app.goo.gl/ss8J54zJYH8Ejmmz8
Plots:
This animated plot shows the movements in 10 minute increments:
Full scenario plot:
Plot of movements and reports to 1100 hours as seen by the Russian player:
Simplified plot of battleship movements and all torpedo tracks:
Plot of action from 1100 to 1200 hours:
Plot of action from 1200 to 1245 hours:
Status at the end of the game:
Gunnery Logs:
Hit Logs:
Comments:
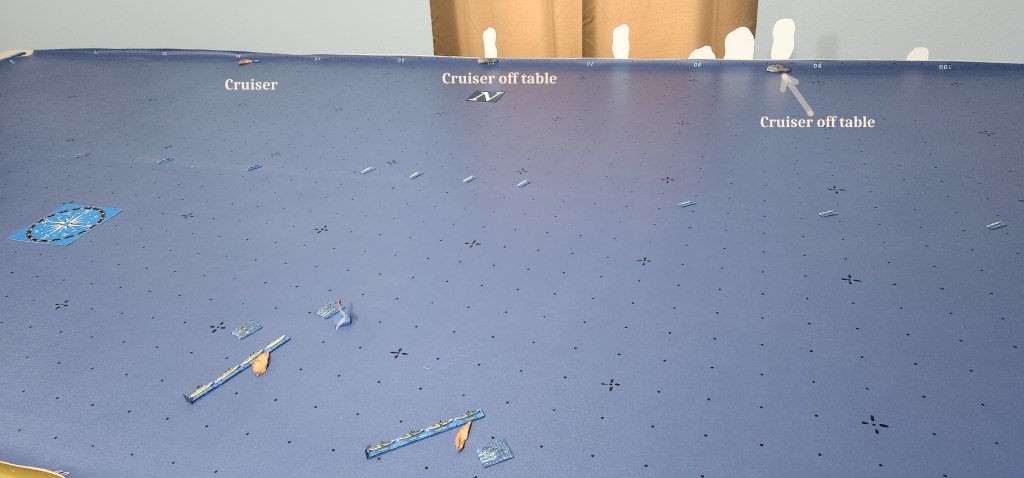
The Russian force did better in the scouting battle, due to the heavier armament of the light cruisers, aggressive tactics, and the use of seaplanes. The Japanese cruiser screen was driven back and unable to locate the Russian battleline. As a result, the Japanese force did not deploy from its cruising formation until the battleships were engaged.
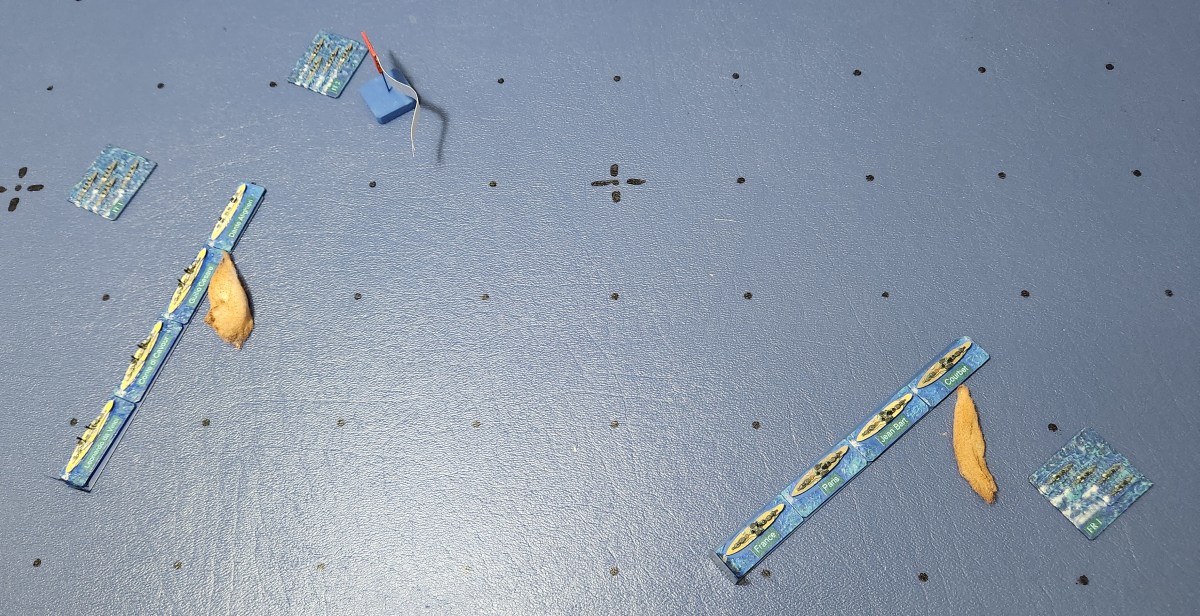
In the early part of the battleship engagement the Russian fire was hampered by smoke from having the upwind position. This improved later after a slight turn to a more easterly course.
Both sides sent destroyers to attack the opposite battlelines at about the same time. The Japanese flotillas were better positioned ahead and able to launch torpedoes at a greater distance (and take less damage). The Russian flotillas eventually launched, but suffered more from close range secondary fire.
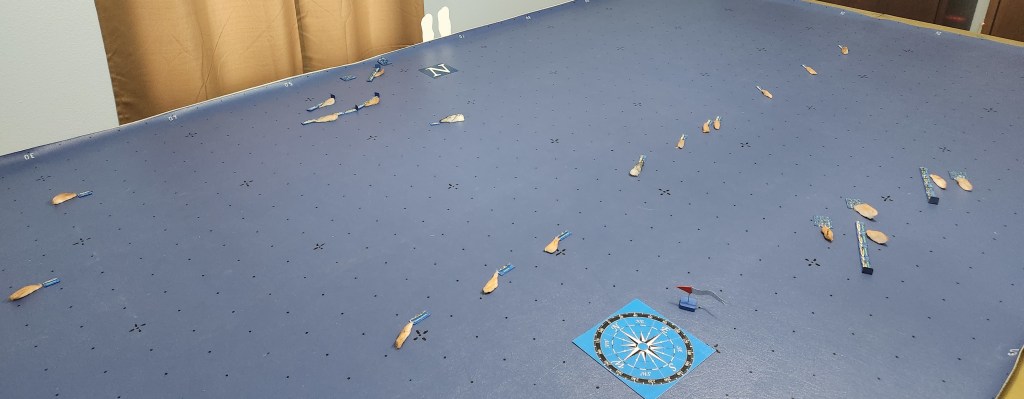
The scenario was fairly evenly matched in terms of damage, with each side having three of eight battleships surviving (Tosa is considered as lost since, with only 3% flotation and being ~400 miles from a safe haven, she would need to be scuttled). The remaining Japanese battleships were in somewhat better condition, but lower on ammunition.

You must be logged in to post a comment.