This non-historic encounter occurred in the open waters of the North Sea, and was run as a test of algorithms making decisions in place of human players. In order to not have an advantage, the code only gives orders at the end of each 5 minute turn, and only using information which would be available to a human player.
The sea conditions and orders of battle are listed on Page 1 of the Narrative file:
Player reports (not needed since there were no players):
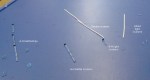
Plot from 11:15 to 12:35
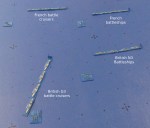
The single lines from the right (British) and left (German) sides show the movement of the two forces prior to enemy contact. To speed the code, only the force flagship is actually moved. Based on the force size, screening elements and visibility, at some point in this movement the individual ships of the two sides are set out into their cruising formations. In this case the British battleship divisions were in line ahead disposed abreast, with the battle cruiser squadrons ahead and a line abreast screen of one light cruiser squadron. The German battleship divisions were in a single line ahead, with the battle cruiser squadrons ahead and a circular cruiser screen for both the battle cruisers and the battleships.
Depending on the contact bearings, the formations may make course adjustments. In this case, both forces altered course, and the cruiser screens can be seen shifting positions to regain their stations.

Plot from 11:15 to 13:00
Sighting reports of British battle cruisers at 12:44 prompted the deployment at 12:45 of I Aufklarunggruppe (I.A.G.). I.A.G. turned to starboard in line ahead in order to bring after turrets to bear and to allow the wind to carry smoke away from the direction of the enemy.
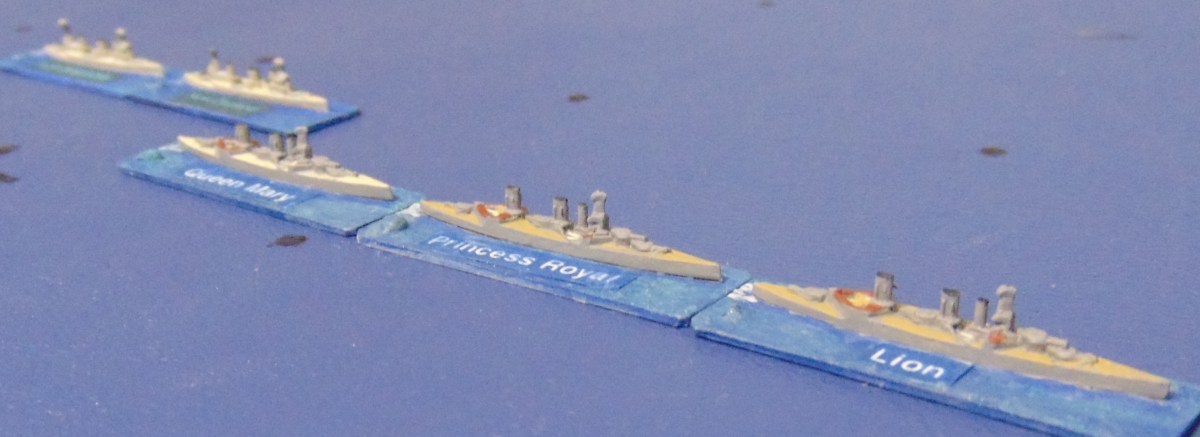
Sighting reports of German battle cruisers at 12:52 prompted the deployment at 12:55 of 1st Battle Cruiser Squadron (BCS) and 2nd BCS. They turned to port for similar reasons. The sighting report was from Lion since the cruiser screen was not far enough ahead to give any earlier warning.
Plot from 13:00 to 14:00
(simplified plot)
Since the full plot may be difficult to read, the simplified plot showing only the lead ships of the battleship and battle cruiser units will be discussed. At 13:00 the I.A.G. reversed course to take station ahead of the German battleships due to being under fire of more than their number of capital ships. The leading battleships of each side were sighted by opposing light cruisers at 13:04 and 13:05. At 13:05 the 1st and 2nd BCS took station ahead of the British battleships due to being under fire of the leading German battleships. At 13:15 both side’s battleships deployed. The British formed a single line to port with the port wing (3rd Division) leading. The Germans, already in single line, turned to starboard. While moving to their stations ahead of the lead battleships, both side’s battle cruisers interfered with the fire of the battlelines.
Plot from 14:00 to 14:50
(simplified plot)
As the battlelines gradually closed the range, the destruction was heavy on the battle cruisers and leading battleship divisions. Torpedoes were launched from the underwater tubes from both sides, and several British ships were hit. When the game was (arbitrarily) ended, many of the surviving ships were low on ammunition.
Plot from 14:00 to 14:50 showing flotillas
Although many torpedoes were launched by cruisers and capital ships, none were launched by the destroyer or torpedo boat flotillas. This plot shows the tracks of the flotillas in relation to the lead ships of battleship divisions. The ordered torpedo attacks generally failed because the flotillas could not reach a launch position clear of friendly ships without being driven off by the fire or proximity of enemy ships. The current algorithm for stationing flotillas relative to the battlelines may need to be revised to address this problem.
End of game status:
Capital ship gunnery logs organized by unit:


You must be logged in to post a comment.