As a test-run for playing WW1 naval miniatures games via email and internet, an introductory scenario was created. The US side was played by a remote gamer using only the text output file for his force and photos of the table. The German side was run by the code‘s AI.
Some non-historical elements were included to insure that the game lasted long enough for a proper test:
- While the scenario was set in 1917, most of the US battleships included were not yet in service.
- Symmetrical organizations were used for the two sides.
- Only Konig and Kaiser class German battleships were used.
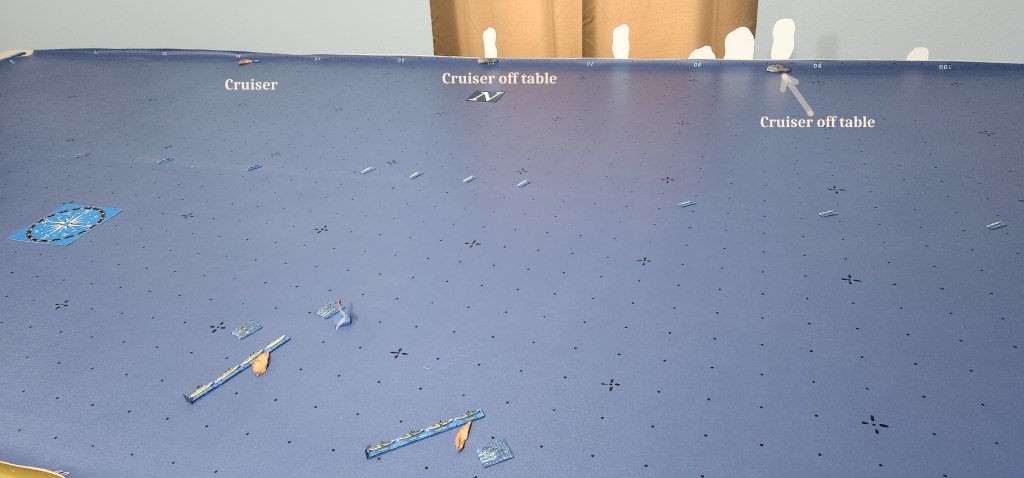
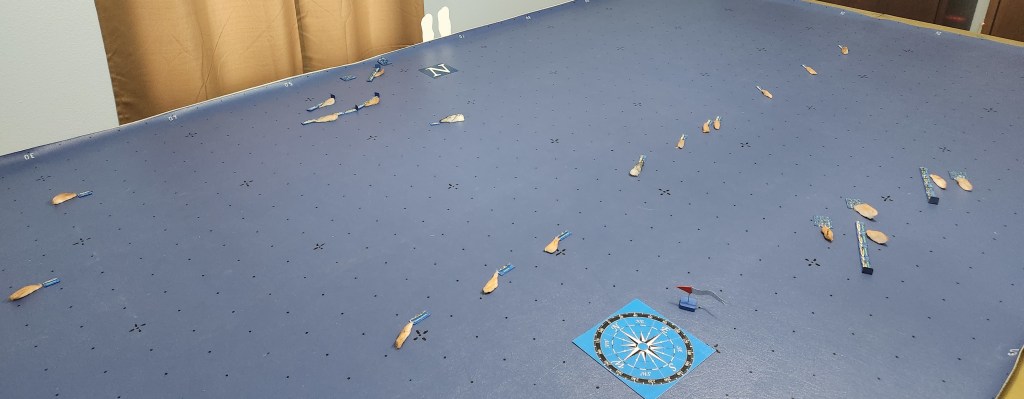
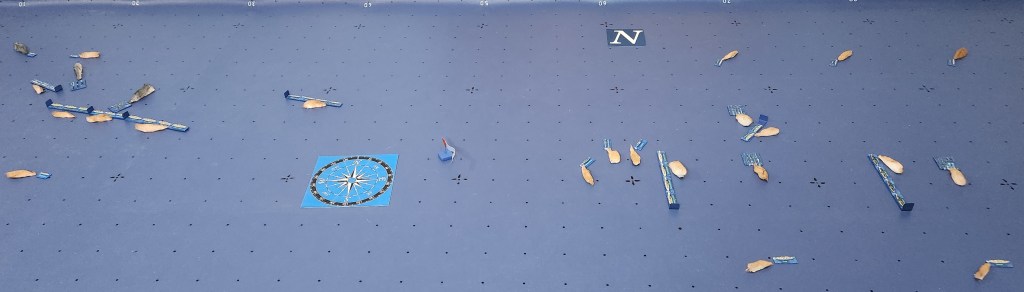
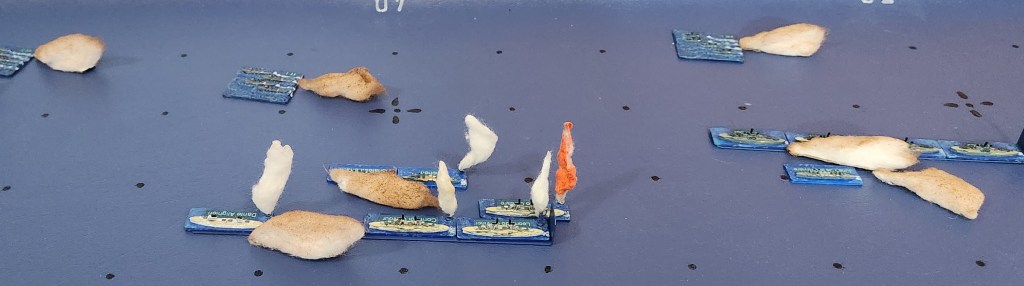
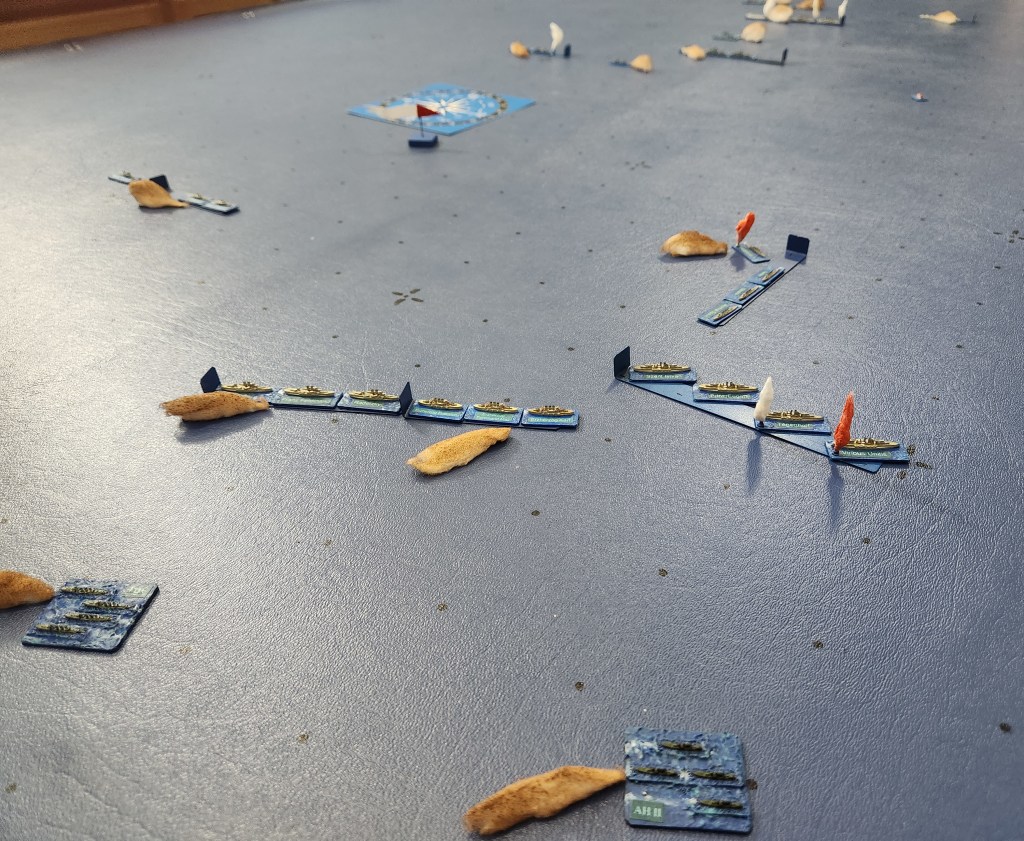
Game photos on Google Photos.
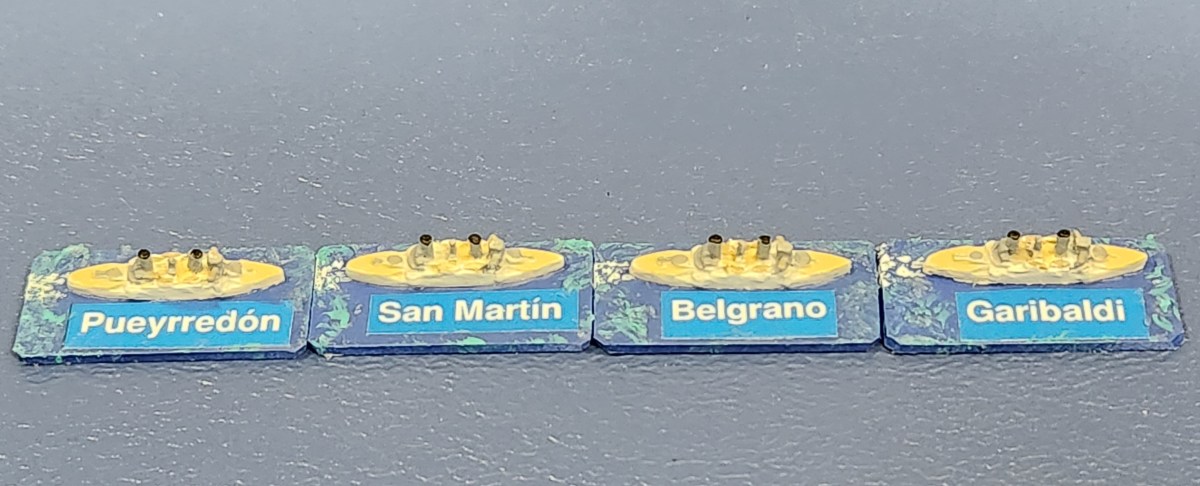
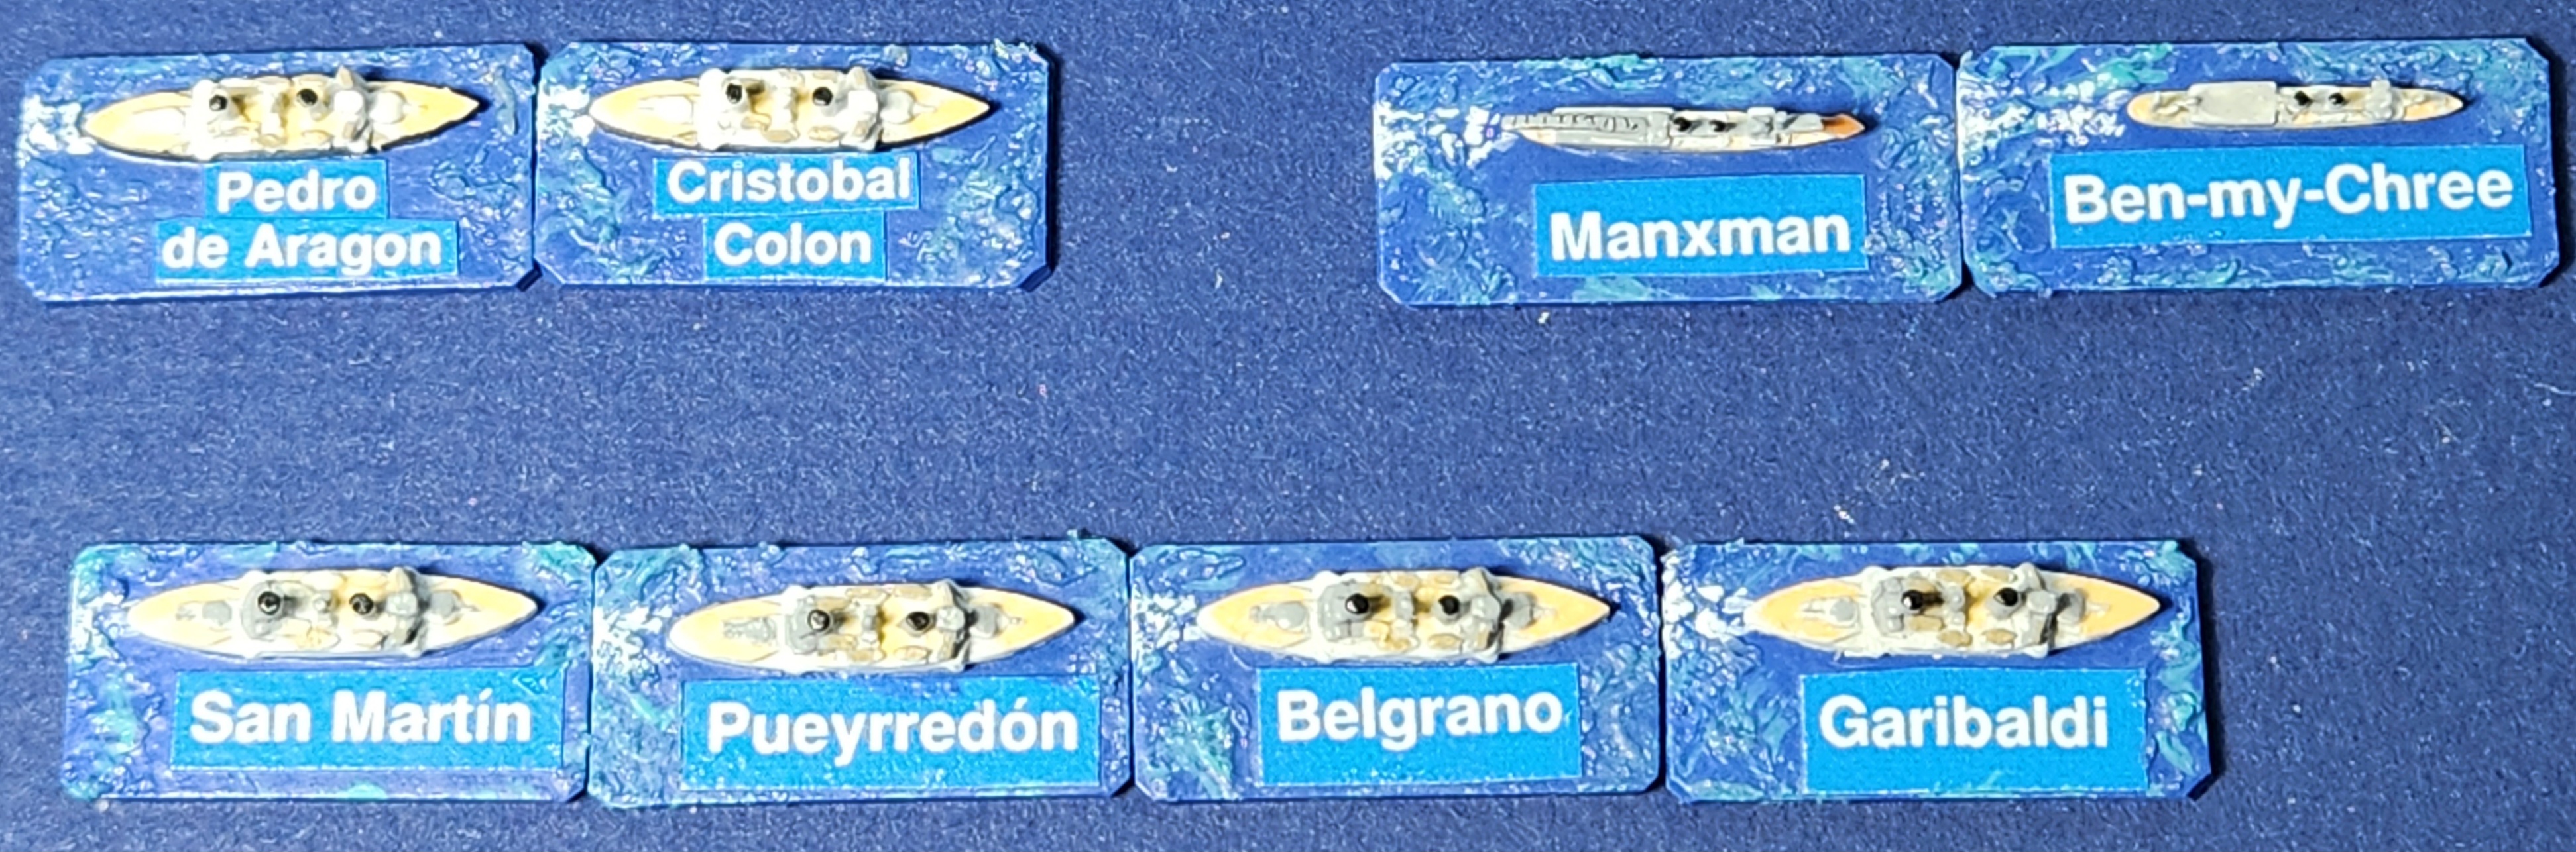
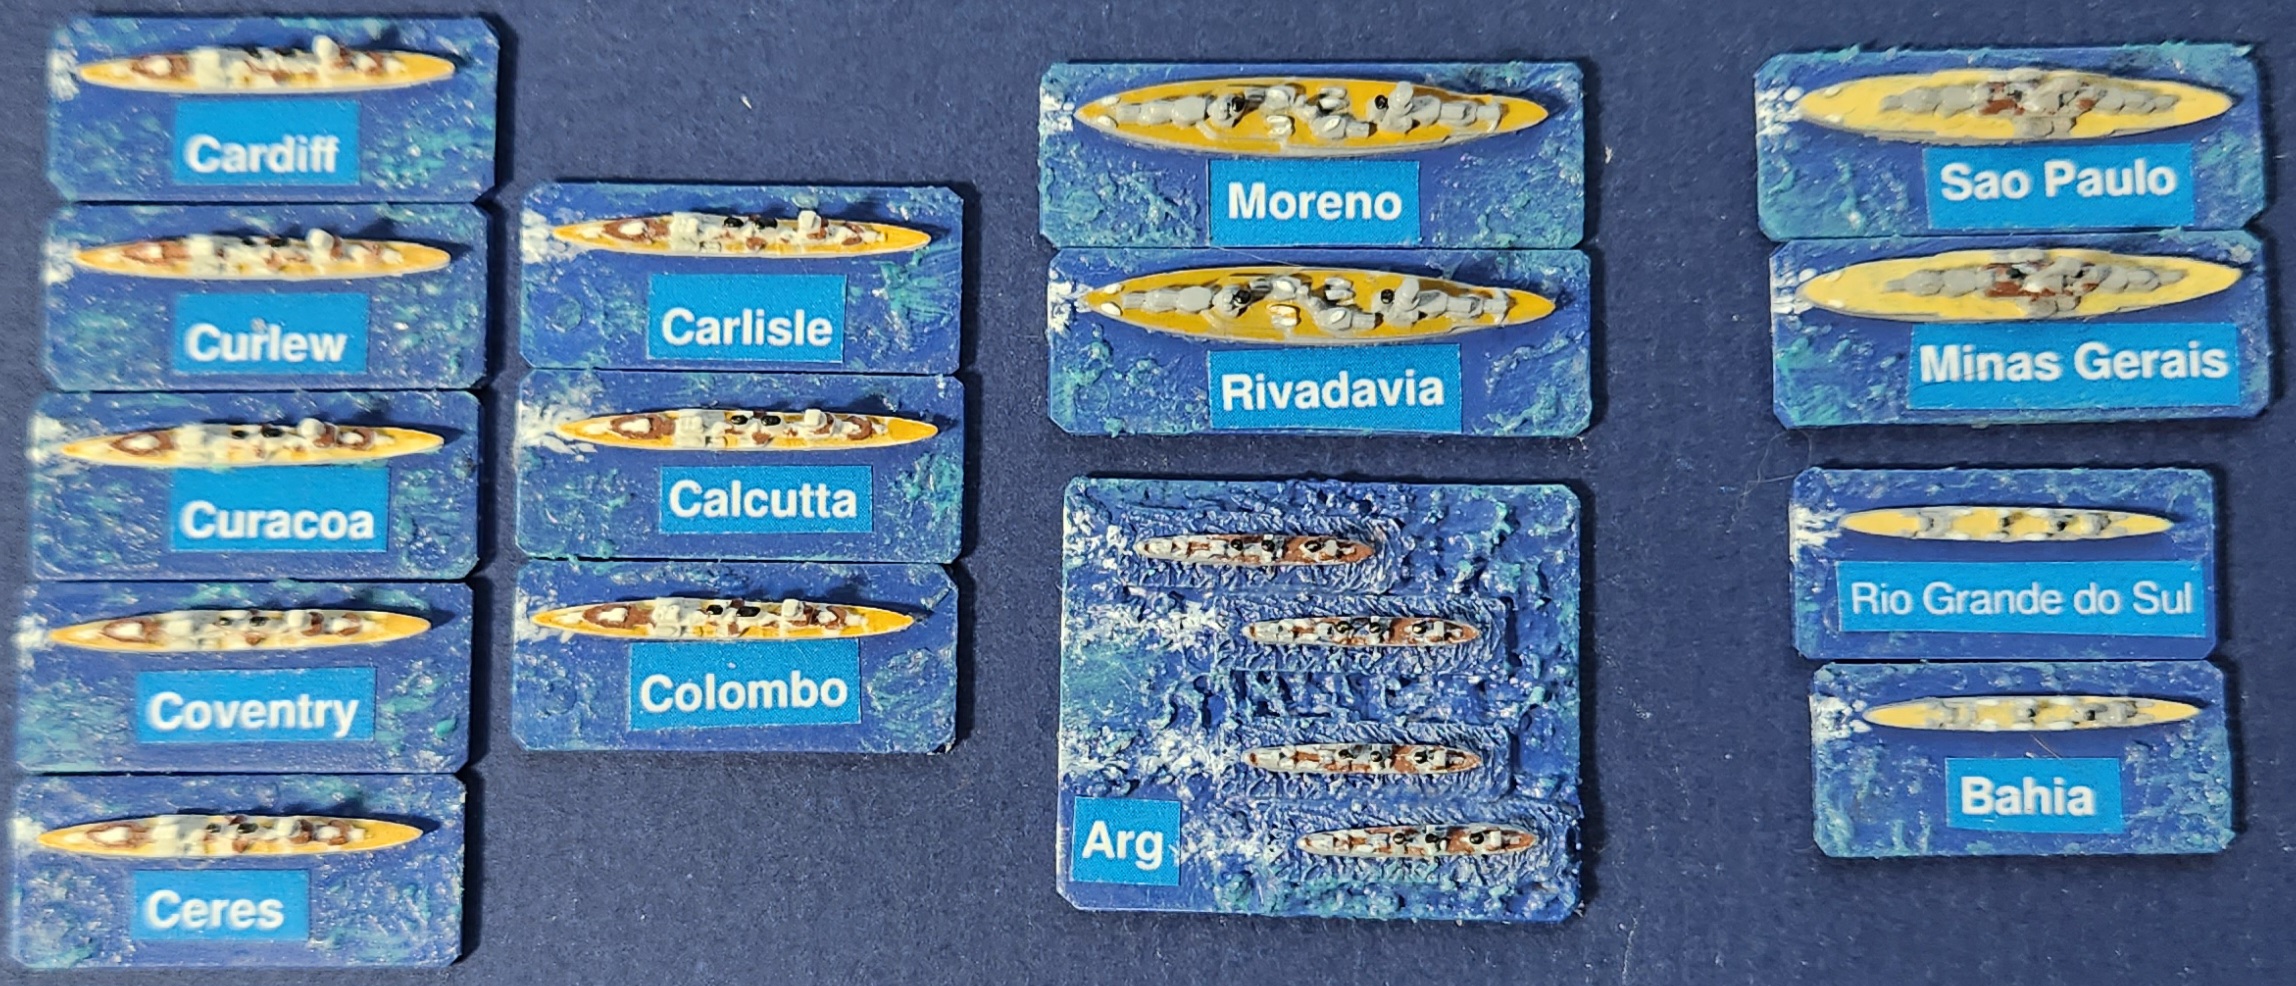
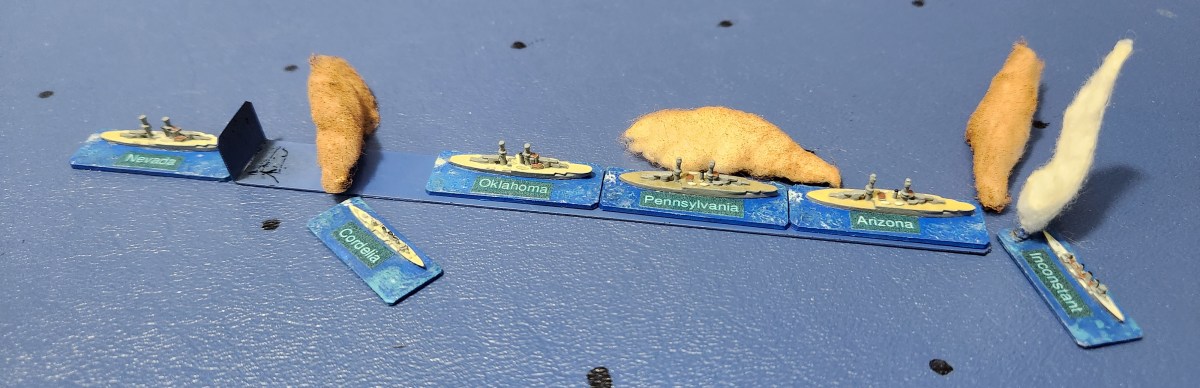
The orders of battle are listed in the narrative file:
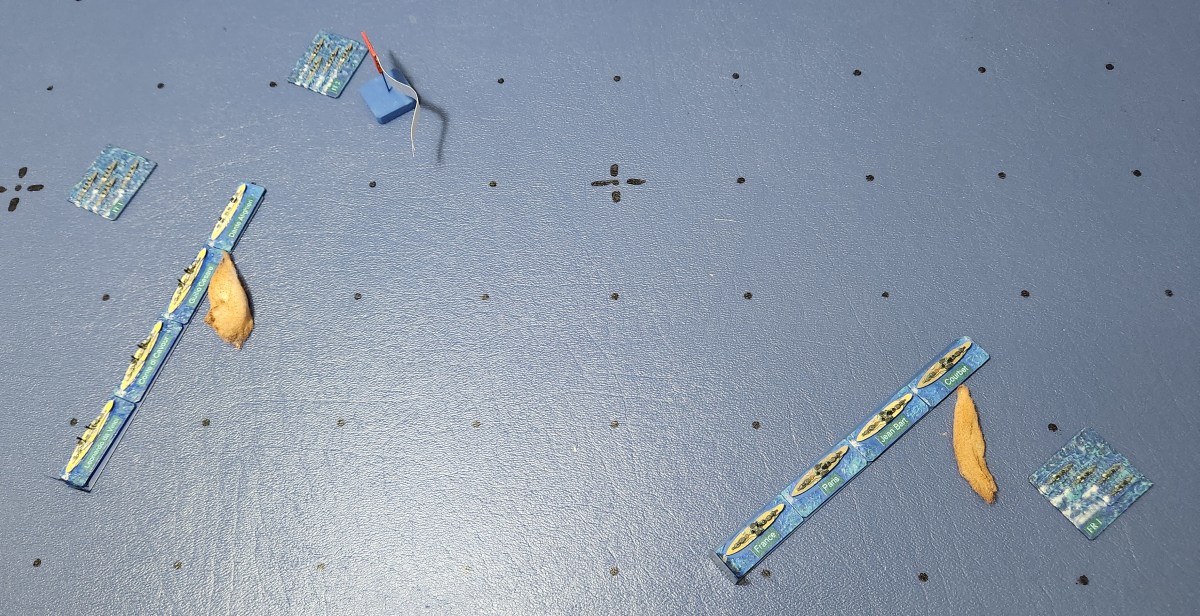
Plot from 11:21 to 12:00 hours
11:21 – Light cruisers report smoke from enemy forces (messages received at 11:25).
11:31 to 11:36 – Opposing light cruisers open fire.
11:35 – US battleline turns to the NNE to close the reported smoke.
11:43 – German battleships are identified.
11:47 – US battleships are identified.
11:50 – German force deploys, but retains current course S. German light cruiser screen is recalled to take station protecting the head of the battle fleet.
11:55 – US battleships turn E by divisions. German battleline turns SW to close the range.
Animated version of the plot above.
Plot from 12:00 to 12:30 hours
12:01 – Battleships on both sides open fire at the visibility limit of 21,000 yards.
12:05 – German battleline turns S to maintain the range and bring broadsides to bear. US battle divisions begin to diverge, one to the NE and one to the SE.
12:15 – US destroyer squadron is sent at full speed to intercept the German battleline.
12:24 – US destroyer squadron is dispersed (all ships sunk, crippled or lost touch) by the secondary batteries (15cm guns) of the German battleships.
In this phase, the German battleships have accumulated more damage than the US, and one has sunk.
Animated version of the plot above.
Plot from 12:30 to 13:10 hours
In this phase the German battleline is slowed by flooding and disordered by avoiding torpedoes. US battleship divisions turn to close the range. Remaining German dreadnoughts are sunk.
Animated version of the plot above.
Plot of the entire battle:
Animated plots showing target lines of primary batteries. The first plot is for battleships and the second is for light cruisers.
Status at the end of the game:
Gunnery Logs:
Code AI algorithm problems:
- The human player split his battleline into two divisions and sent them in different directions. The AI is not currently written to recognize or address this tactic, which is similar to the divisional tactics exercise shown in Figure 1 on page 115 of WARSHIP 2016.
- The AI currently sends one screening ship to investigate possible contacts. This resulted in that cruiser being damaged while unsupported.
- After the ships of a battleline are sunk or disabled, there is no mechanism to assign appropriate orders to remaining light forces.


You must be logged in to post a comment.