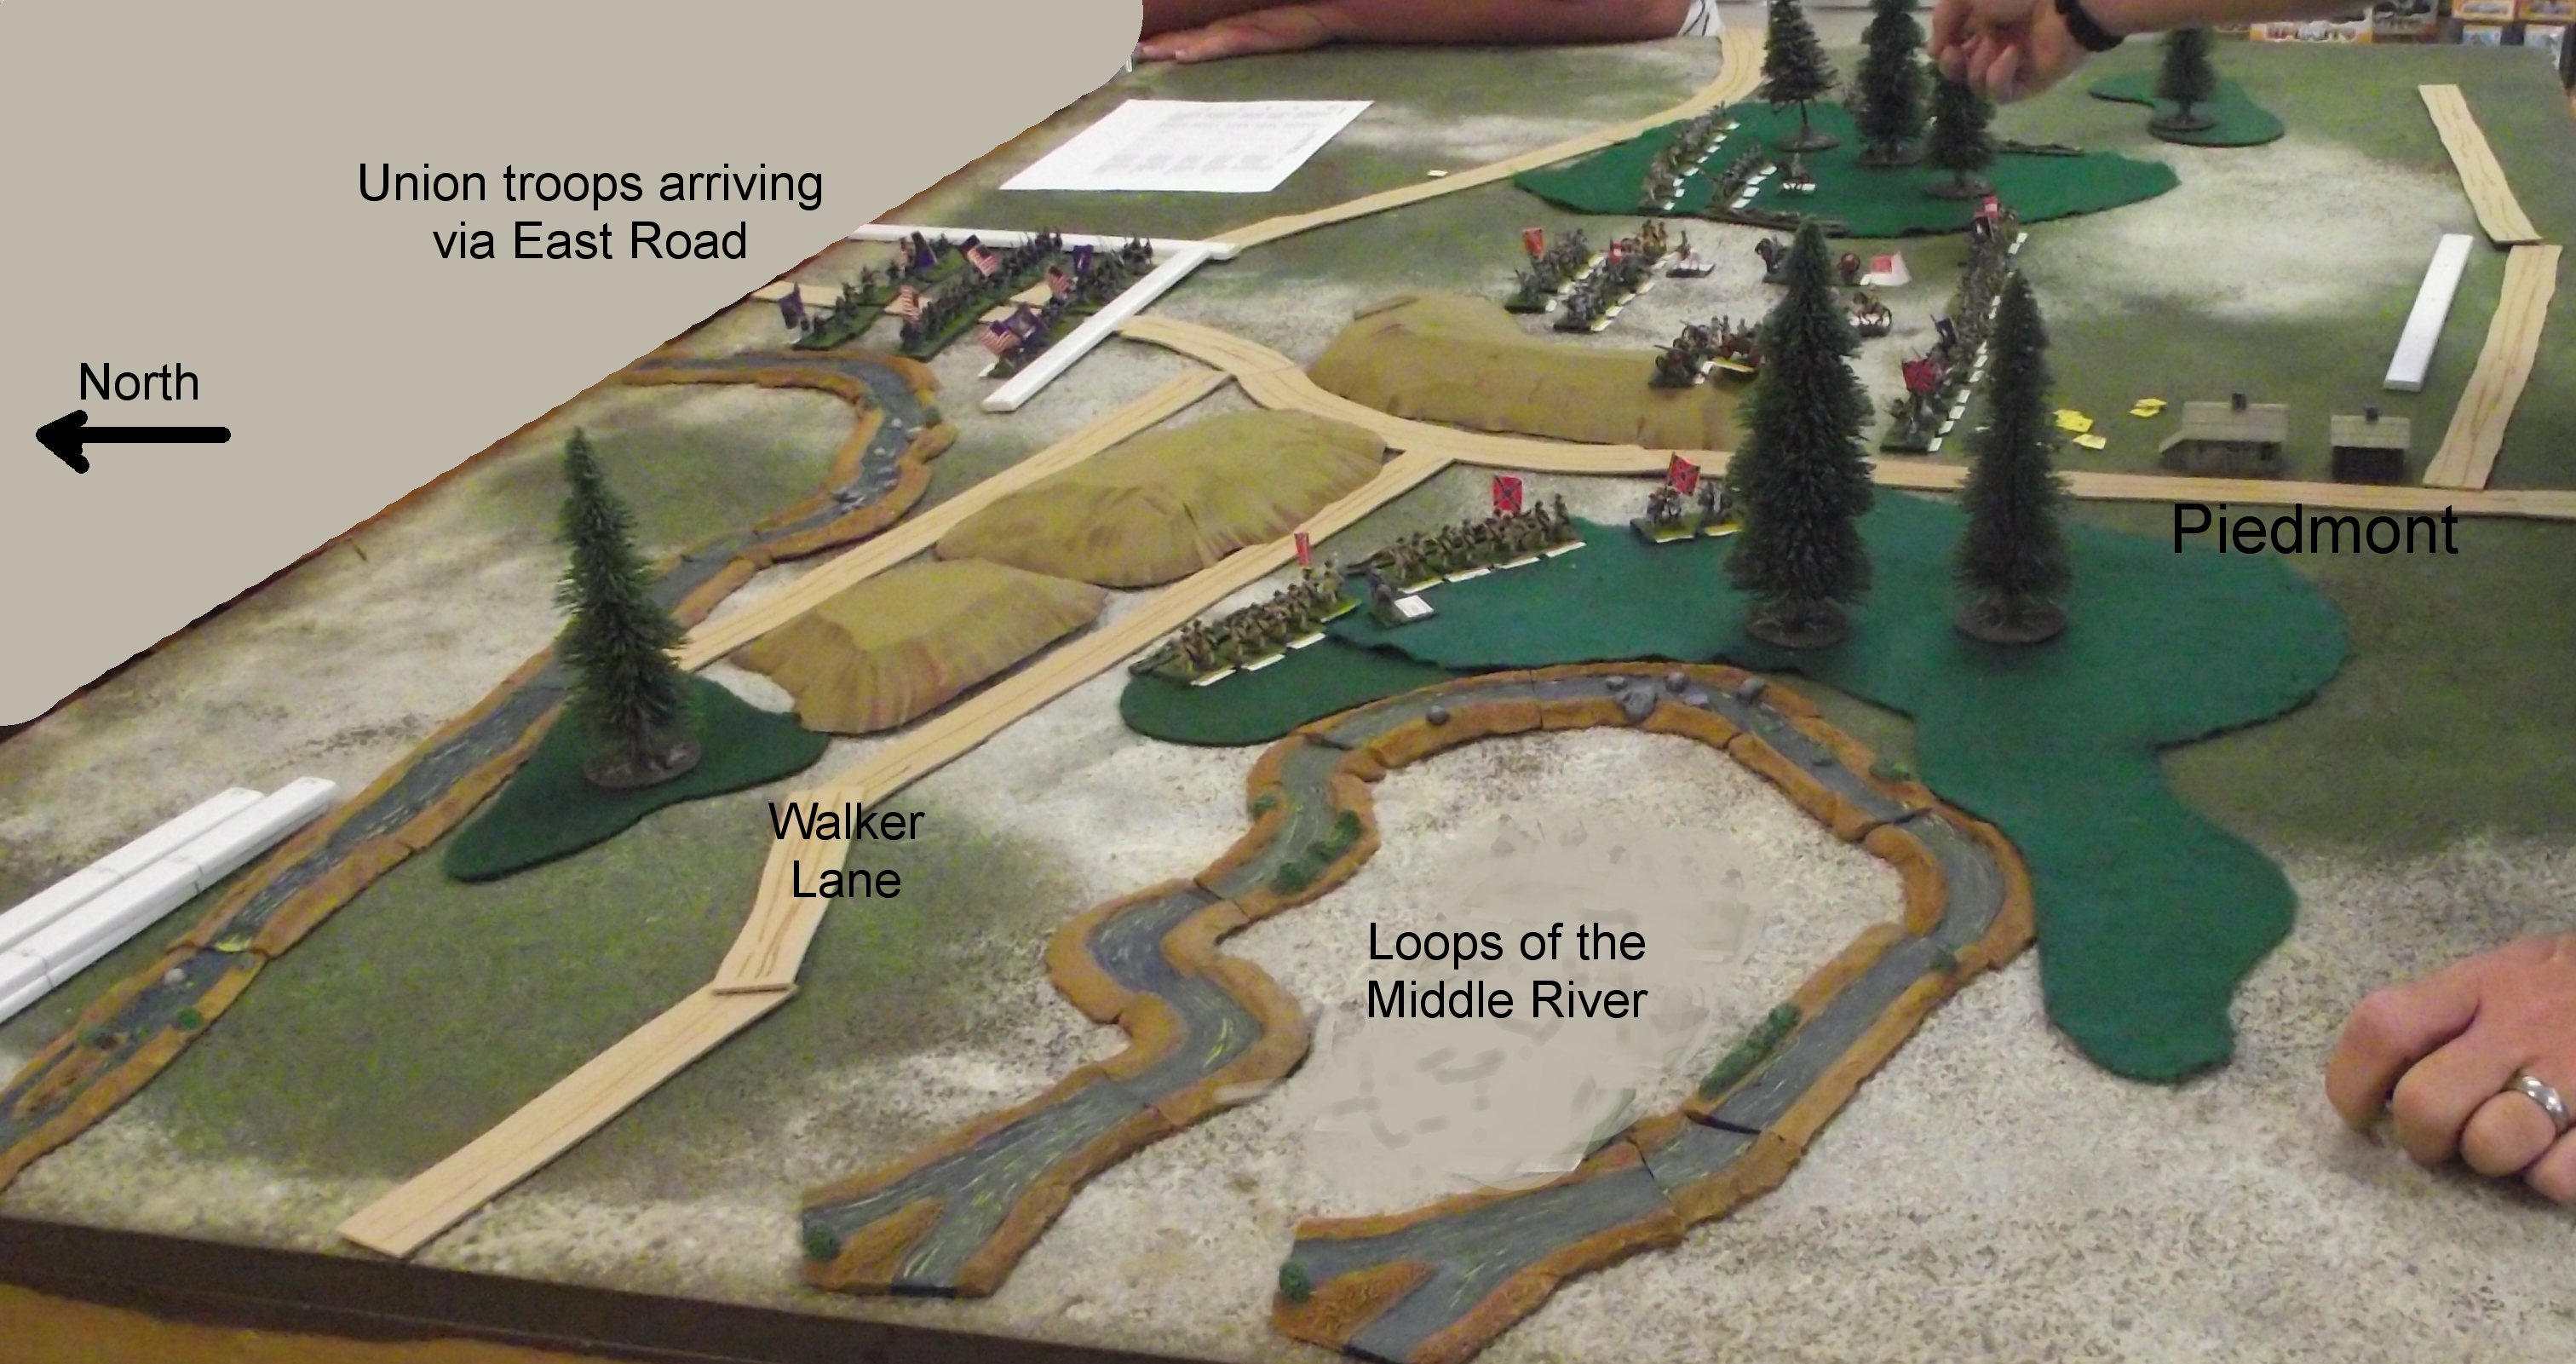
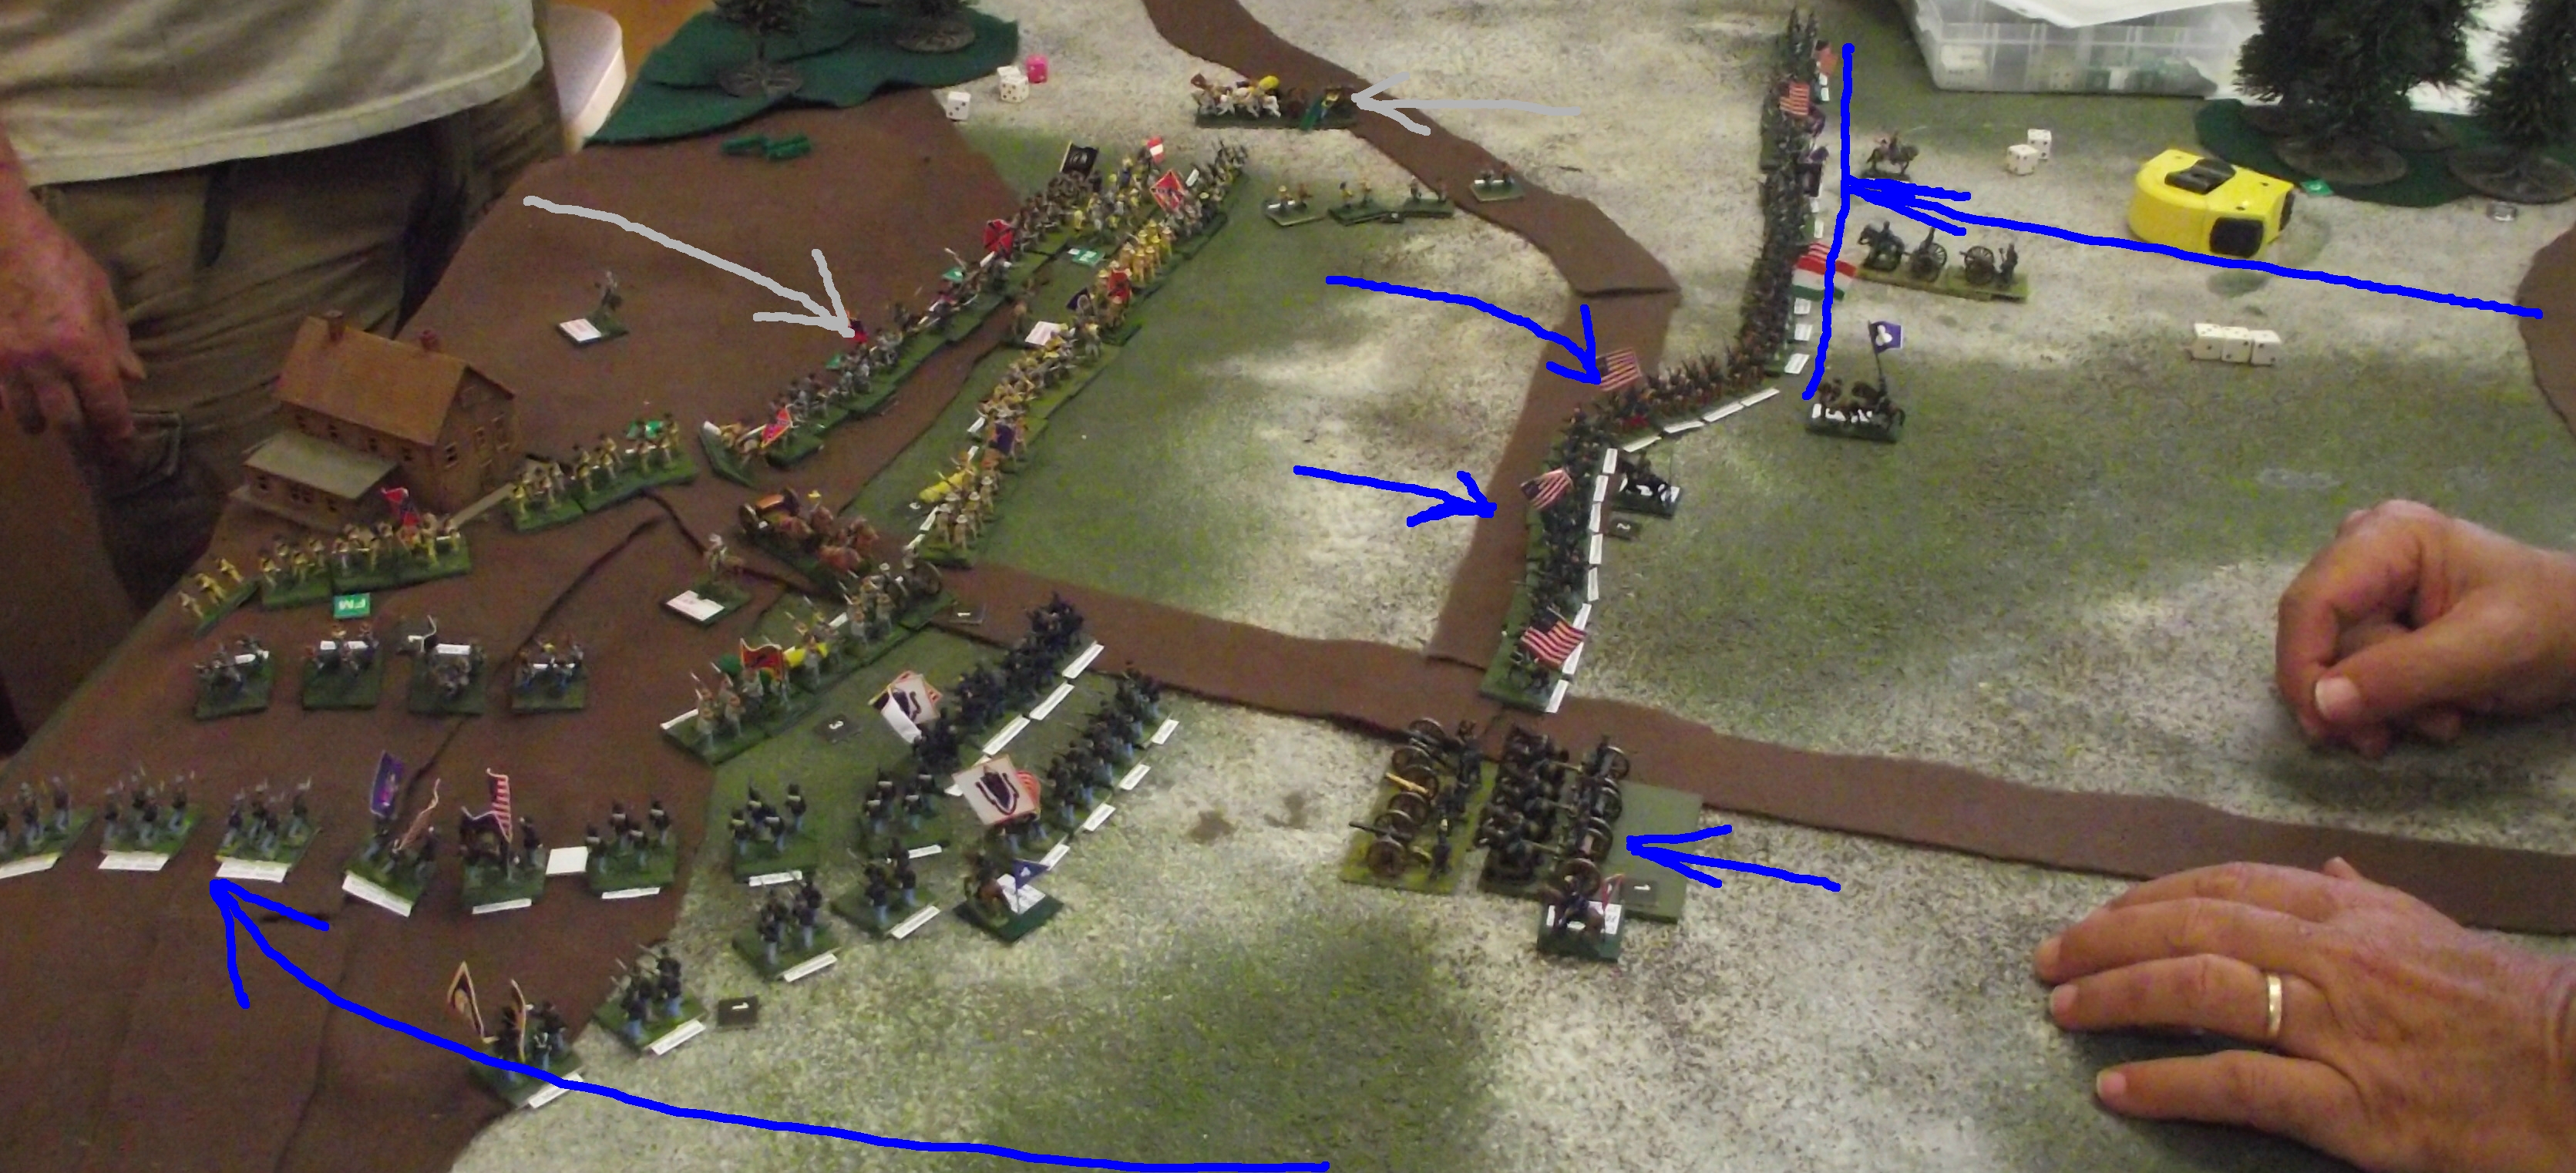
On Saturday the local HMGS-South group played an American Civil War game at the Dogs of War shop. The rules were Black Powder and the scenario was based on the Battle of Piedmont, June 5th 1864.
In the actual battle, the Confederate infantry formed behind the ridge along Walker Lane and later fell back to barricades in the woods behind. The players were allowed a free setup (still in progress in this photo) and placed the bulk of their infantry and guns to the east of East Road, covering the gap between the two main wooded areas. Confederate cavalry were deployed to the east of the eastern woods.
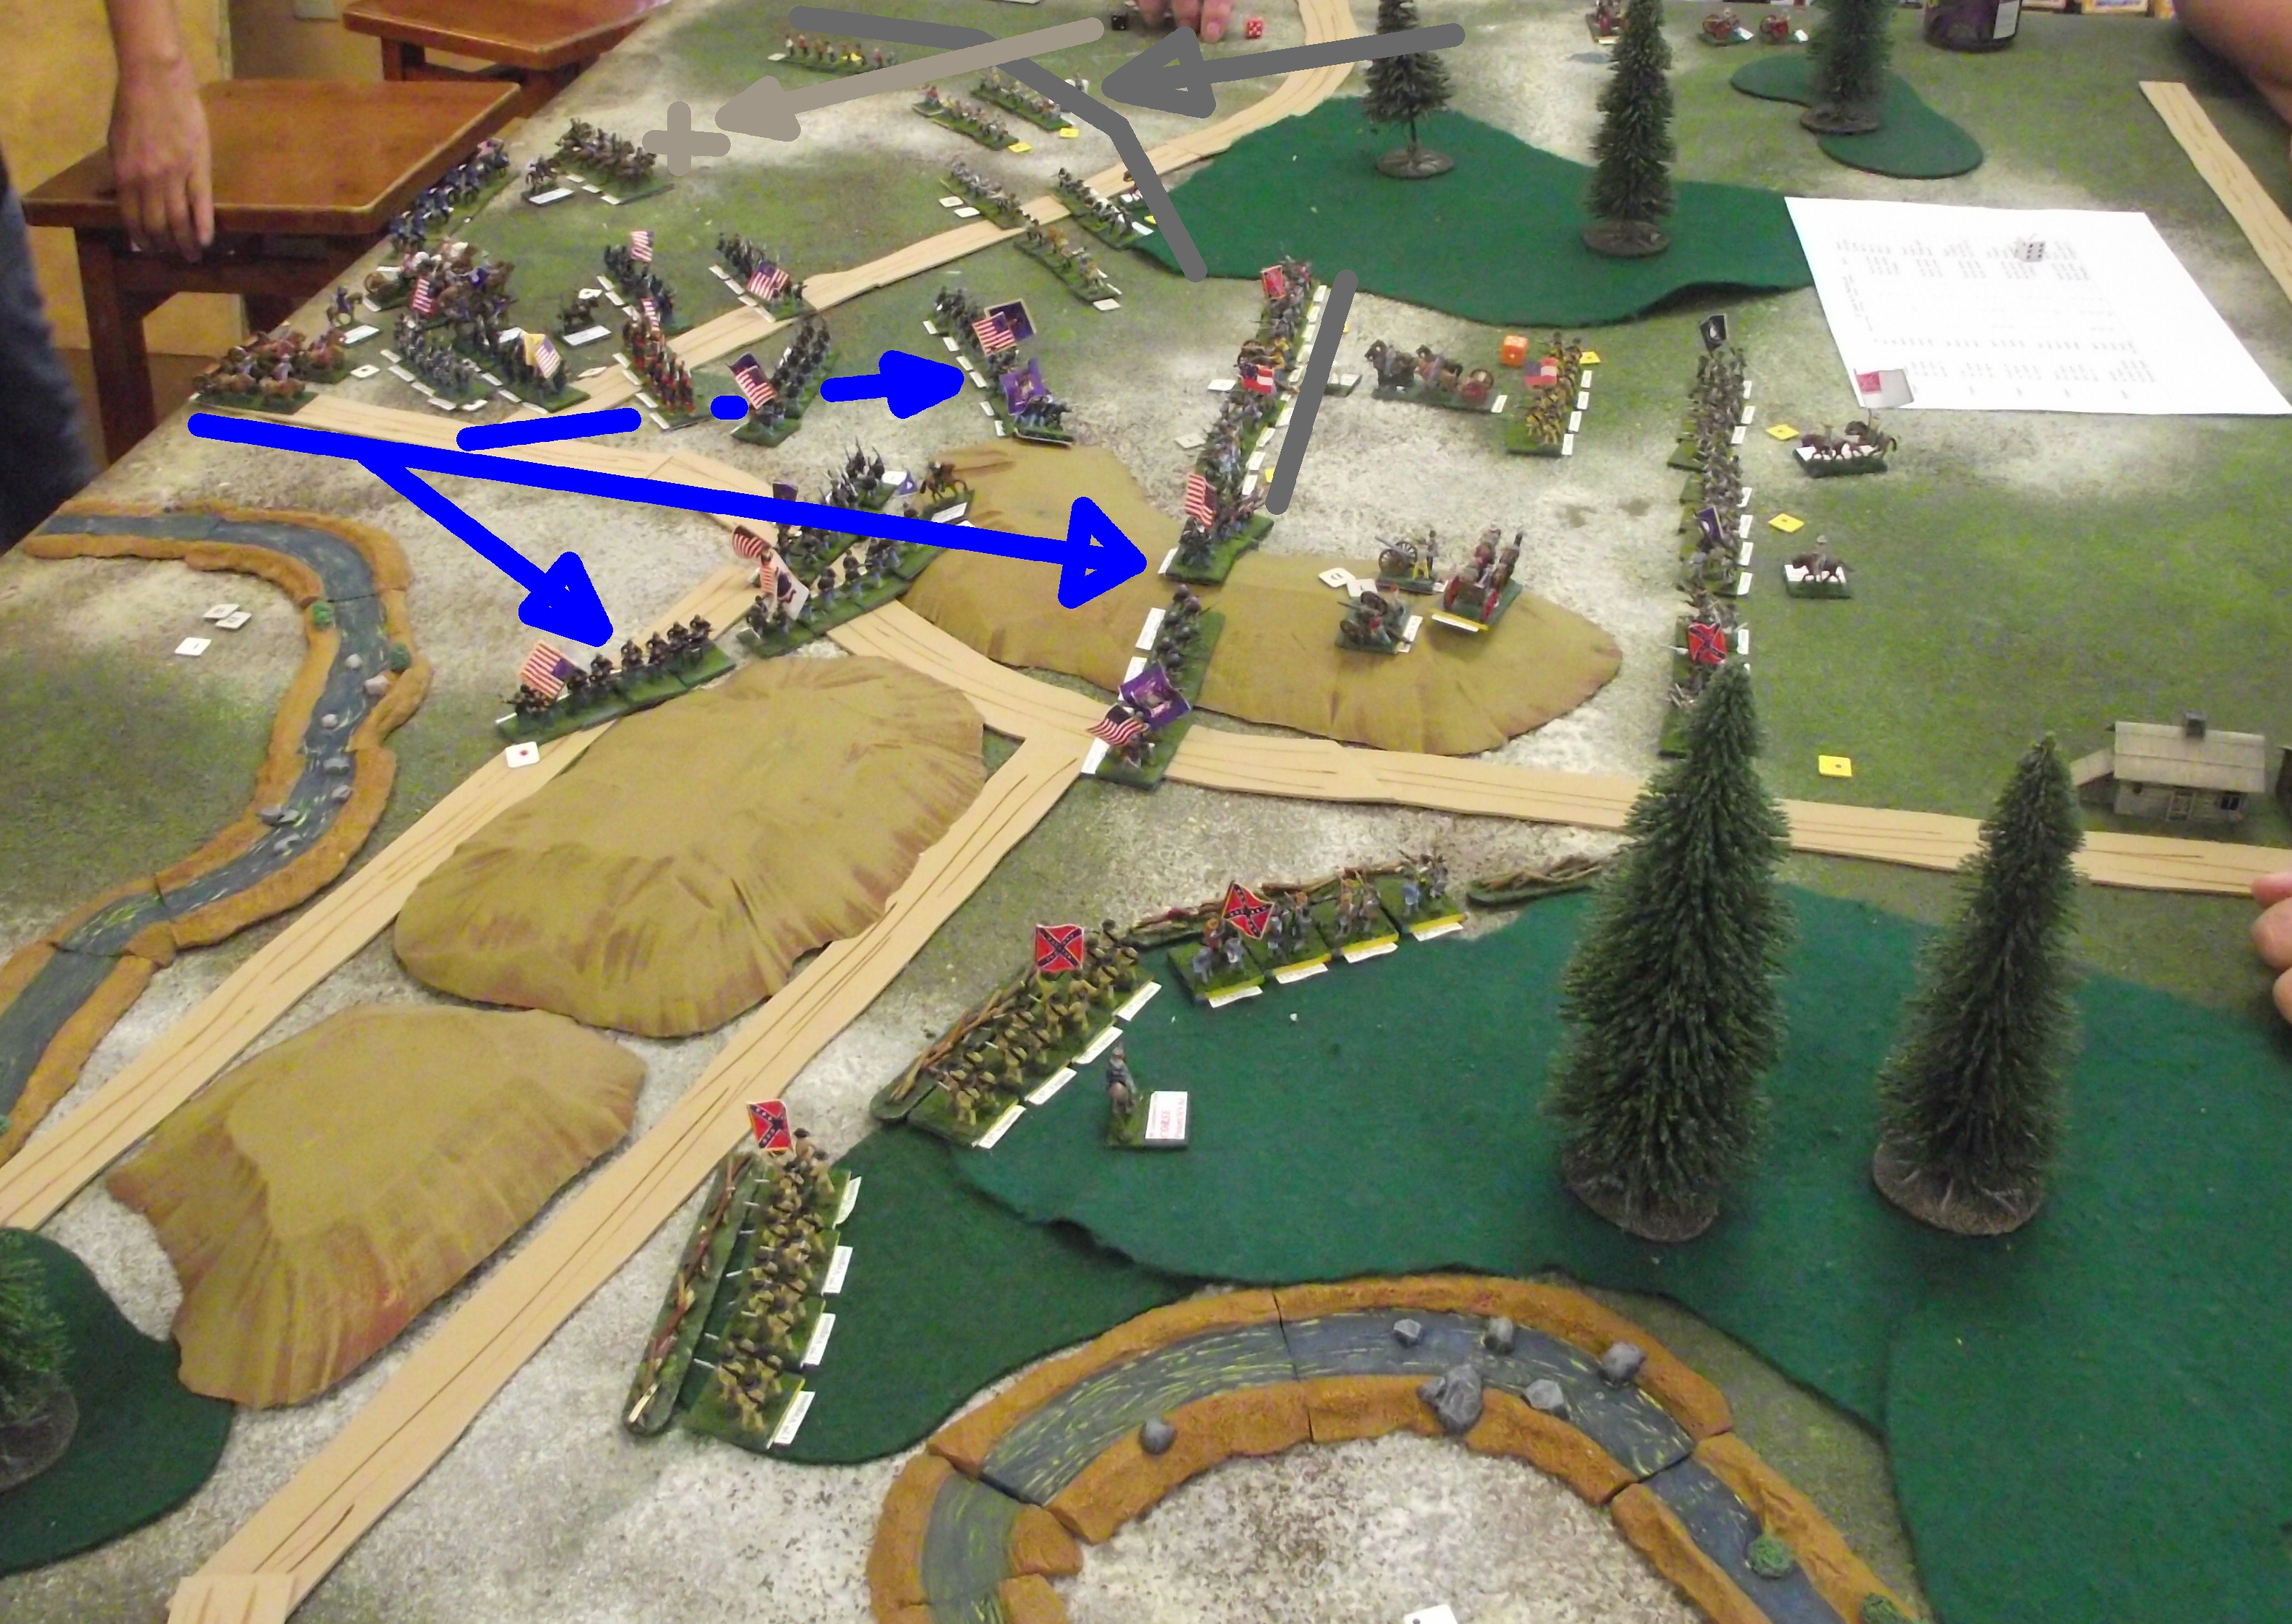
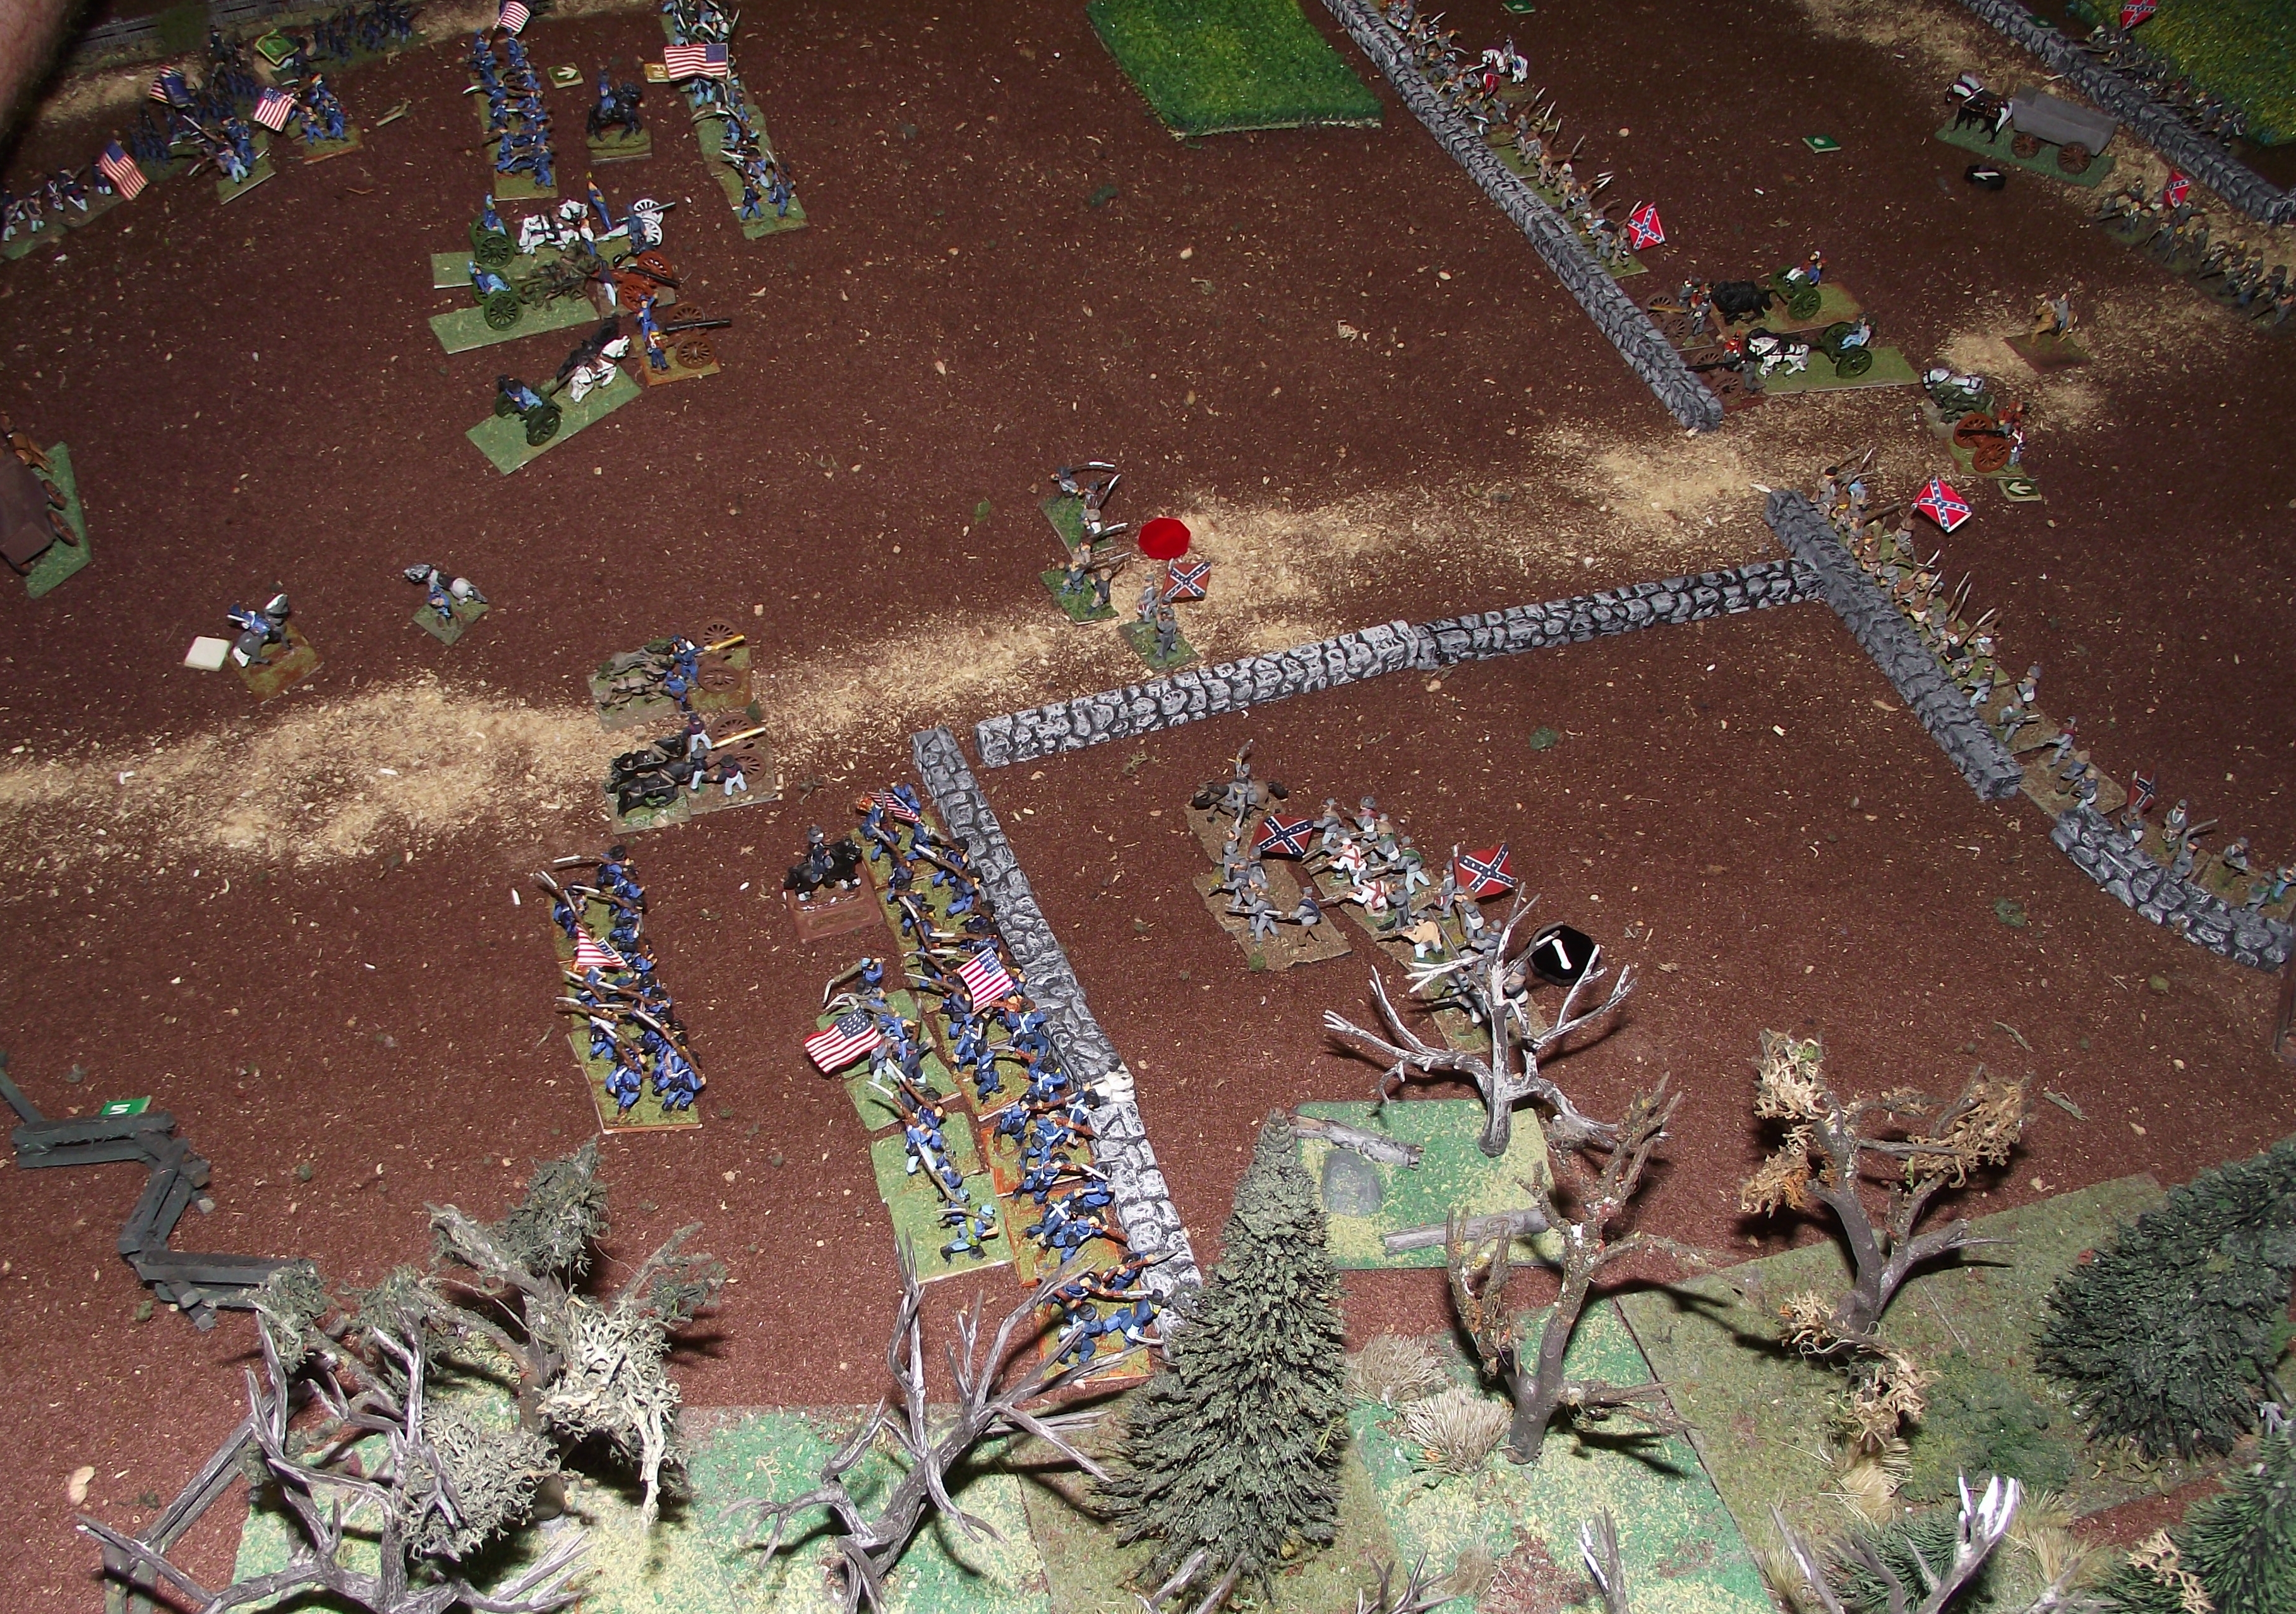
Union infantry advance to engage at close musket range. Two regiments bypass the Confederate infantry line to threaten the guns on the ridge. In the distance, Confederate cavalry have dismounted and advance on the Union left flank. A Confederate horse battery advanced beyond the lines and was destroyed by a Union mounted charge.
View from the east, Union cavalry move to find room to deploy on the east flank. Union artillery are firing on the Confederate dismounted cavalry. On the ridge, a Confederate battery is destroyed by an infantry charge.
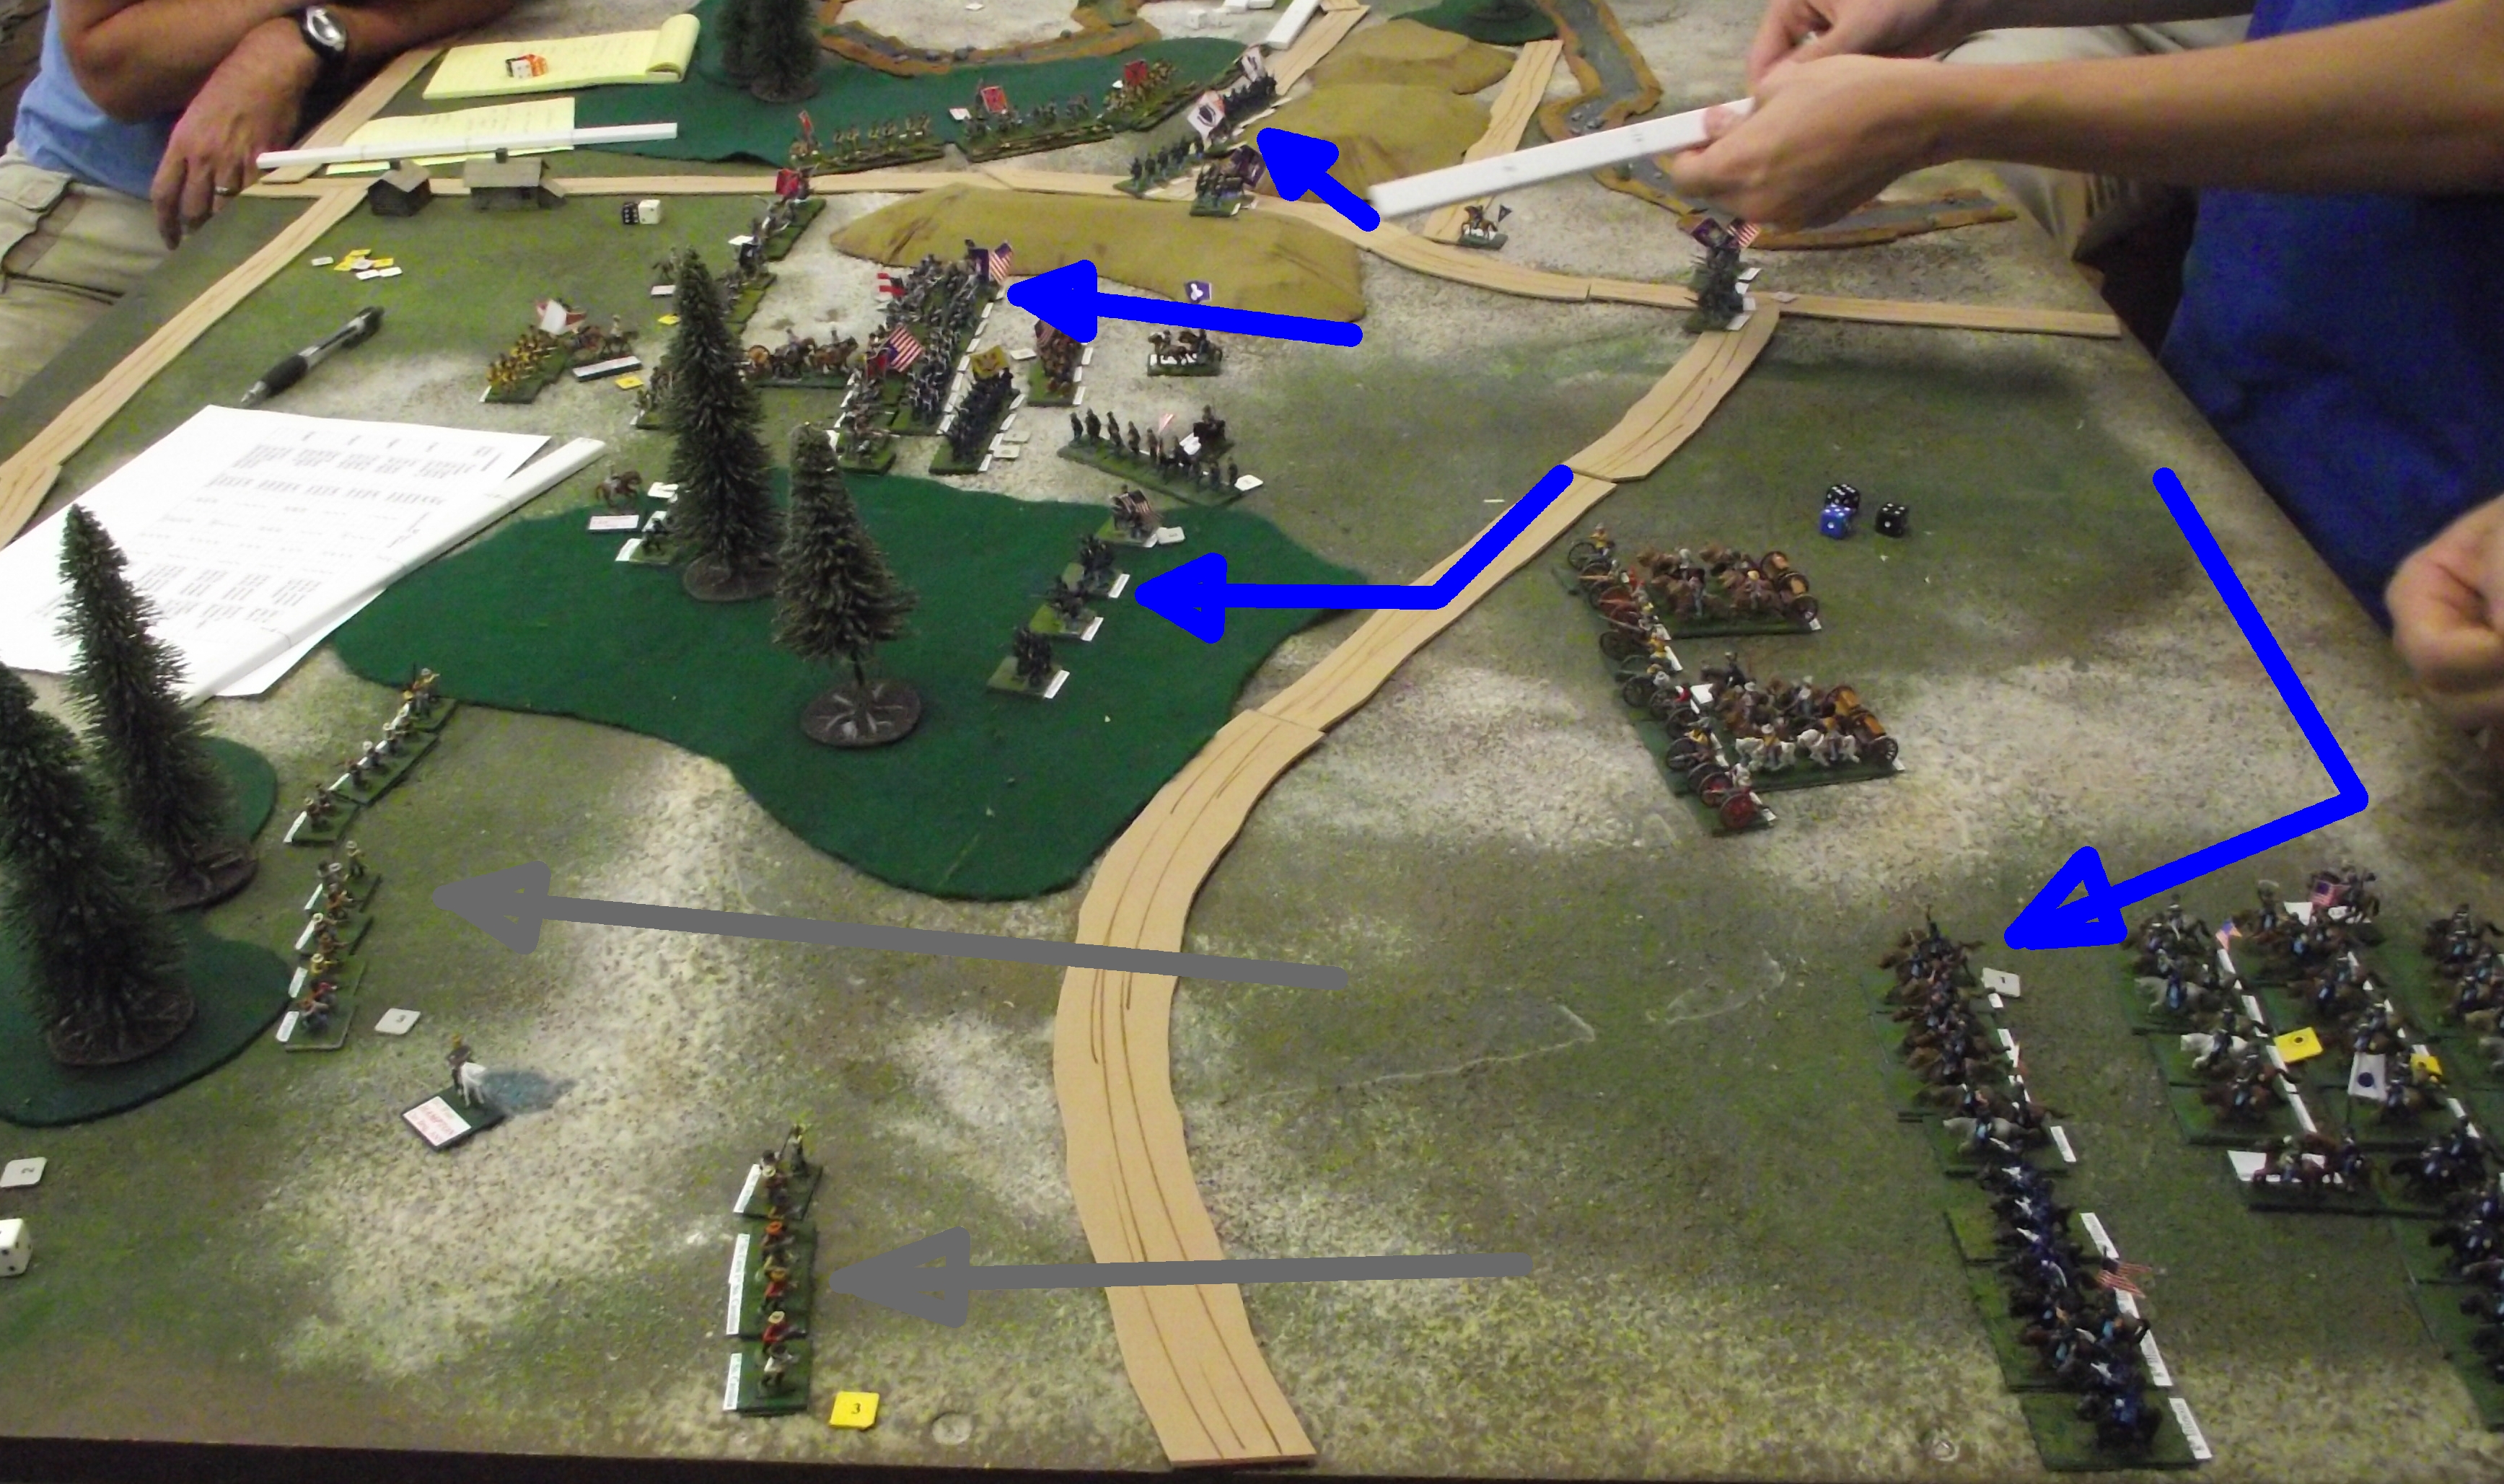
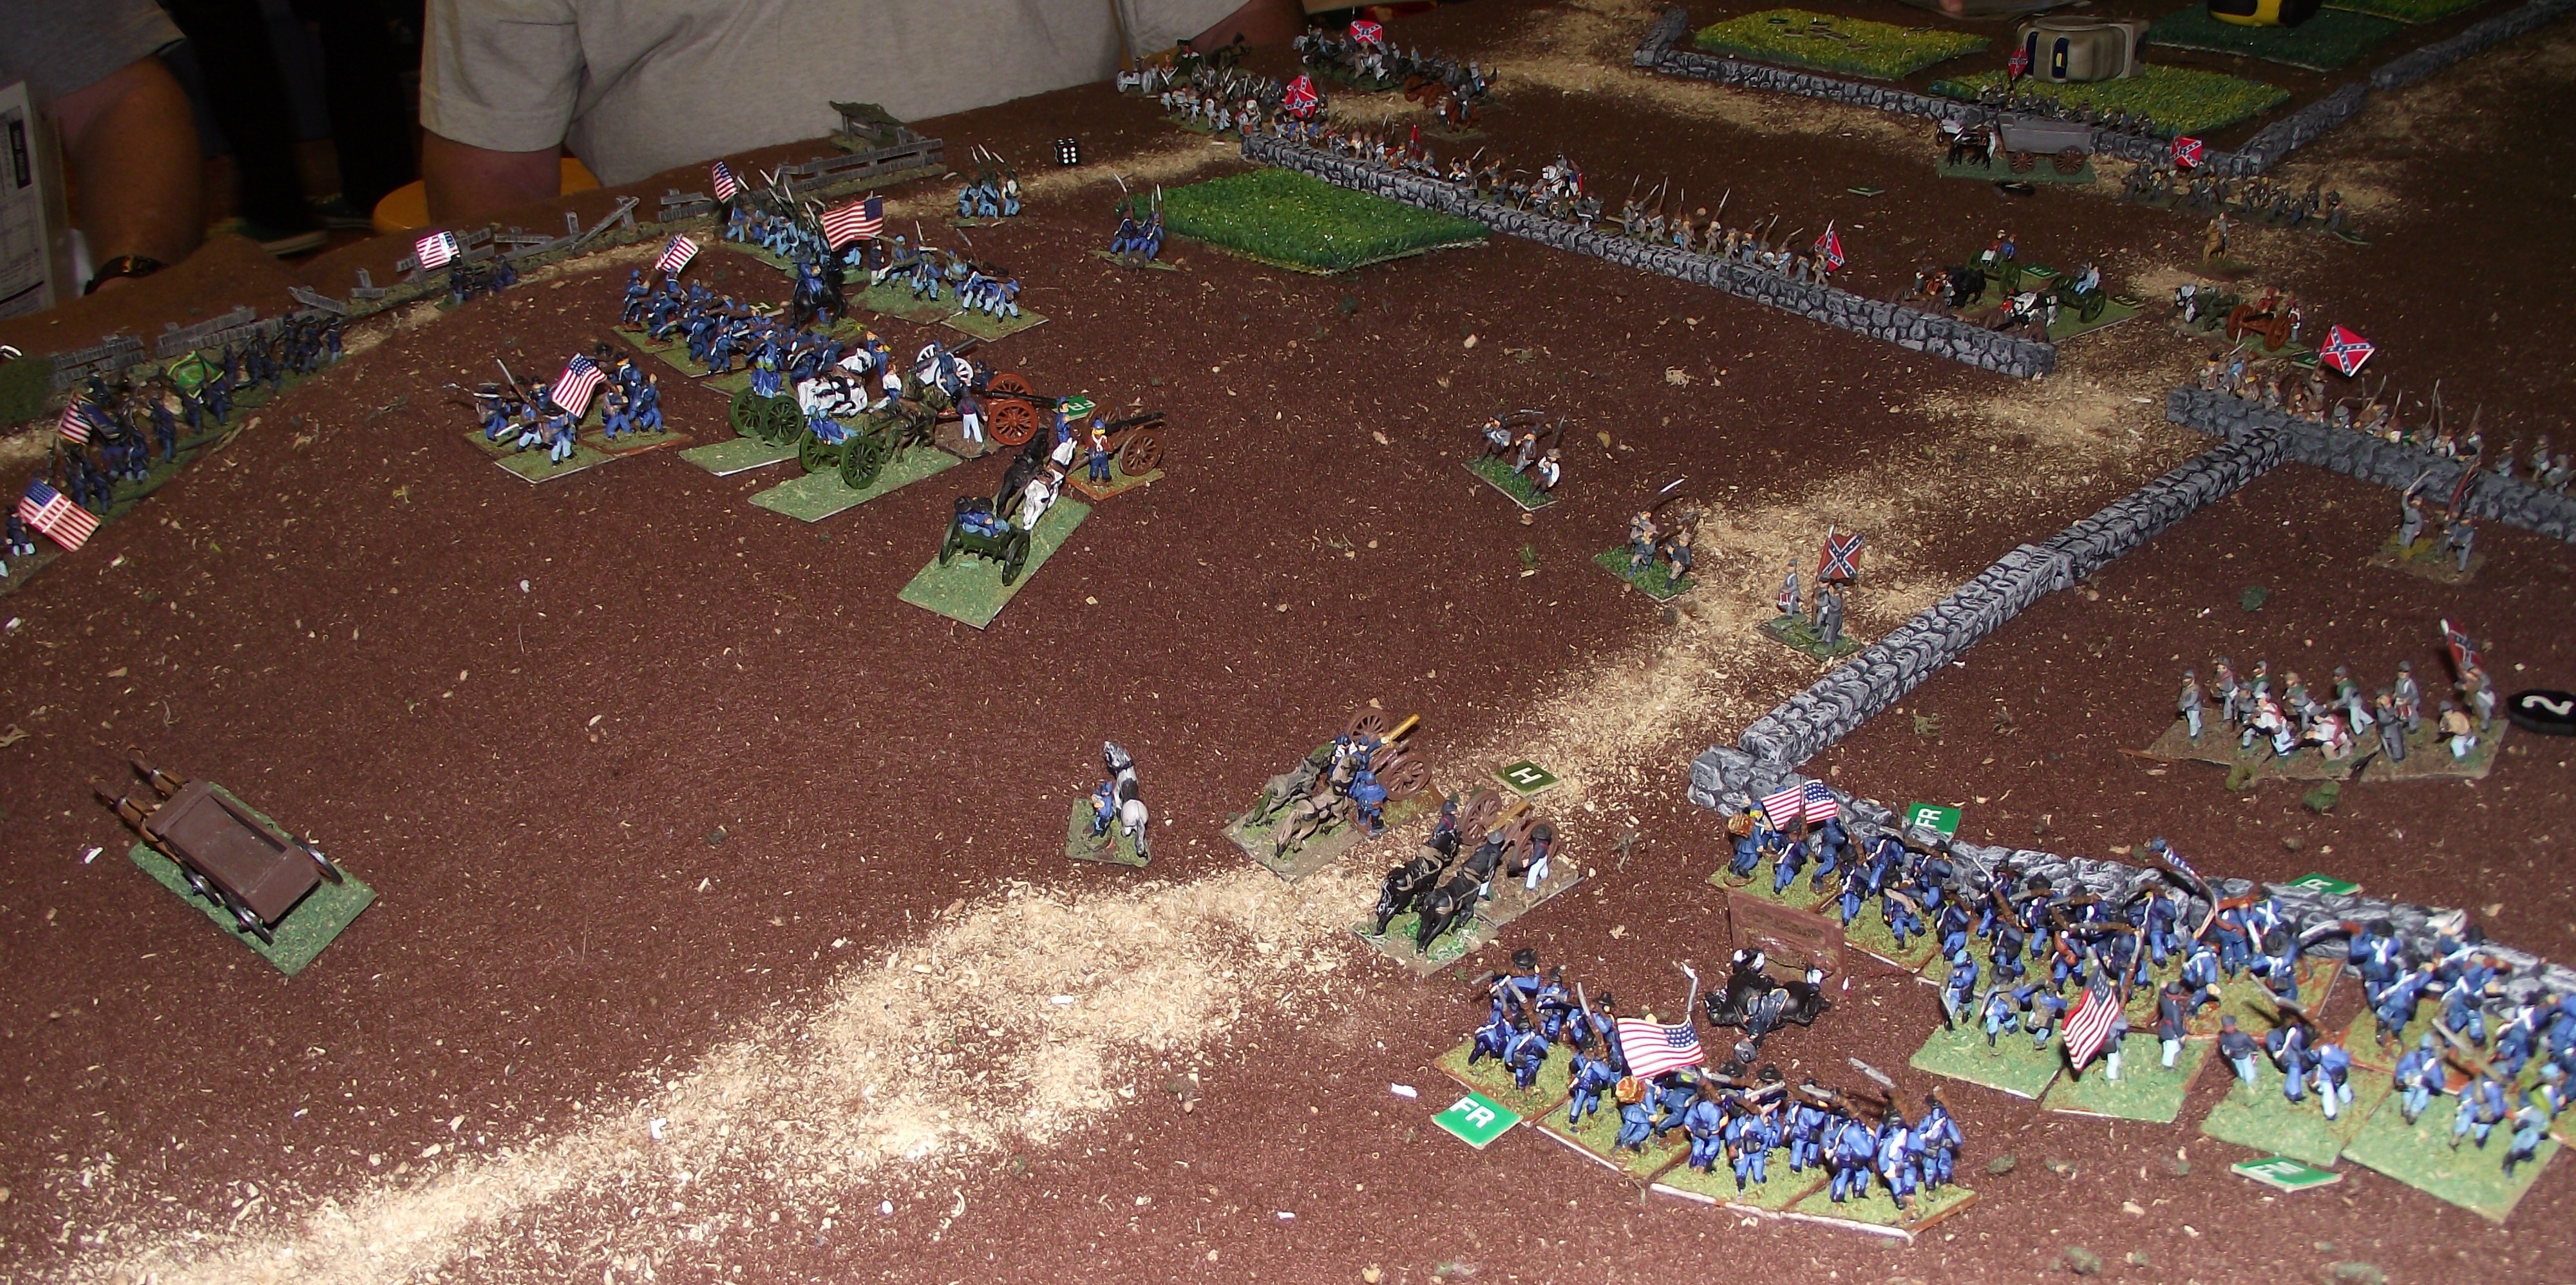
Union cavalry have formed for a grand advance, but poor command rolls delay movement. The Union artillery pounds the right of the Confederate line, but the dismounted cavalry retire in good order. A Confederate cavalry brigade in the woods has broken and retired. The Union infantry forces the Confederate center back, but takes heavy casualties.
The Confederates avoided the rout of the historical battle, while taking significant losses in cavalry and artillery. The Union side was hampered by the cramped deployment area, but attacked boldly in spite of heavy losses in infantry.
On Saturday the local HMGS-South group played an American Civil War game at the Dogs of War shop. The rules were Black Powder and the scenario (modified from Johnny Reb) was based on the action at Salem Church during the battle of Chancellorsville.
The 15mm figures used were generously donated to several Florida HMGS groups.
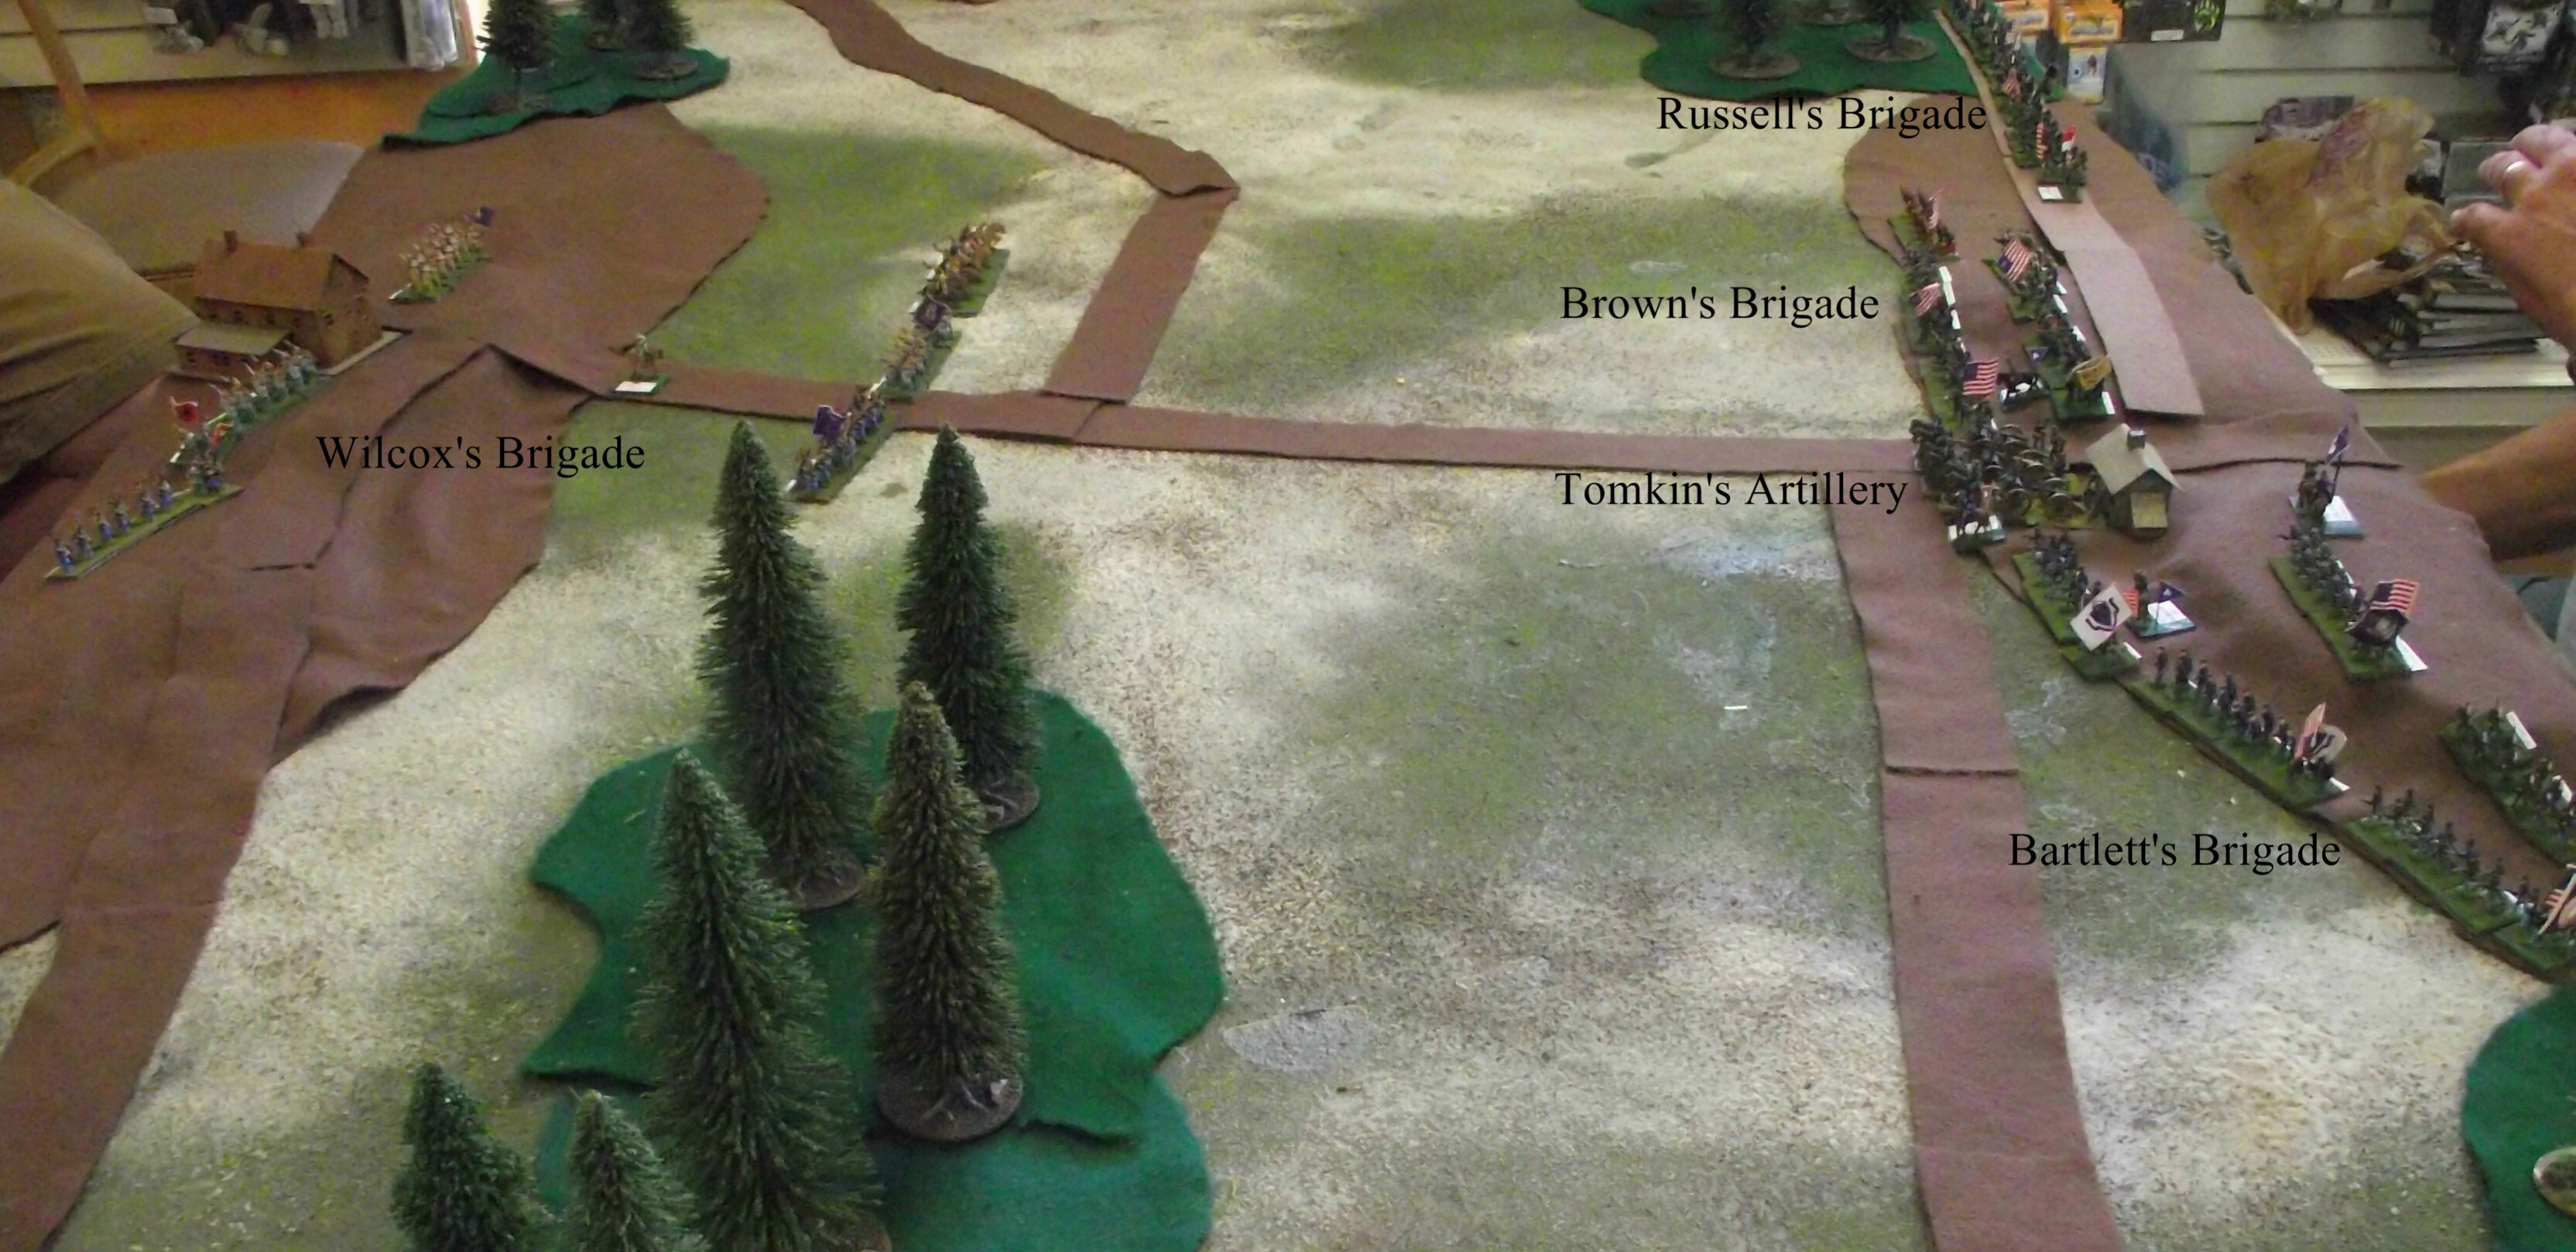
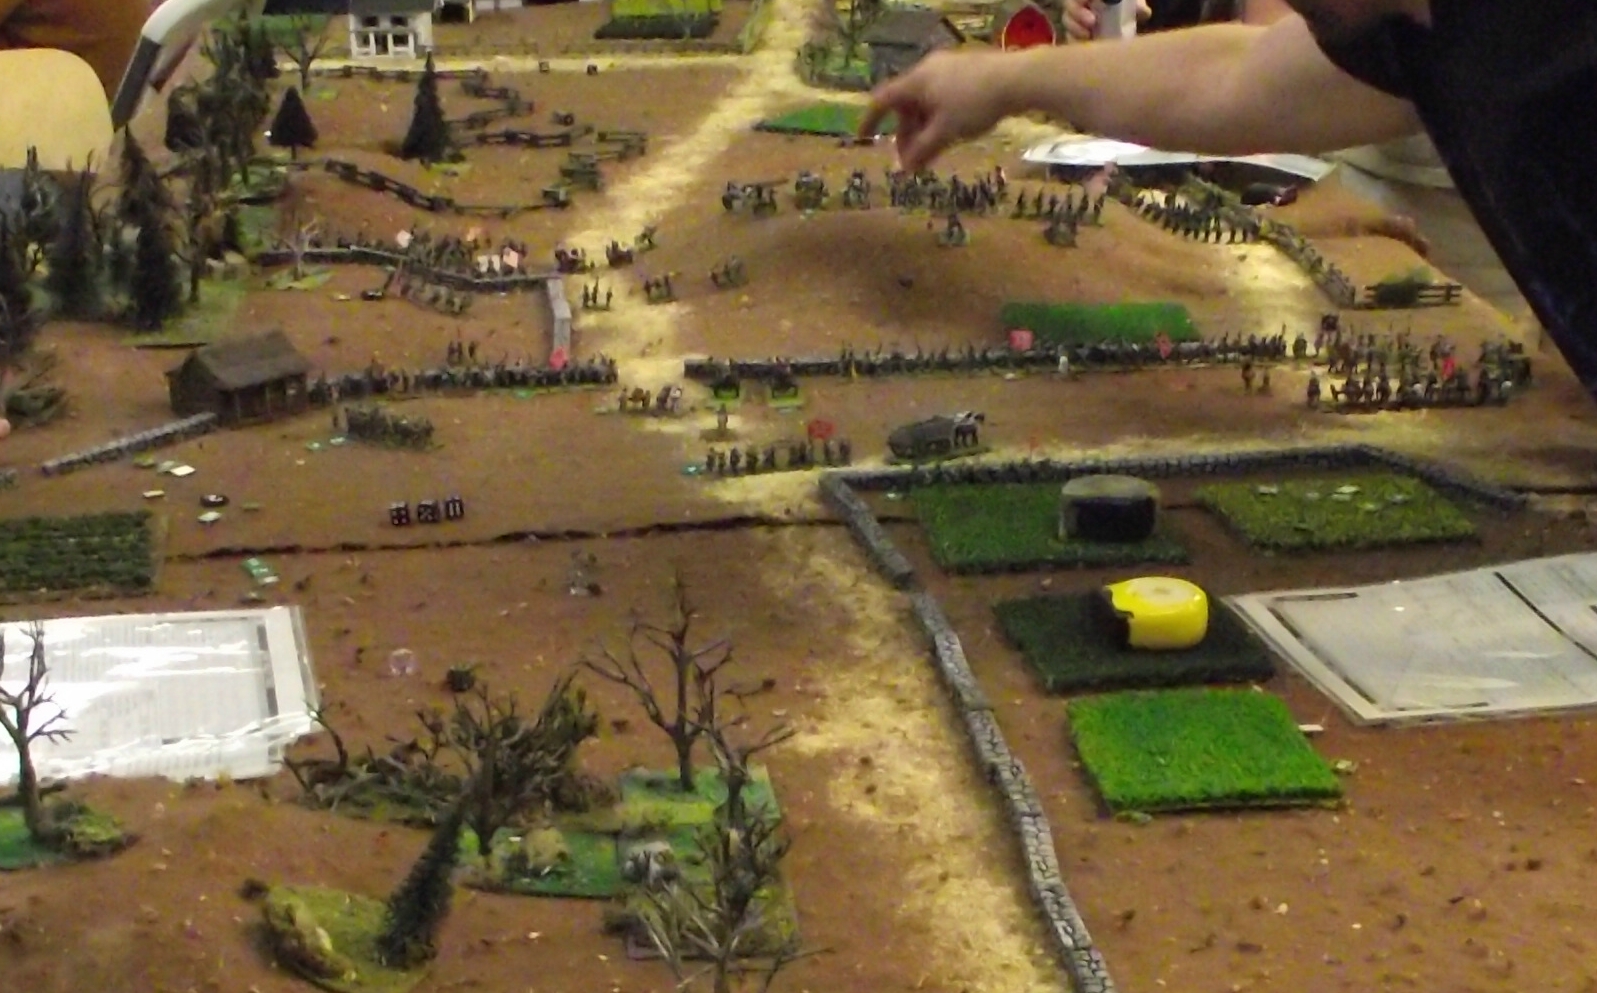
Initial positions with the Union on the right on Toll House ridge and Confederates on the left split between the Salem Church ridge and the valley below. The entire valley floor is scrub providing light cover.
Union troops around the Toll House.
Brown’s Brigade has advanced rapidly to the Confederate skirmish lines, forcing them back. Bartlett’s Brigade moves slower on the Union left. Artillery advances down the turnpike. Confederate reinforcements (Semmes’ Brigade, to be followed by Mahoone’s) are slowed by the congestion on the turnpike.
Confederate fire from Wilcox and Semmes, and a flank threat by skirmishing dismounted cavalry have halted Brown’s Brigade, but Bartlett continues to sweep forward through the woods on the Union left.
After several turns of sitting idle on Toll House ridge, Russell’s Brigade rushes across the valley to extend the Union right. This ends the threat to Brown by Semmes’ Brigade and forces the enfilading Confederate battery to retreat. Bartlett has reached Salem Church ridge on the Union left. Mahone’s Brigade has arrived and is deploying on the Confederate left.
Tactically, the action ends with a stalemate at nightfall like the historic action, but for the overall battle that is all the Confederates needed. The Union VI Corps will not be able to move on Chancellorsville.
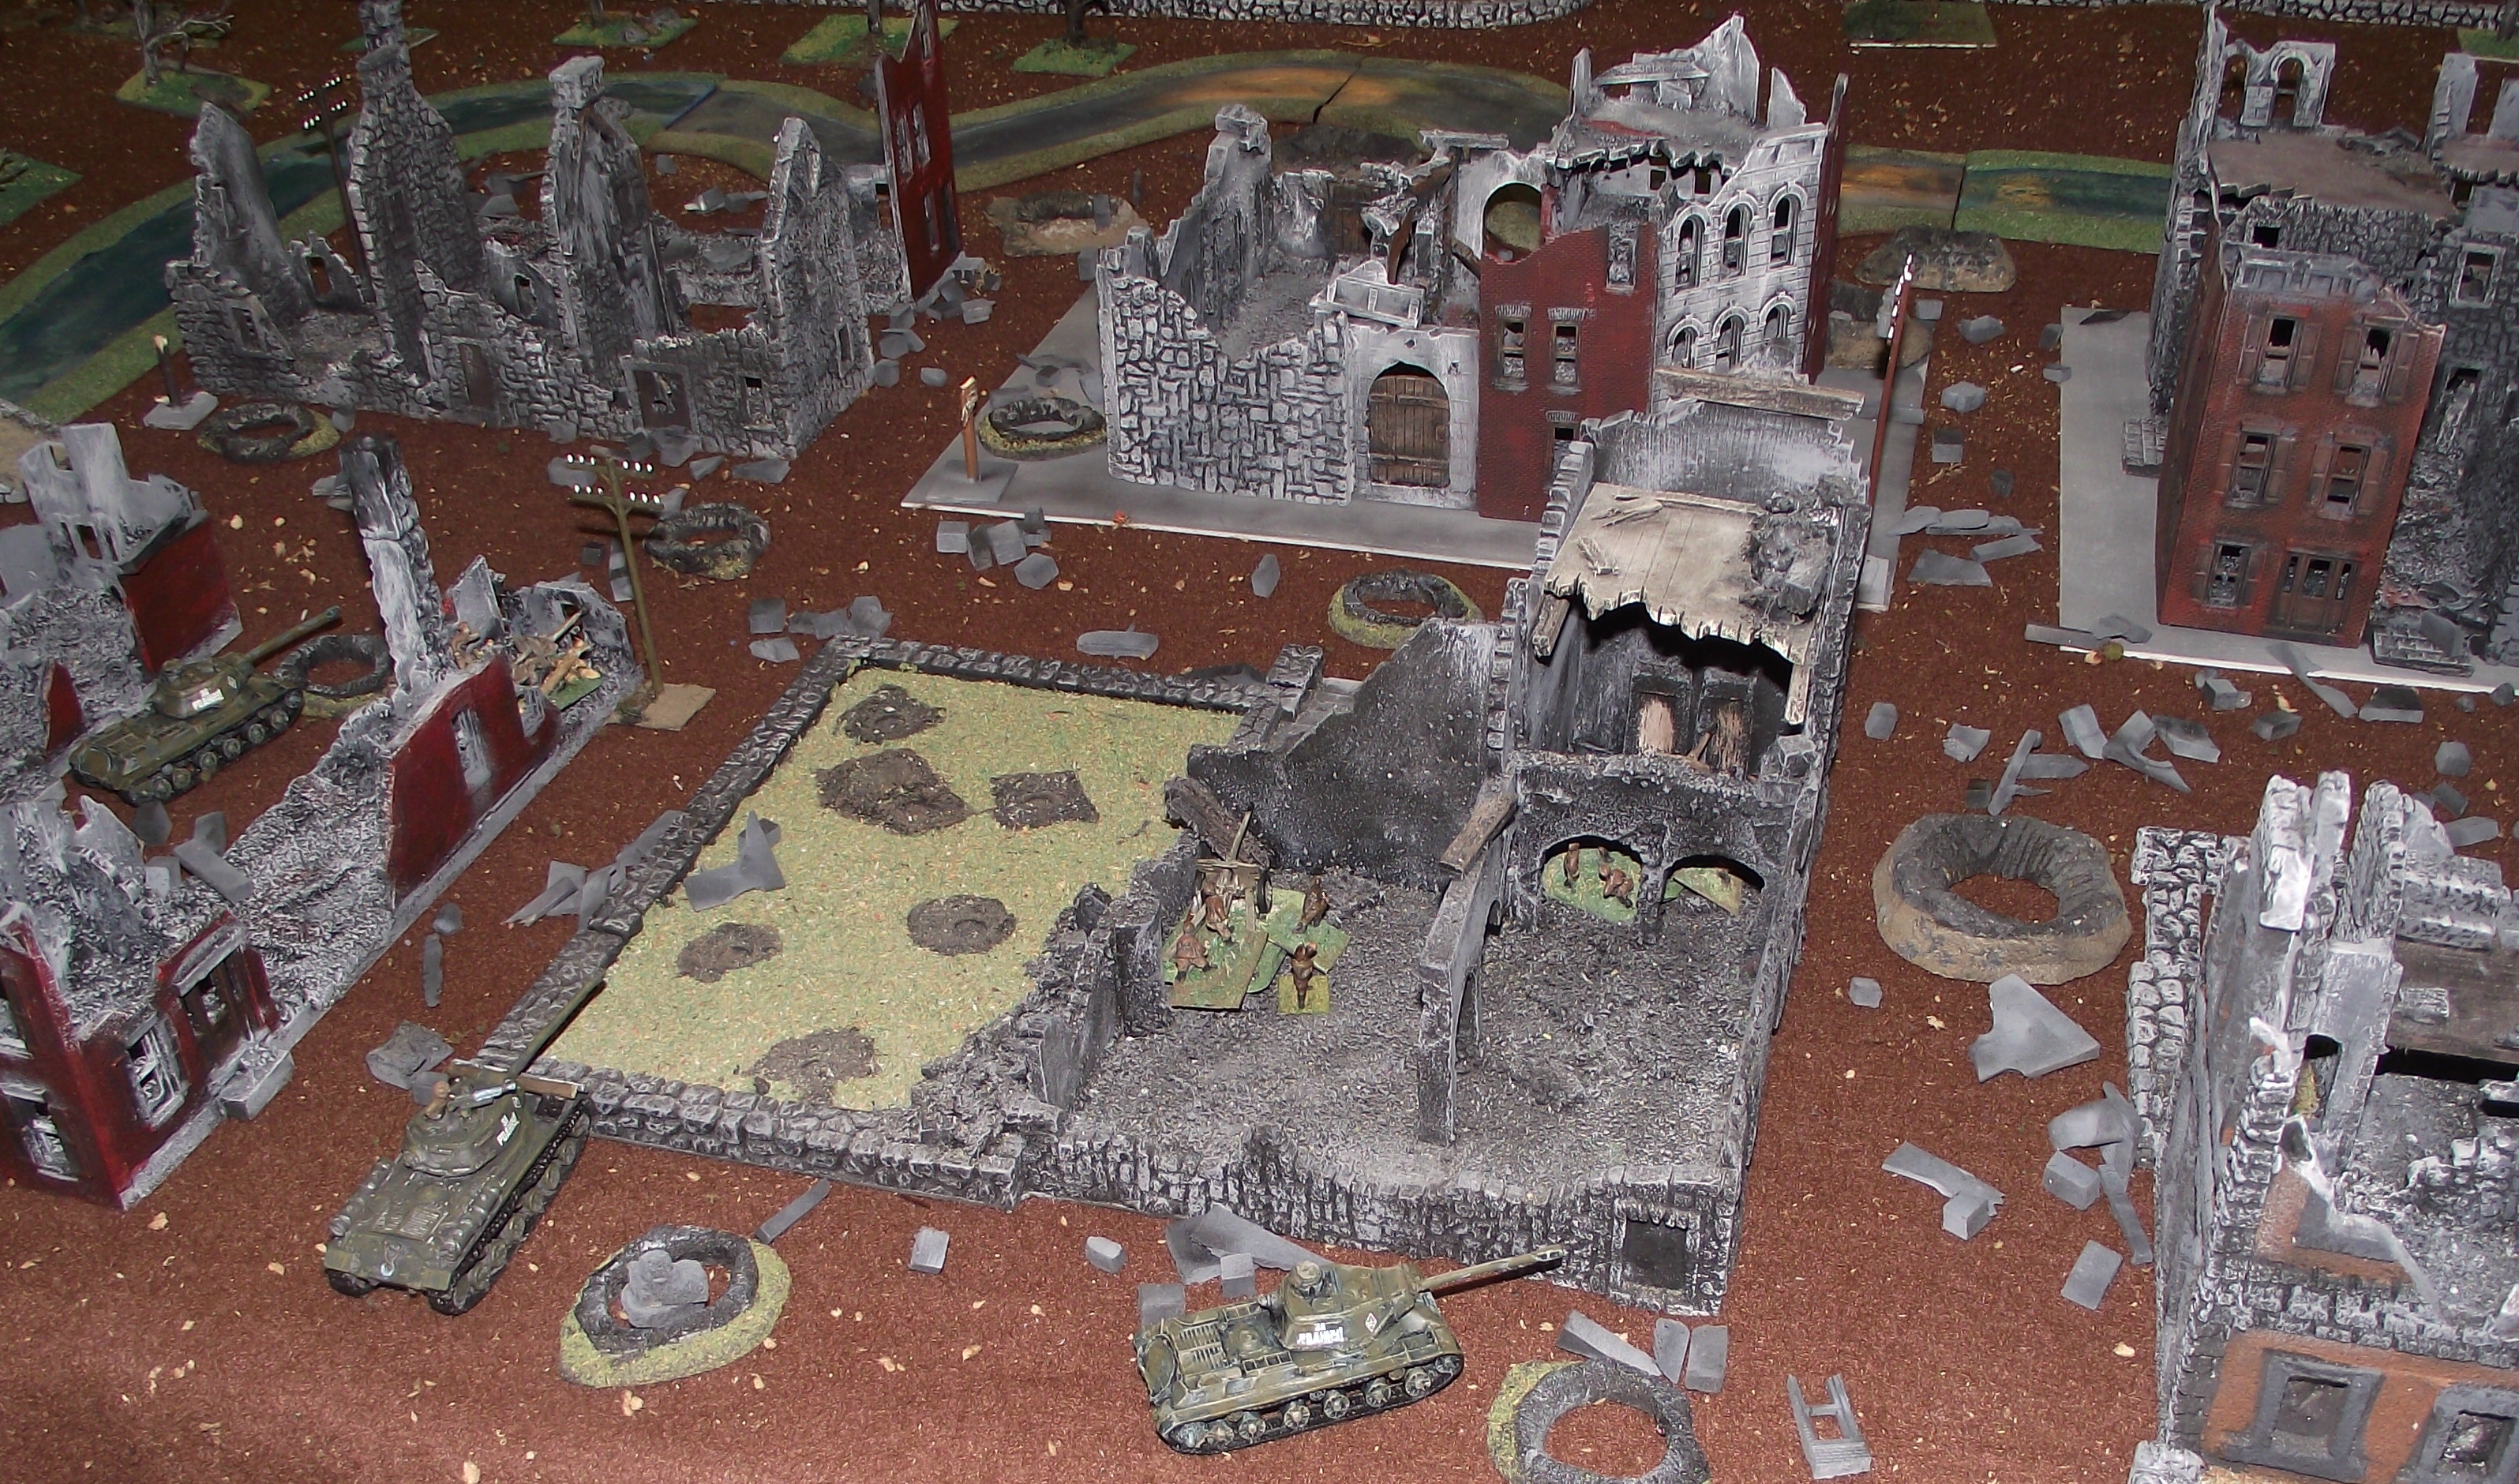
Saturday the local HMGS-South group played a game of Rapid Fire. The scenario was based on the action at Ziegenhagen on the River Ihna, February 8th, 1945.
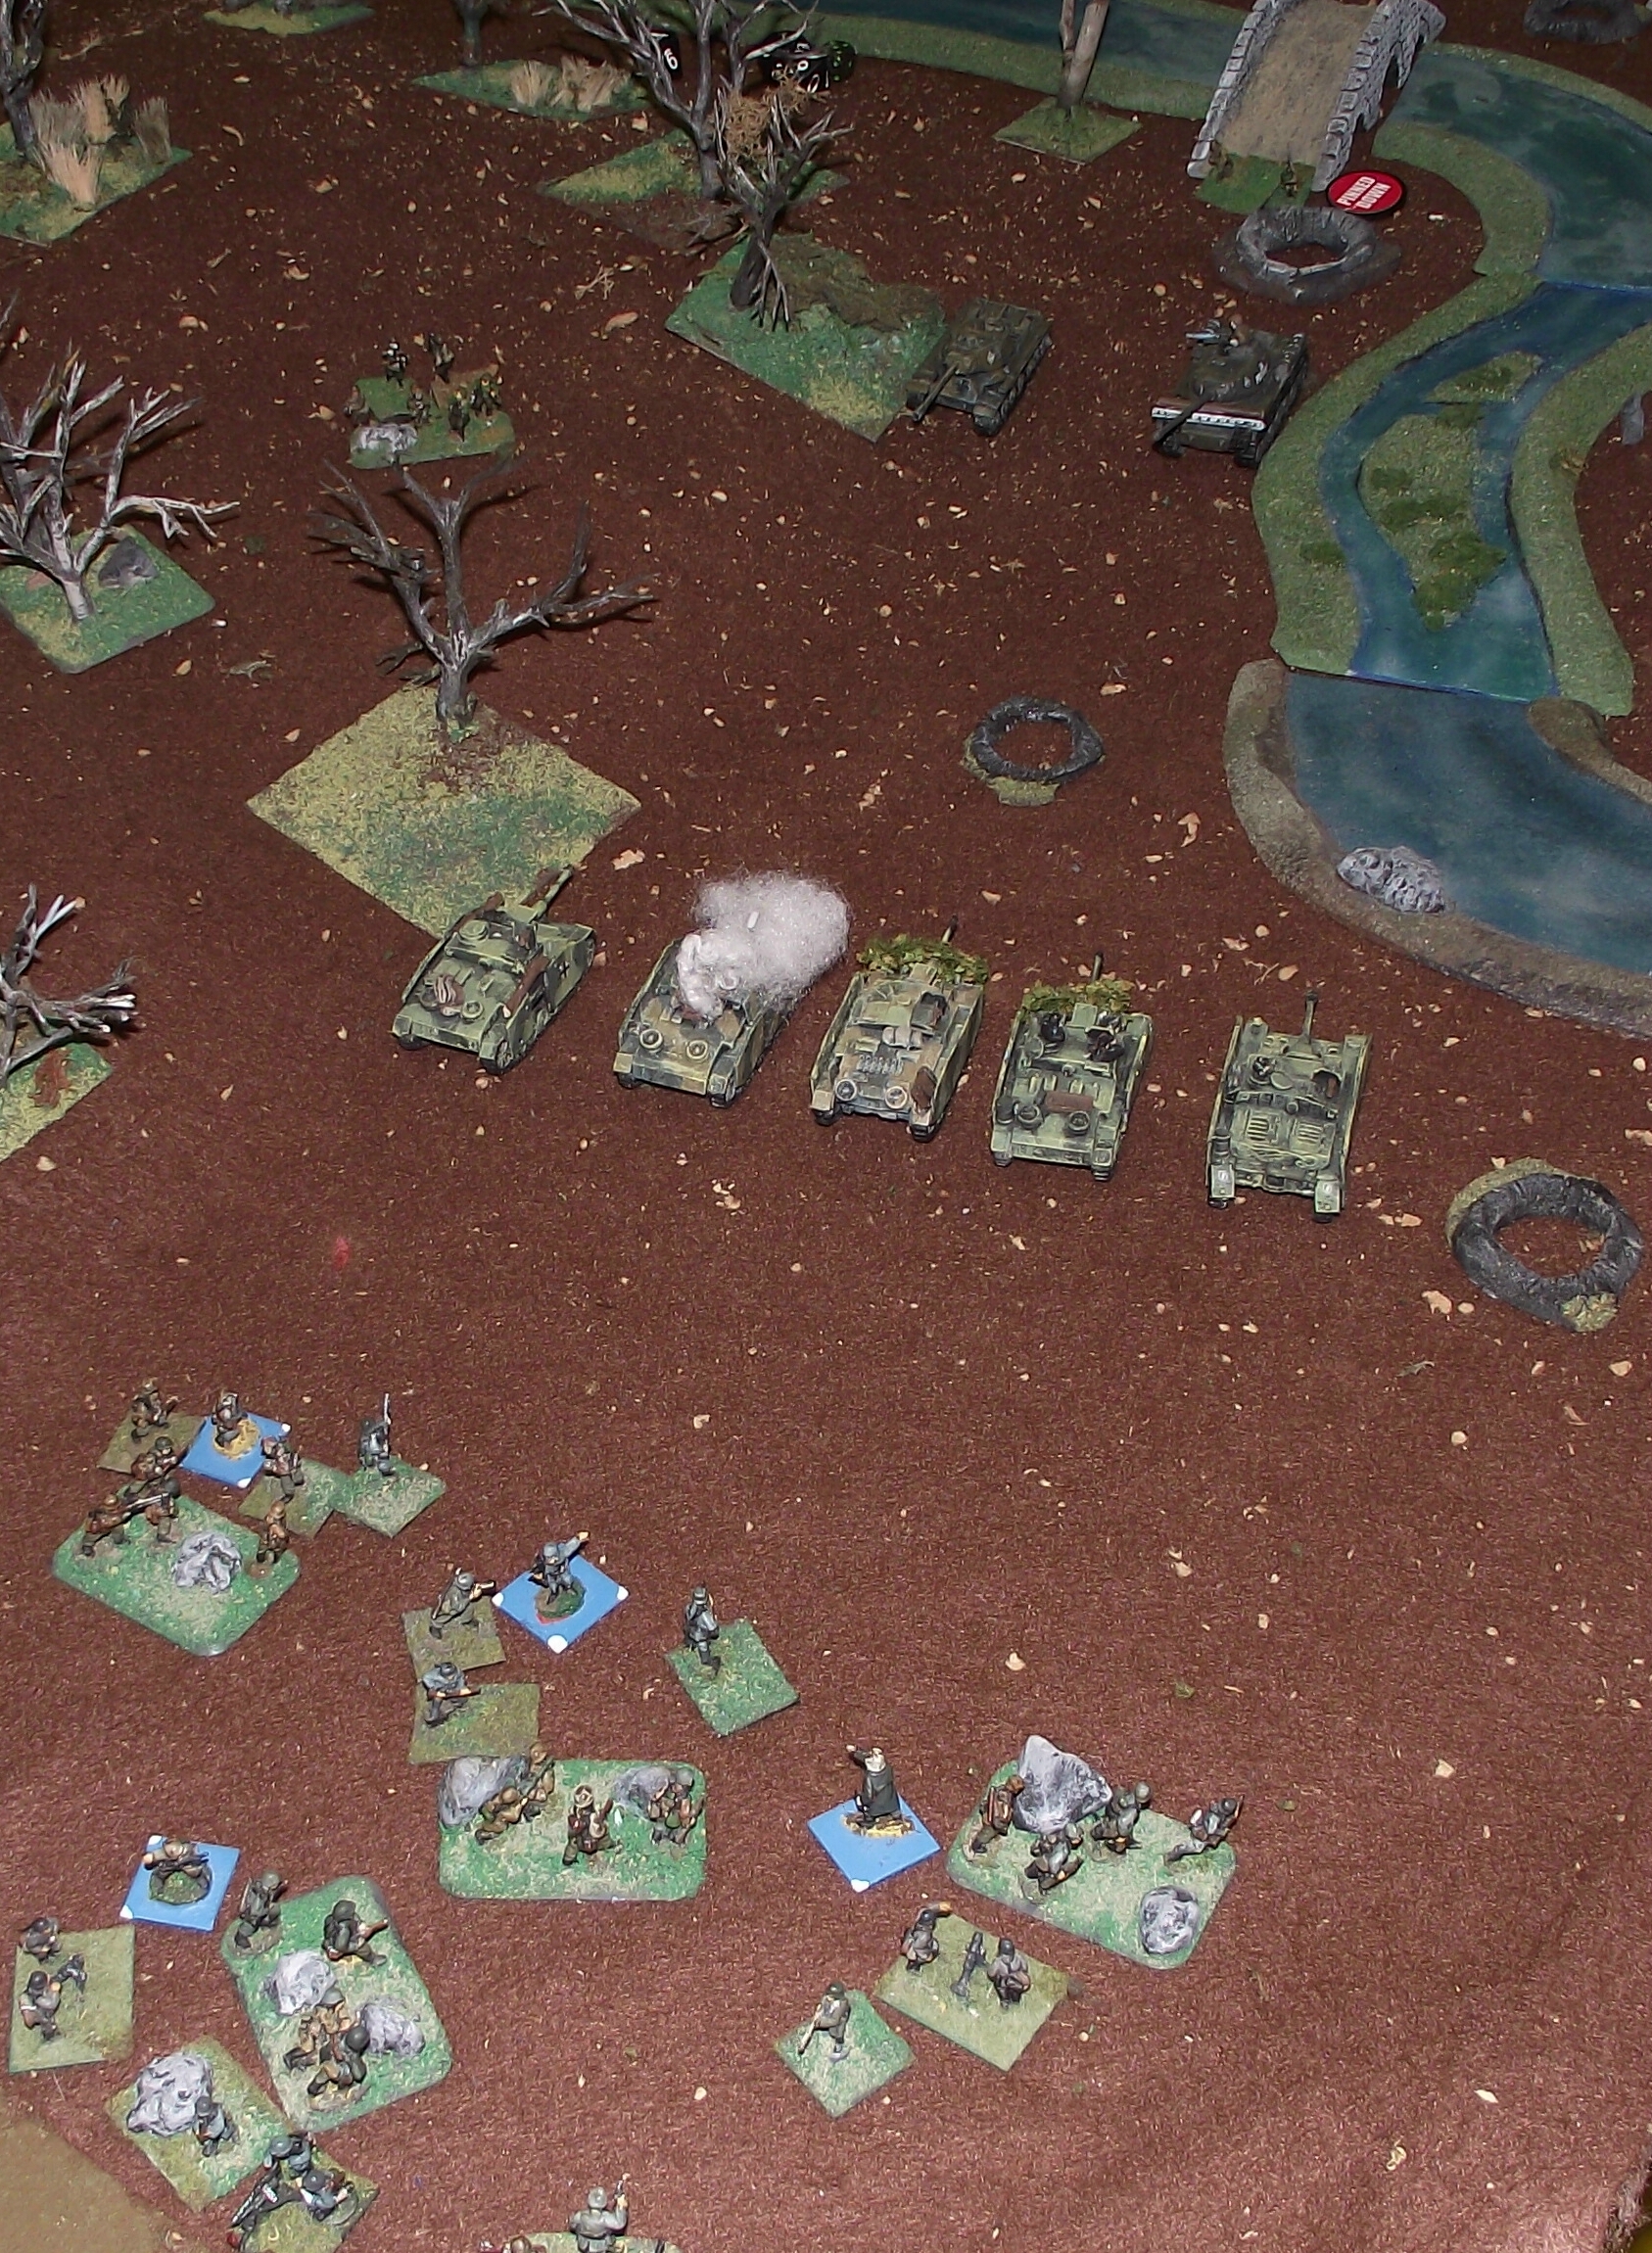
The German force of 3 infantry platoons, 3 Tiger IIs, 2 Elephants, 5 Stugs and several Hummels faced a Soviet force of 3 JS-1s, 5 T-34/85s, 13 T-34/76s and several AT guns. Each T-34 carried a squad of desant infantry. The Soviet needed to gain undisputed control of one of the two Ihna River bridges.
The Soviet T-34s were reinforcements, with a random number arriving each turn. The Germans chose to send the Stugs and an infantry platoon by an unmapped path to the south bridge, with the possibility of a long delay.
JS-1s hiding among the ruins of Ziegenhagen
JS-1s and AT guns await the Germans
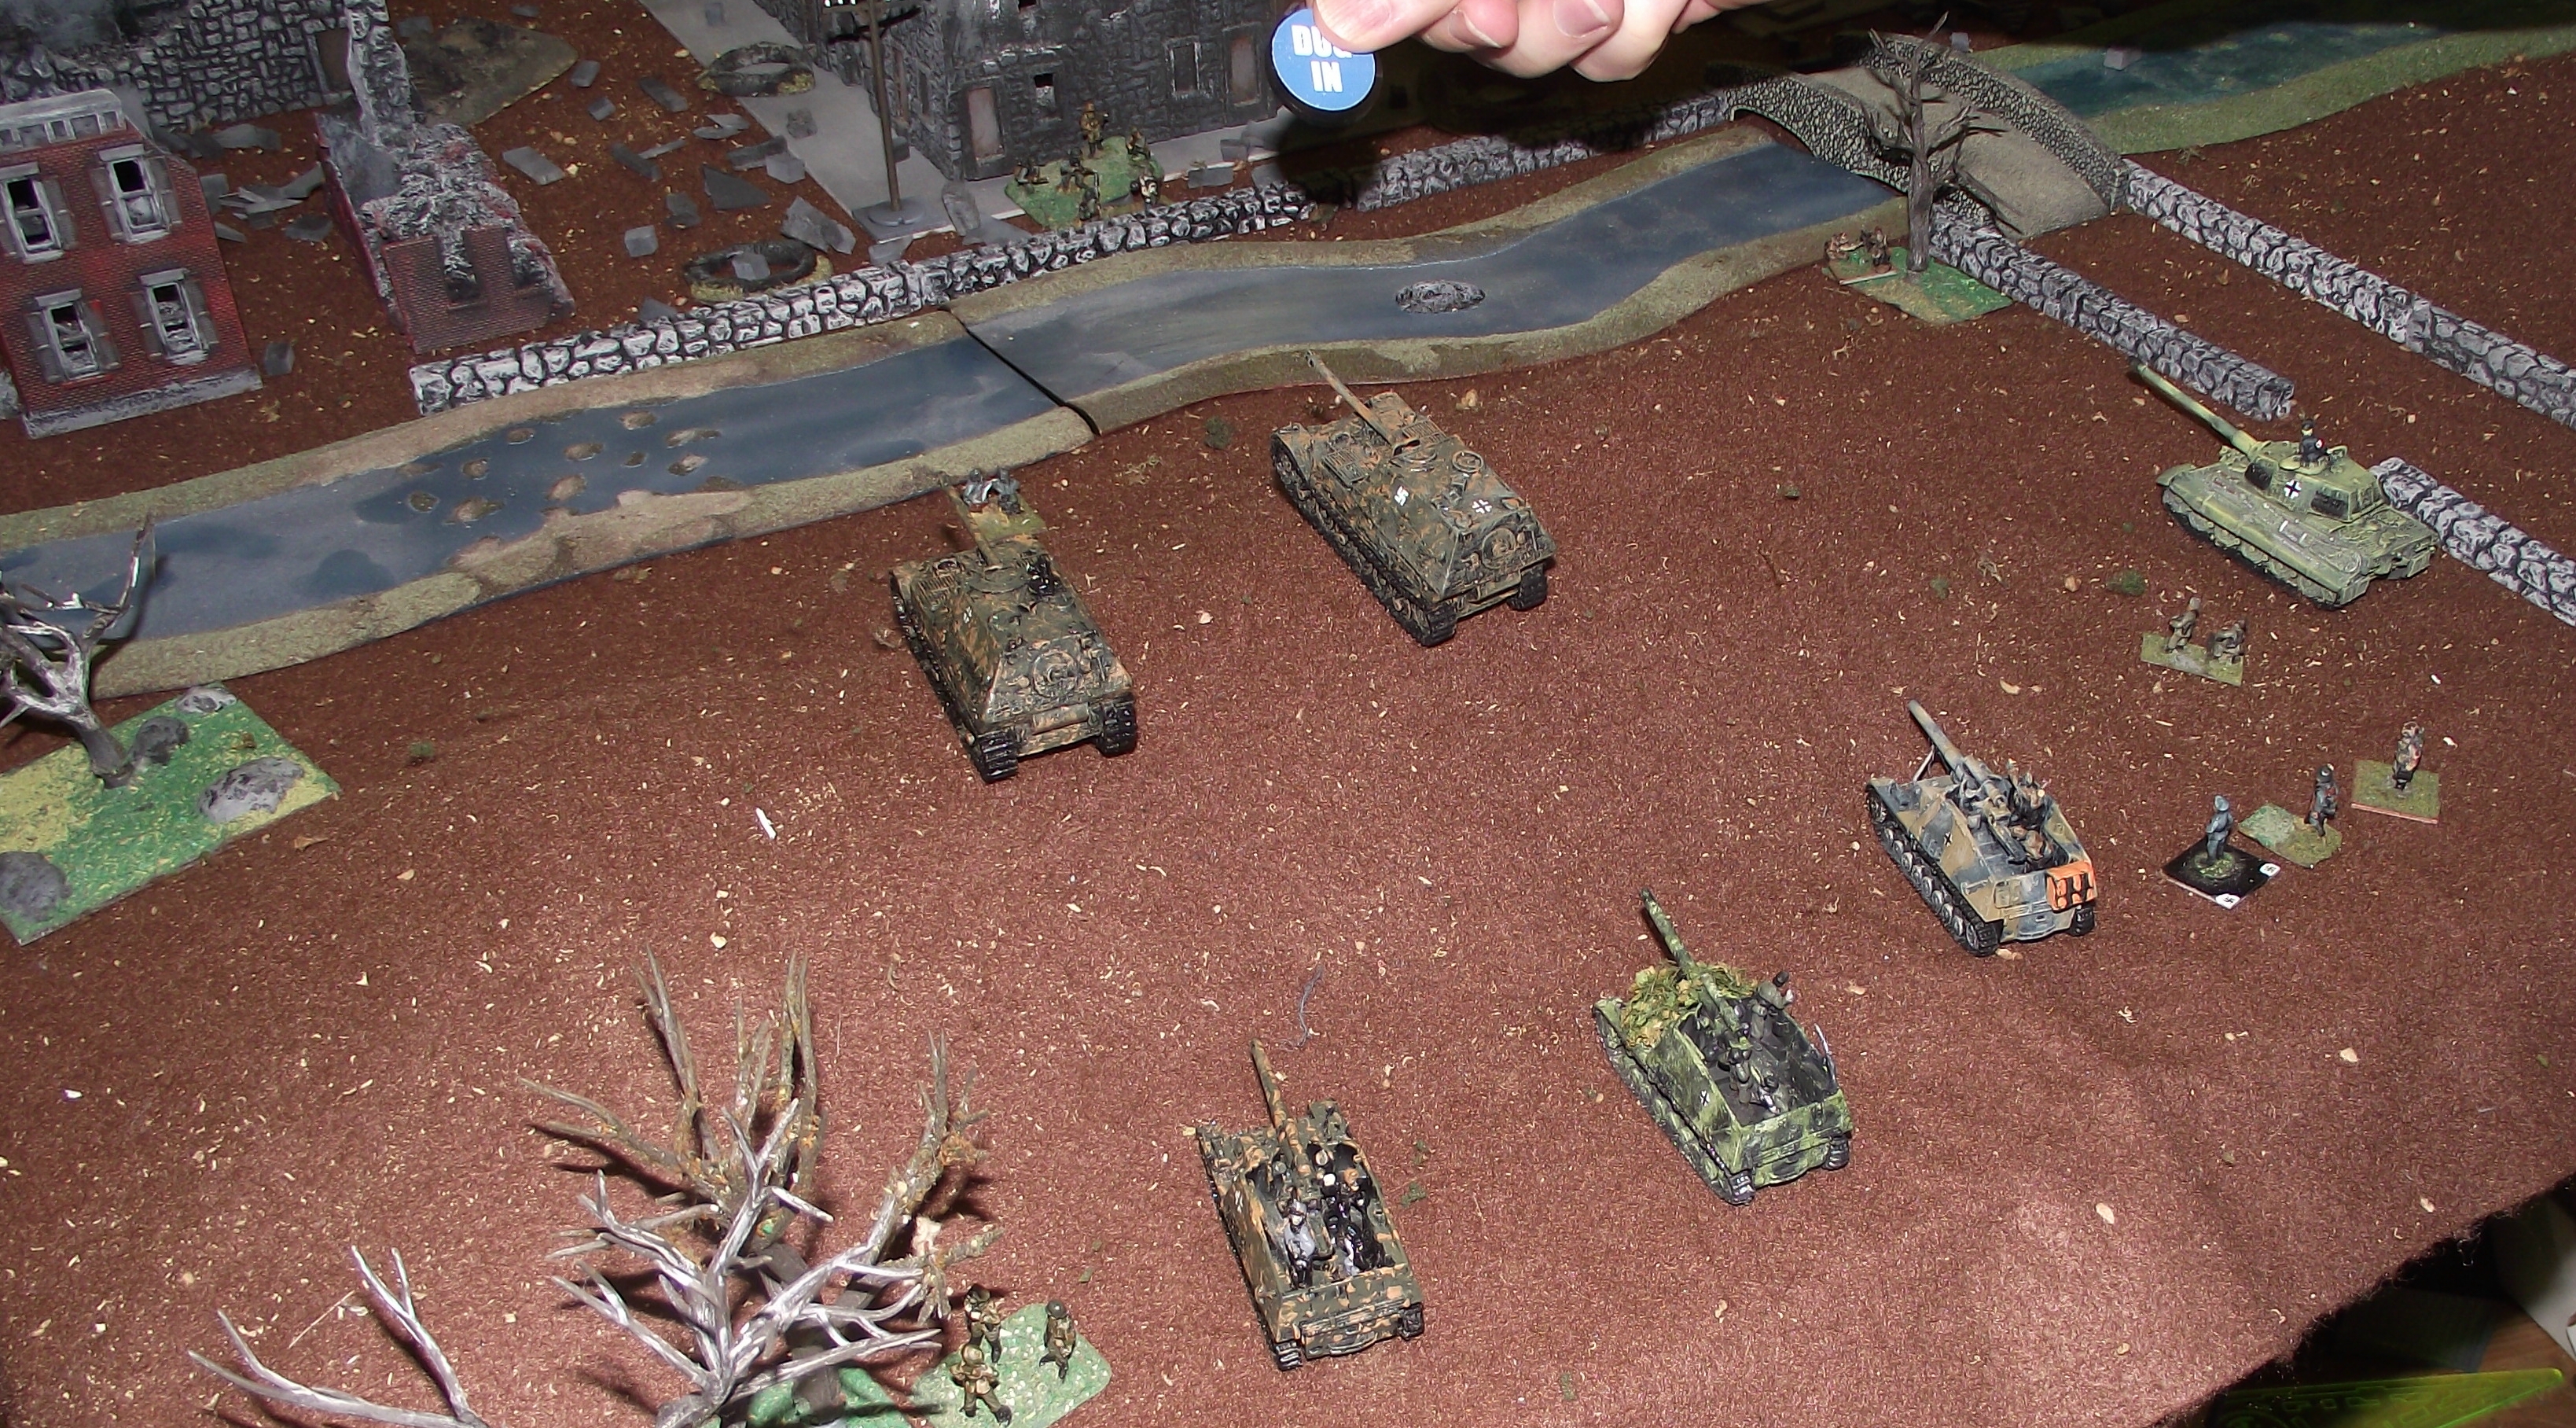
Elephants on a hill and a Tiger II sight down the streets of Ziegenhagen. Hummels behind the hill wait for fire orders.
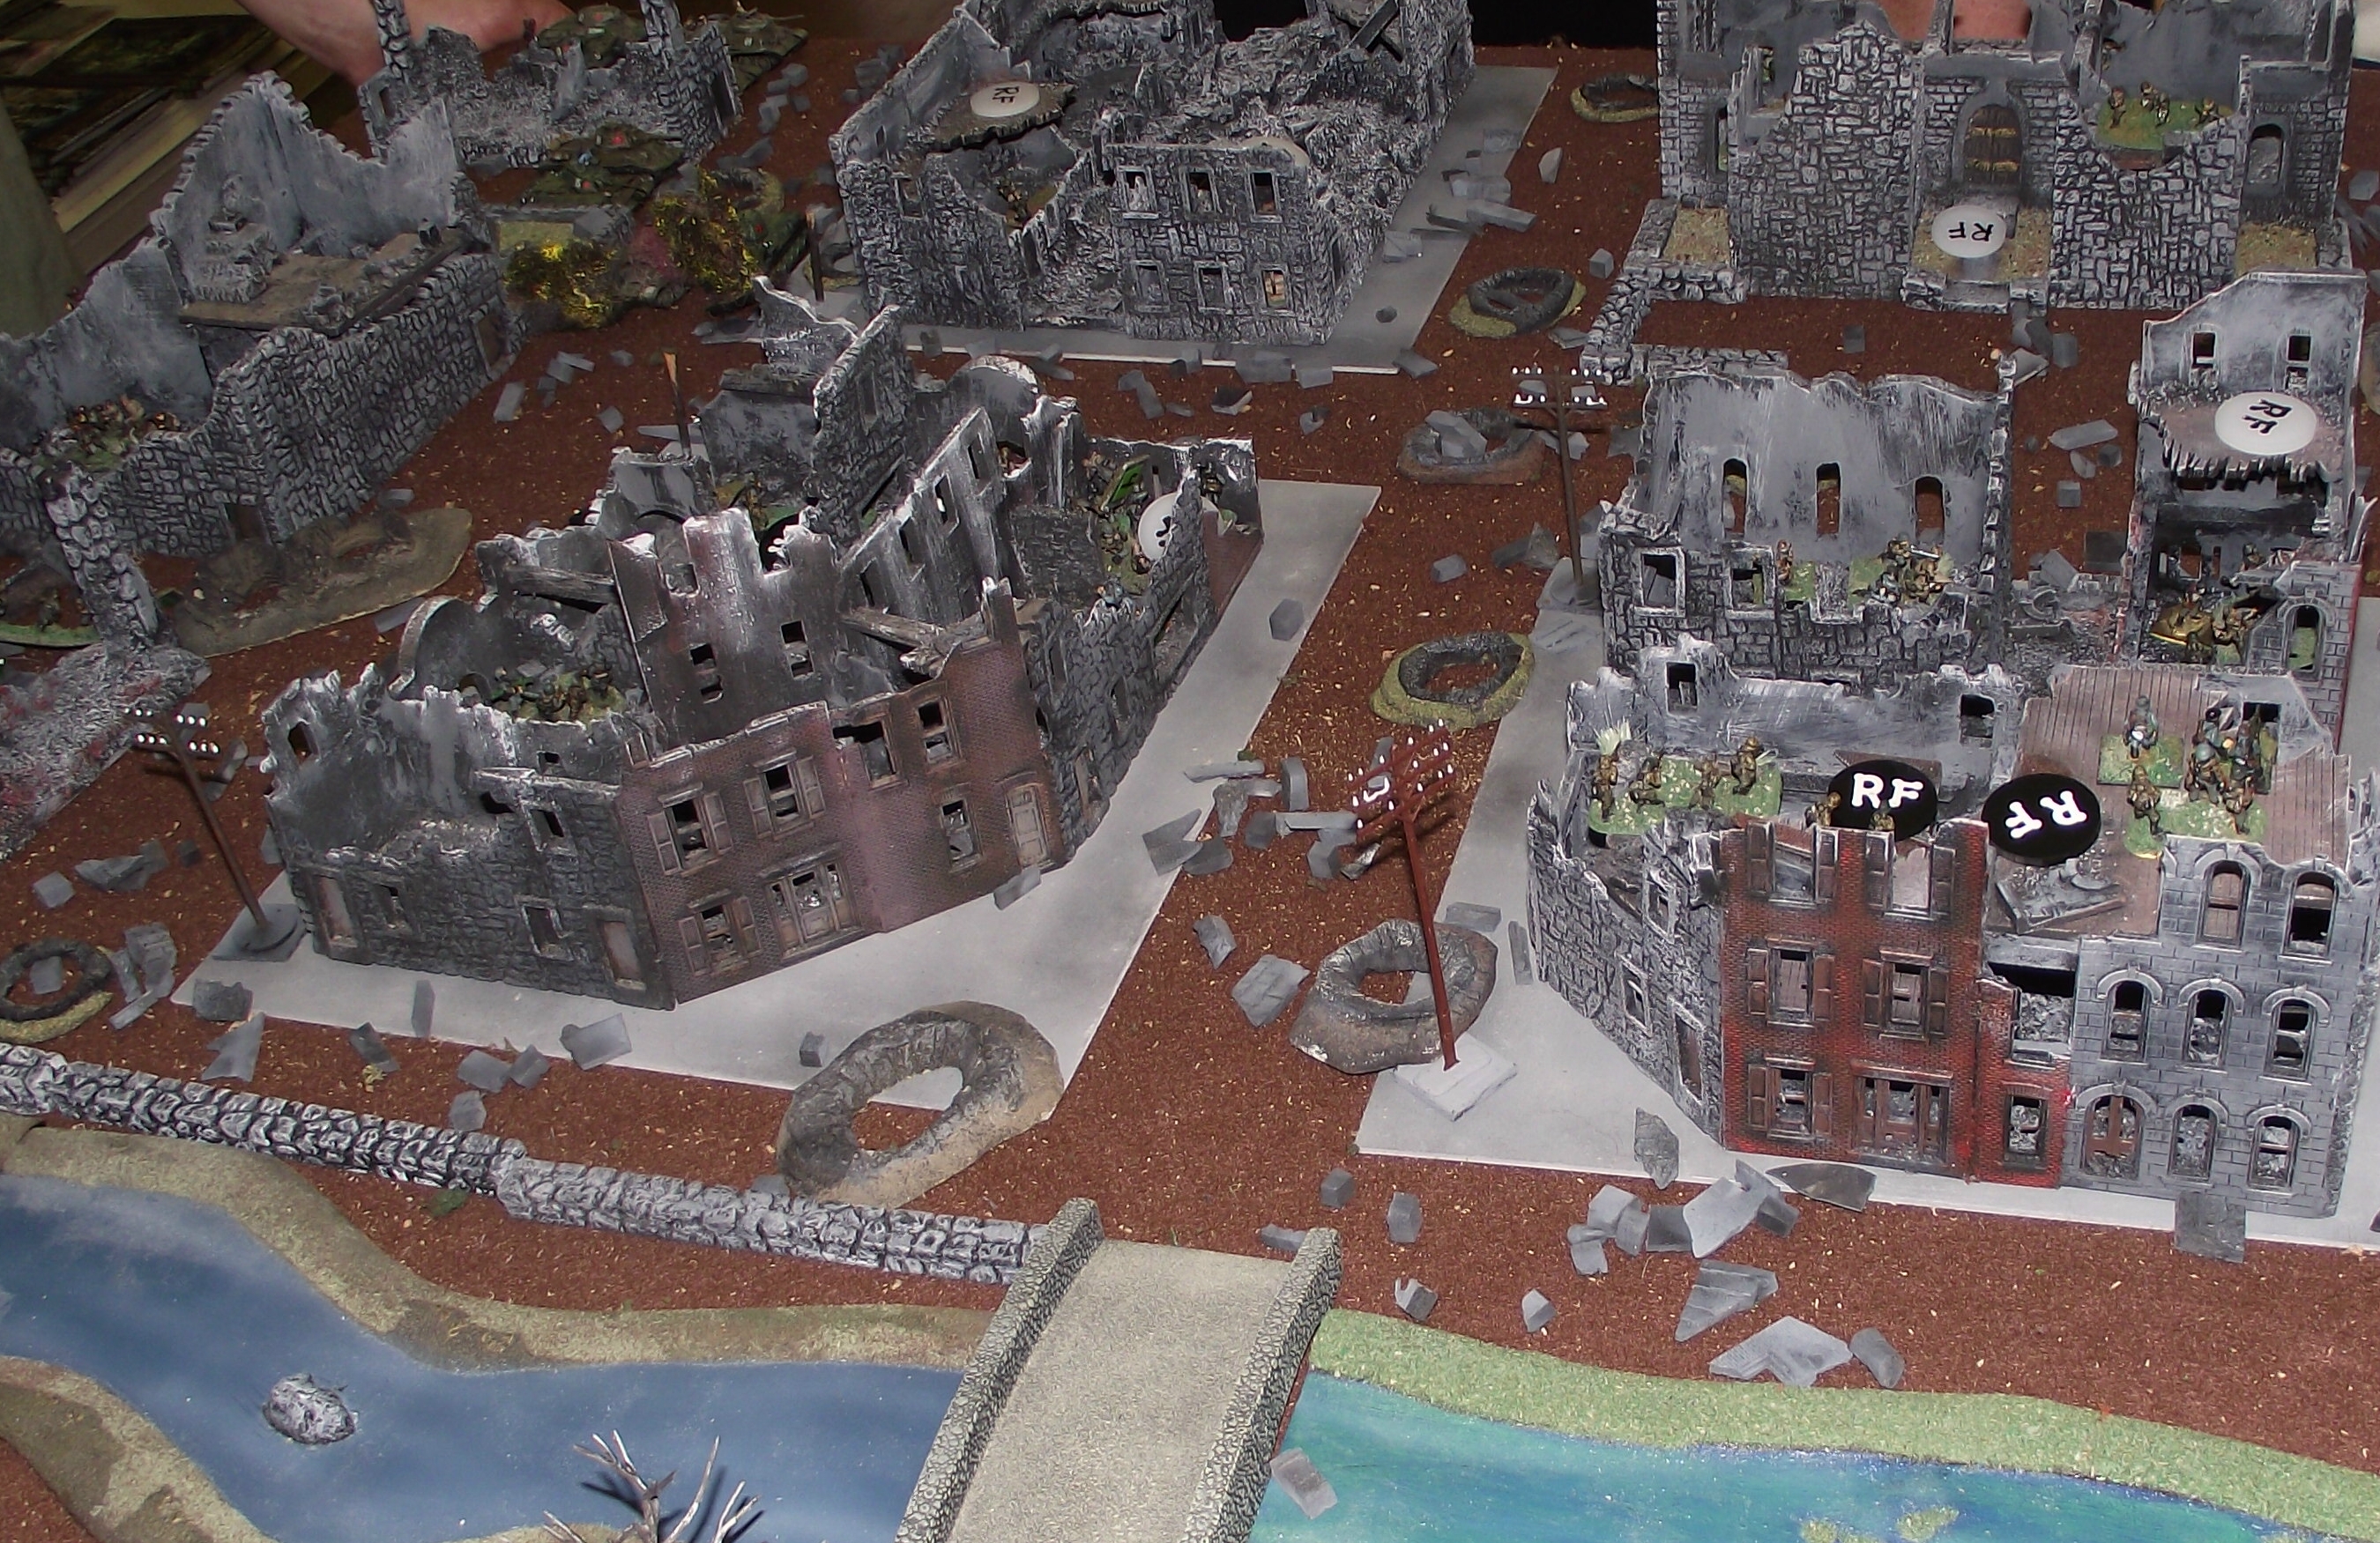
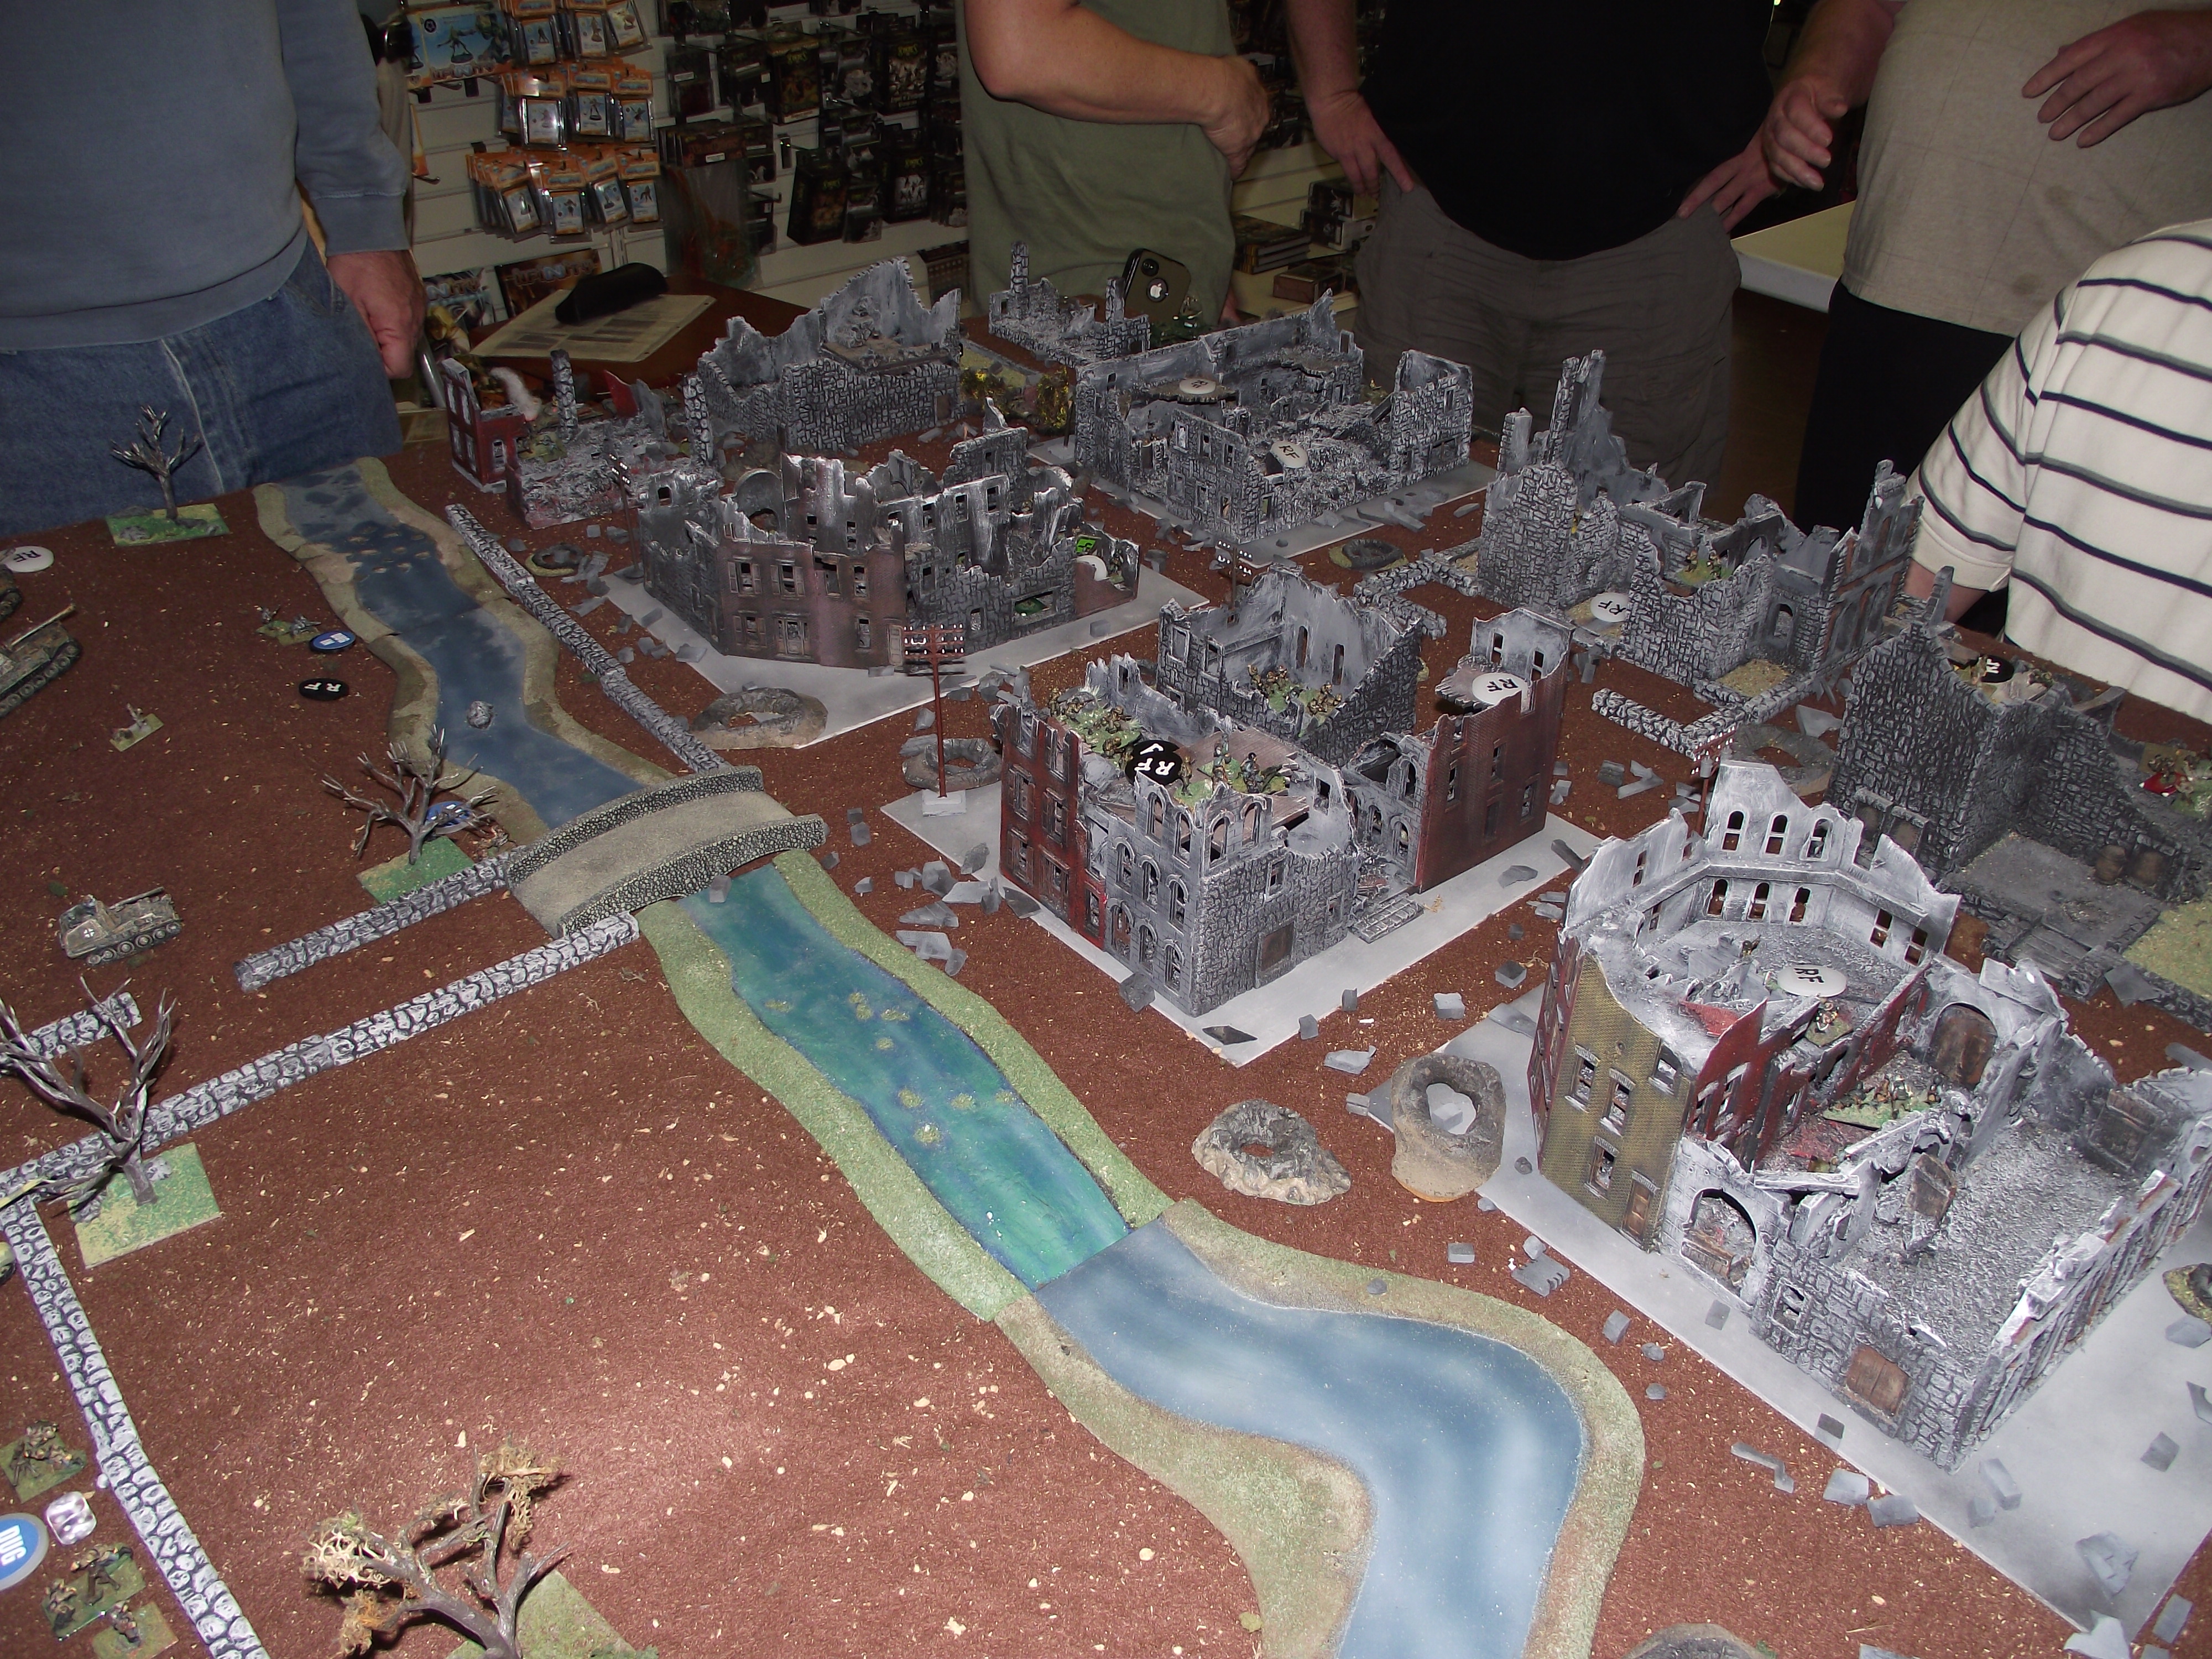
View of the town from the south. German infantry move to occupy the buildings near the left bridge.
German Elephant and Tiger II guns target Soviet tanks as they enter the town from the upper left. Infantry edges forward through the ruins.
A JS-1 briefly shows a flank to a Tiger II, but the shot is missed.
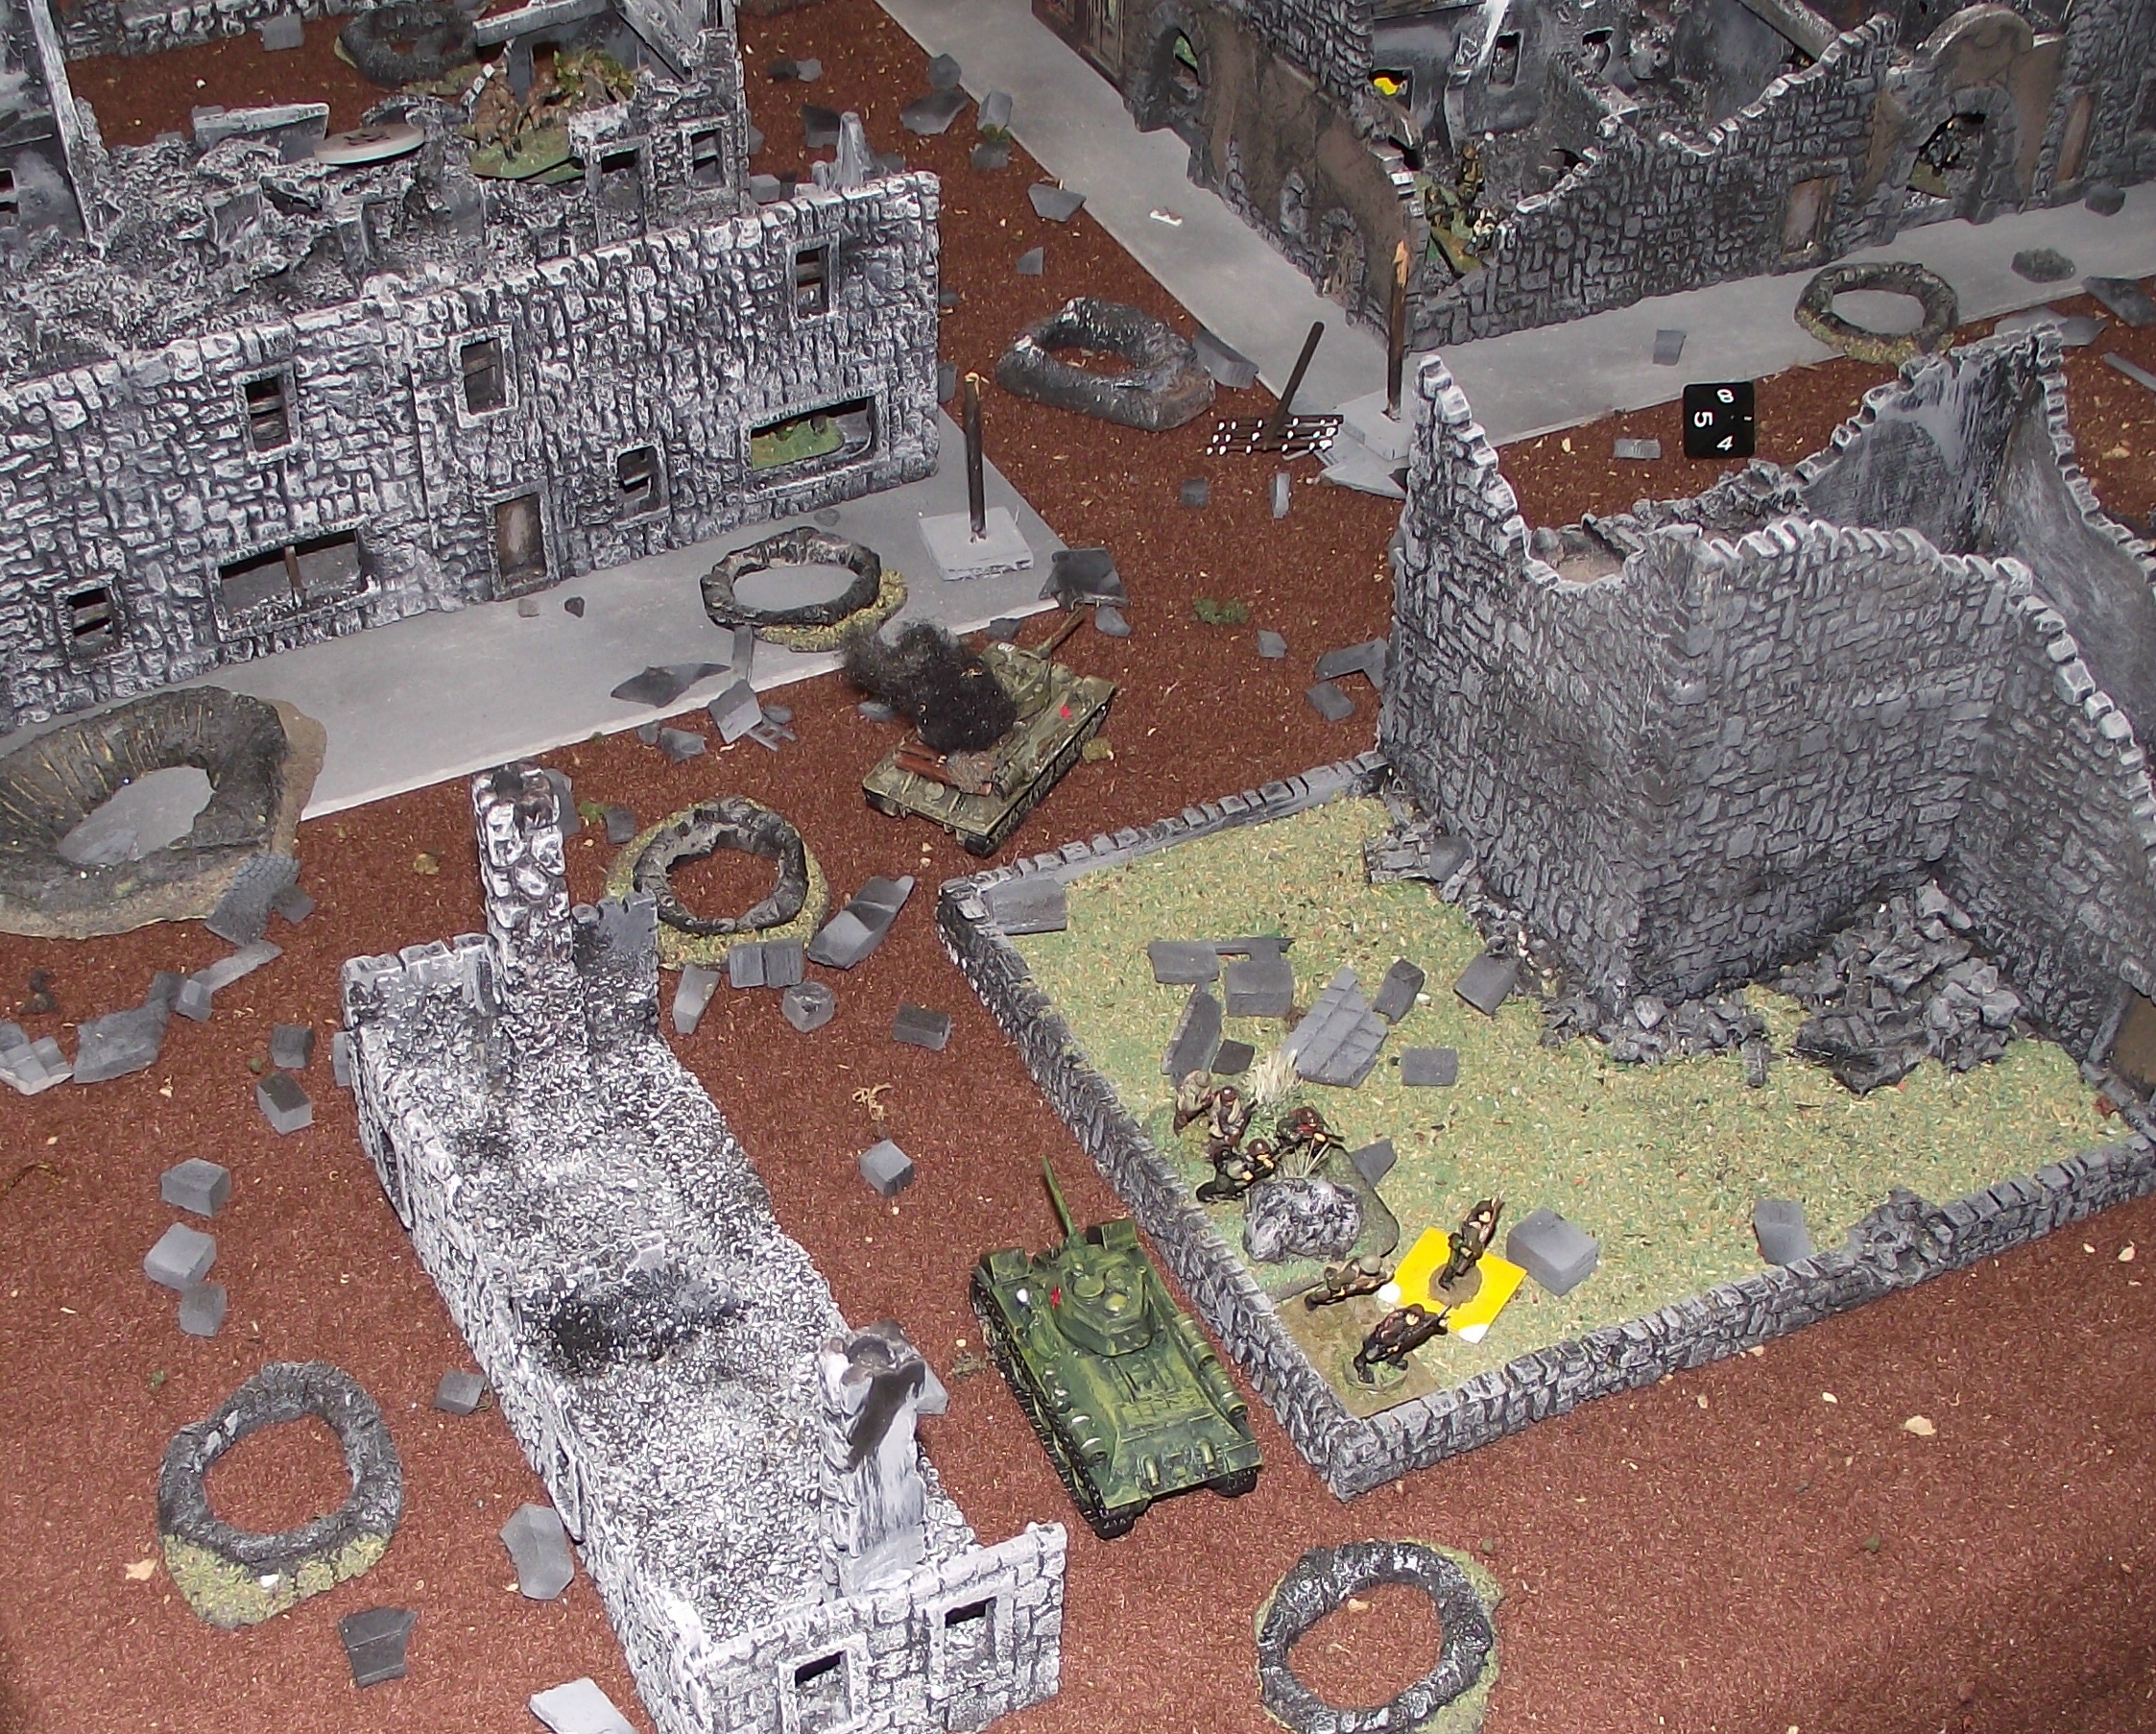
Soviet infantry and a JS-1 take the south (right) bridge with no Germans in sight.
The artillery scatter template. Hummel fire takes out a lot of desant troops.
Soviet Infantry and JS-1s take the south bridge with no Germans in sight.
Infantry on reaction fire (RF) ready to blast whoever shows themselves.
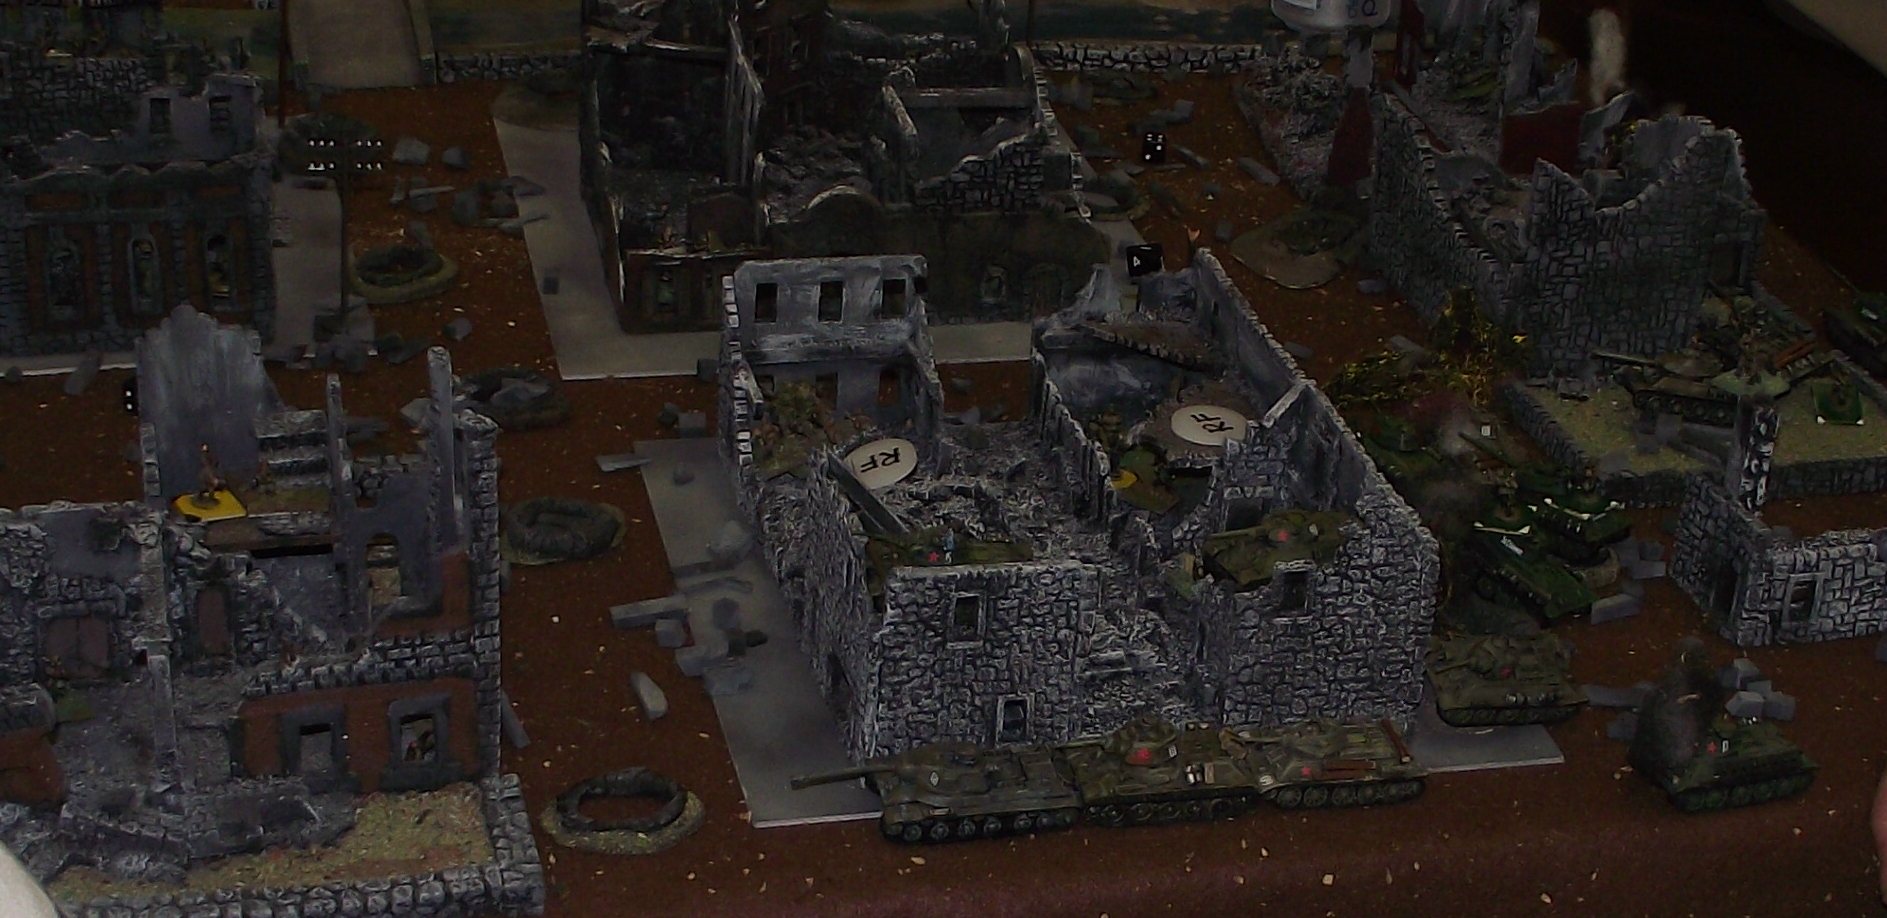
The long-lost Stugs and infantry arrive and take hits from waiting JS-1s.
T-34s move south trying to avoid German fire. Close range infantry firefights have taken a heavy toll on both sides.
The JS-1s and an AT gun decisively win the shootout with the Stugs. With the south bridge in Soviet hands, they achieve a hard won victory.
Today the local HMGS-South group played three games at our regular monthly meet.
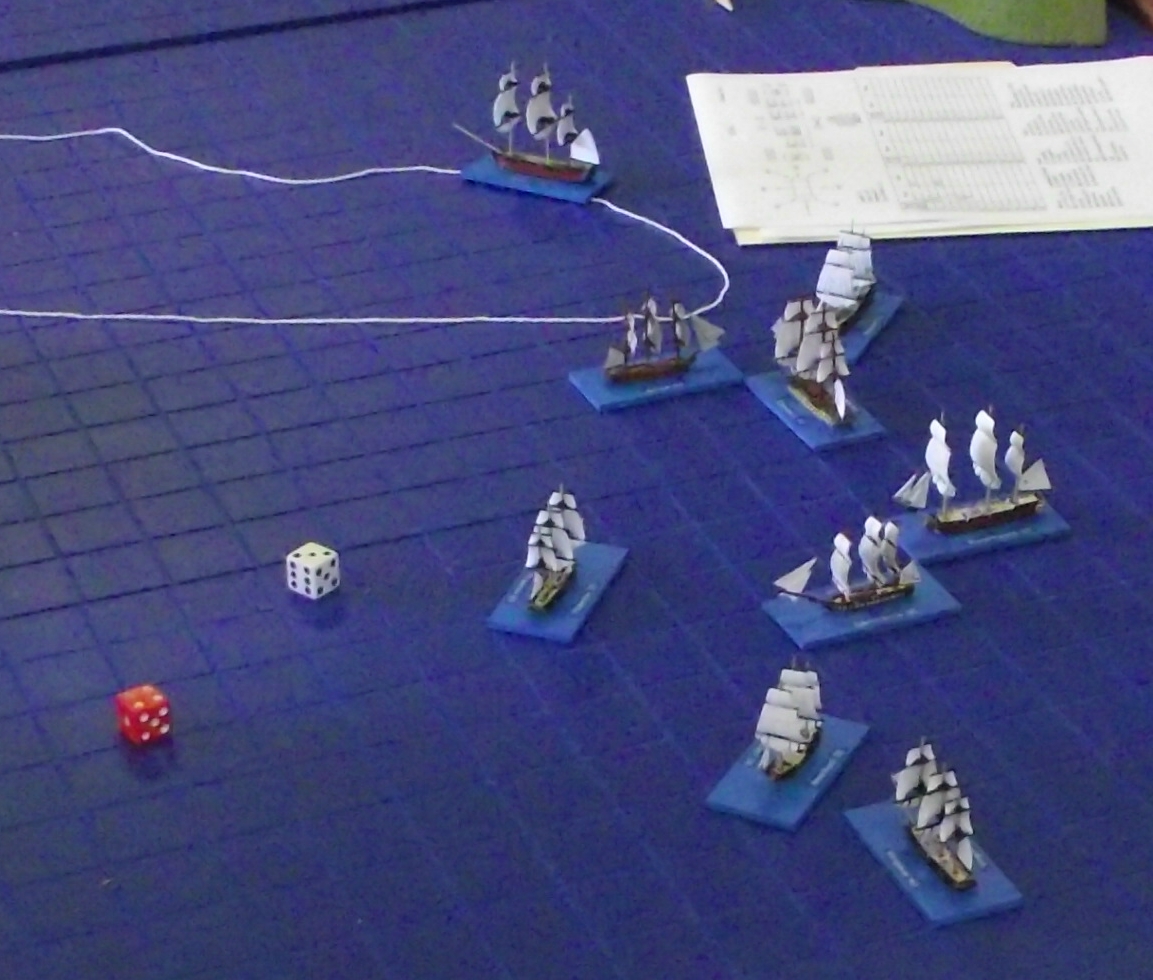
Game 1: Napoleonic (or should that be Nelsonian?) naval using Ship of the Line rules and 1/1200 scale miniatures. An Allied 3-decker is aground and must be protected from a British force of ships-of-the-line and frigates.
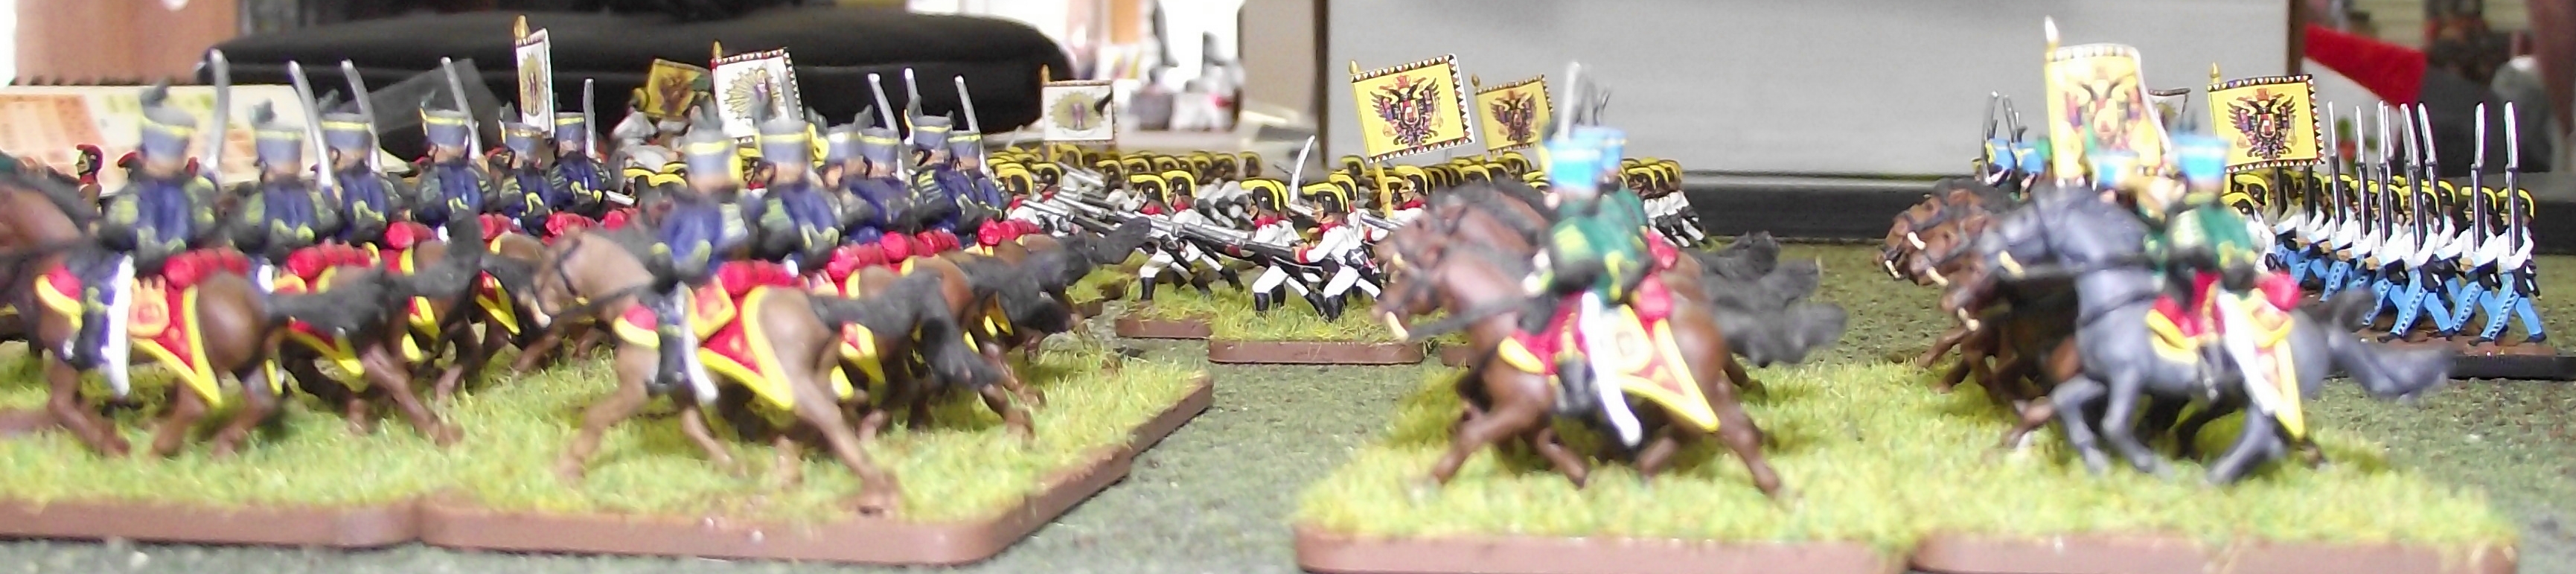
Game 2: Napoleon at War rules with 15mm figures. A battle of the little known Anglo-Austrian Unpleasantness of 1805.
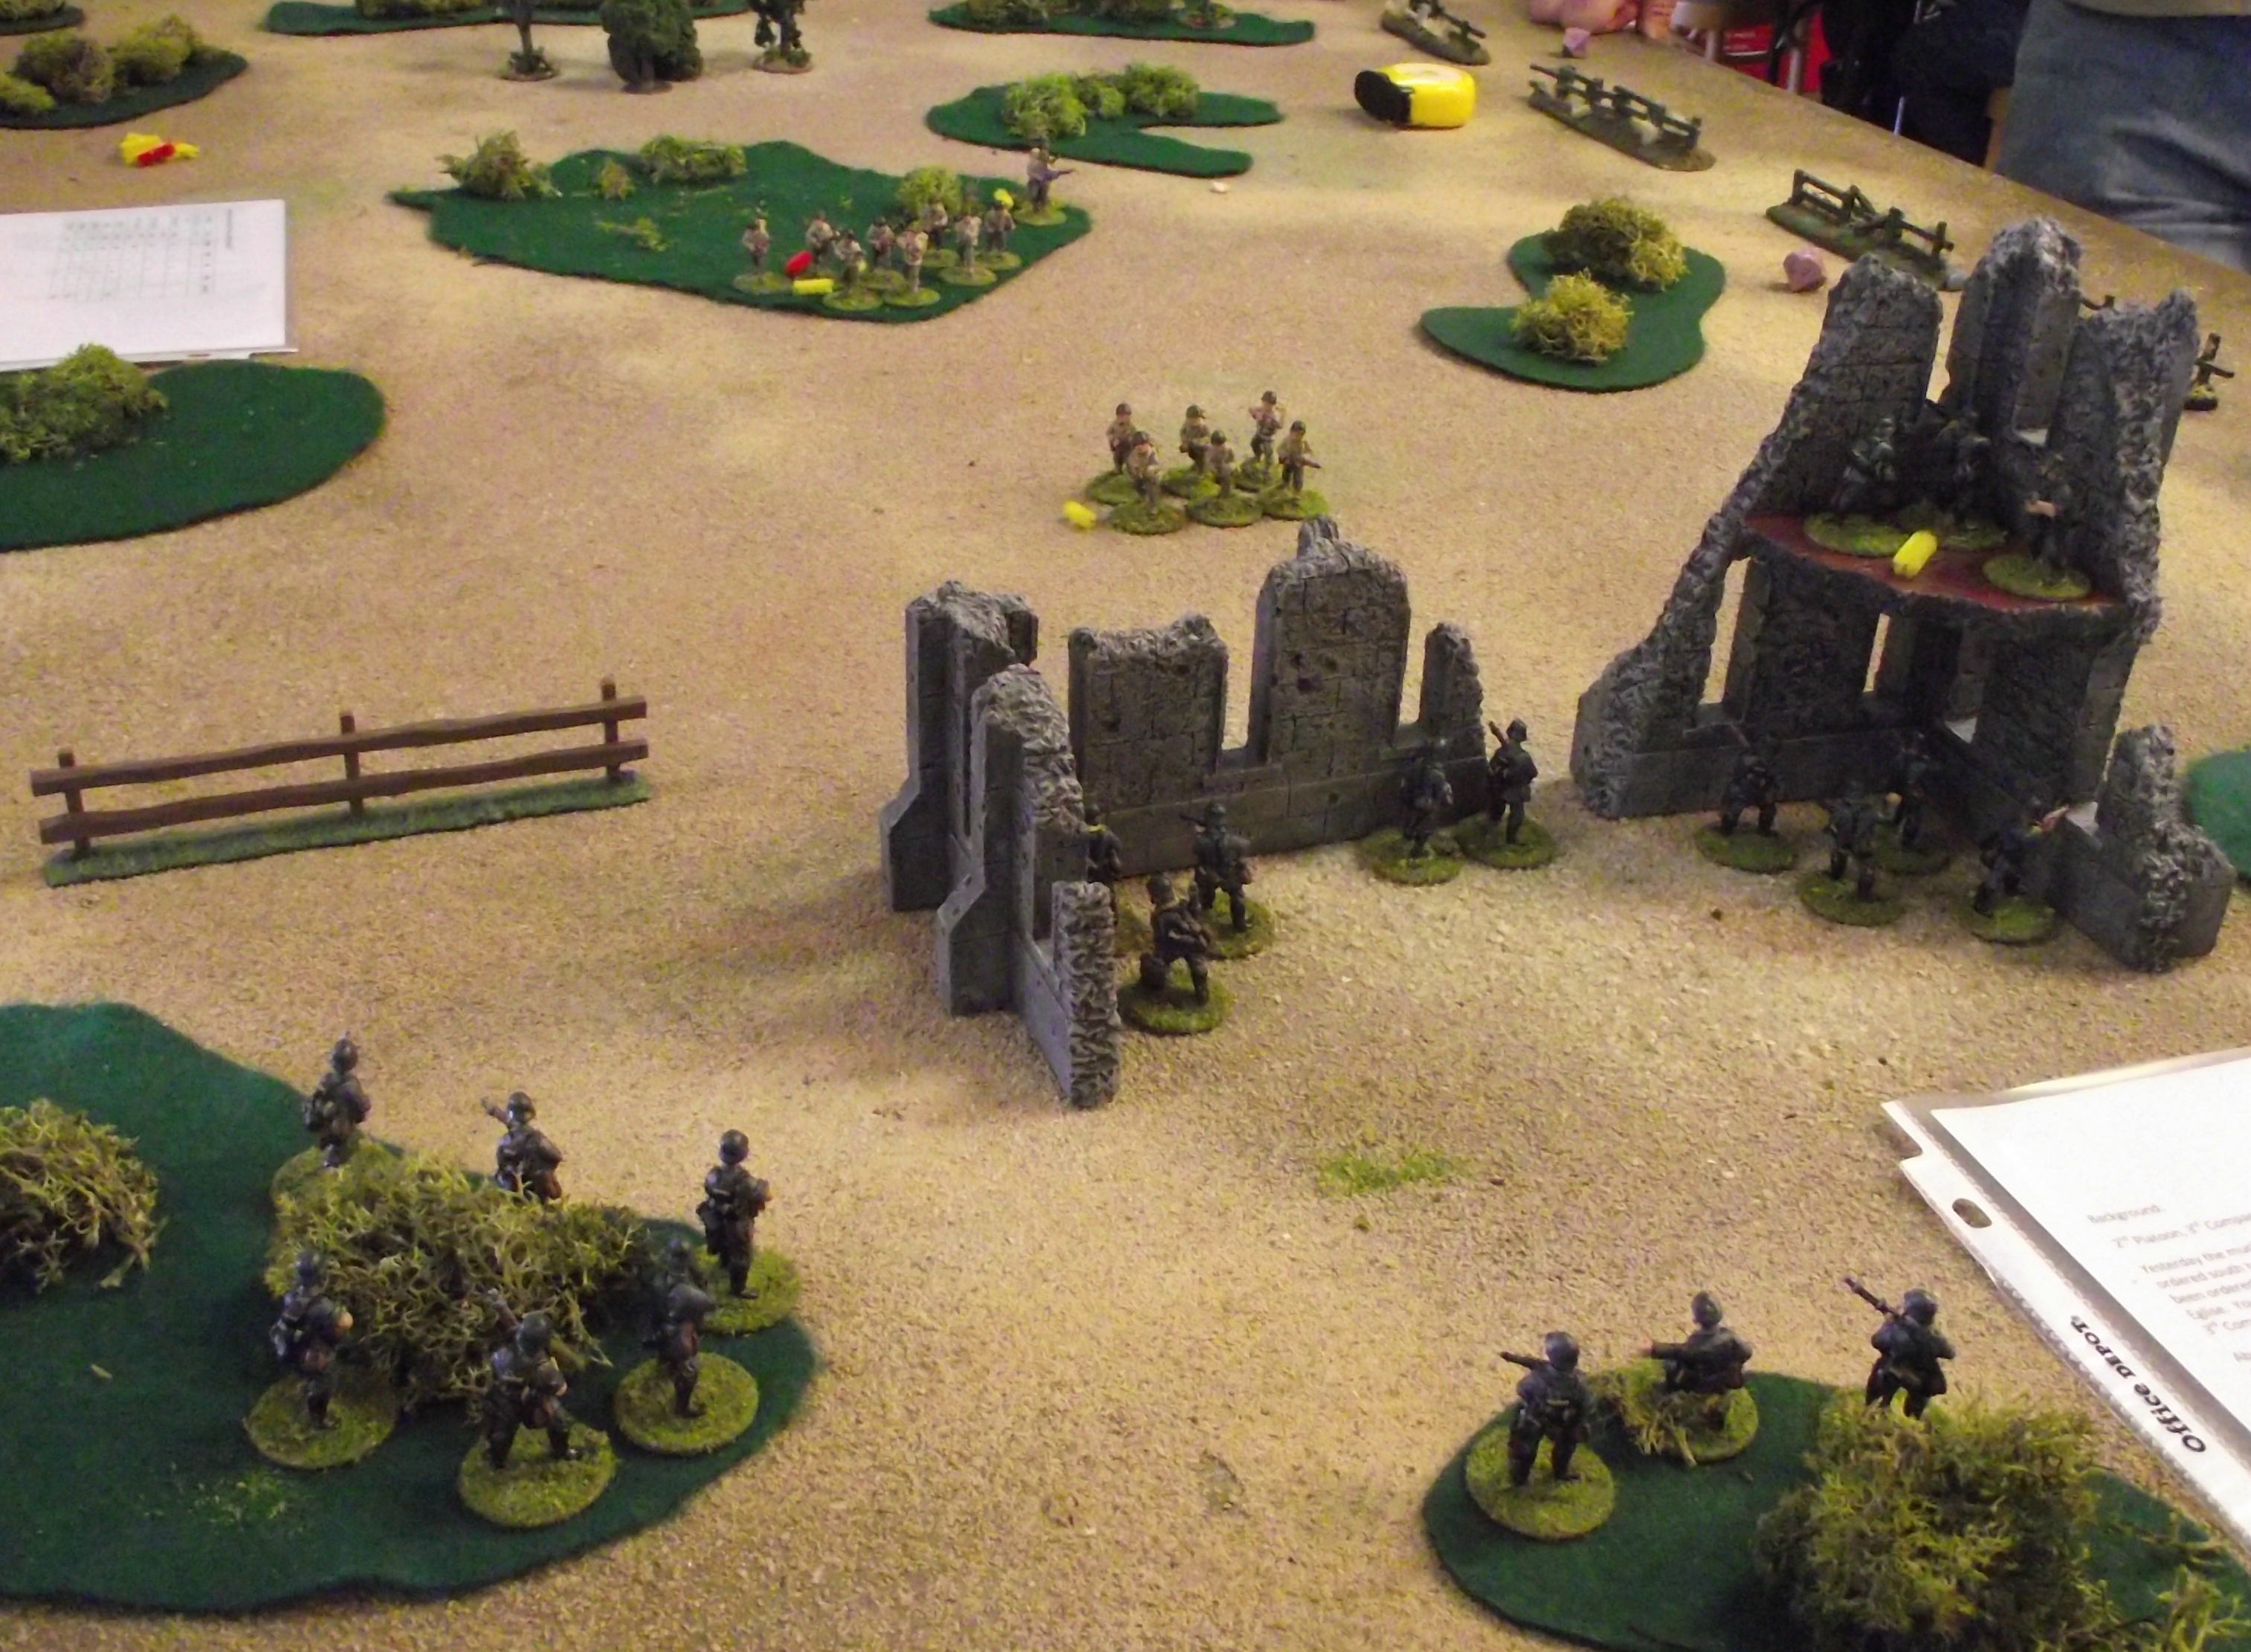
Game 3: World War II skirmish using ‘Disposable Heroes & Coffin for Seven Brothers’ rules by Iron Ivan and 25mm figures. Three US paratroop squads (each of a rifle section and a BAR section) must eject two German squads (each of a rifle section and a LMG section) from the stone buildings. The action is near Turqueville, June 7, 1944.
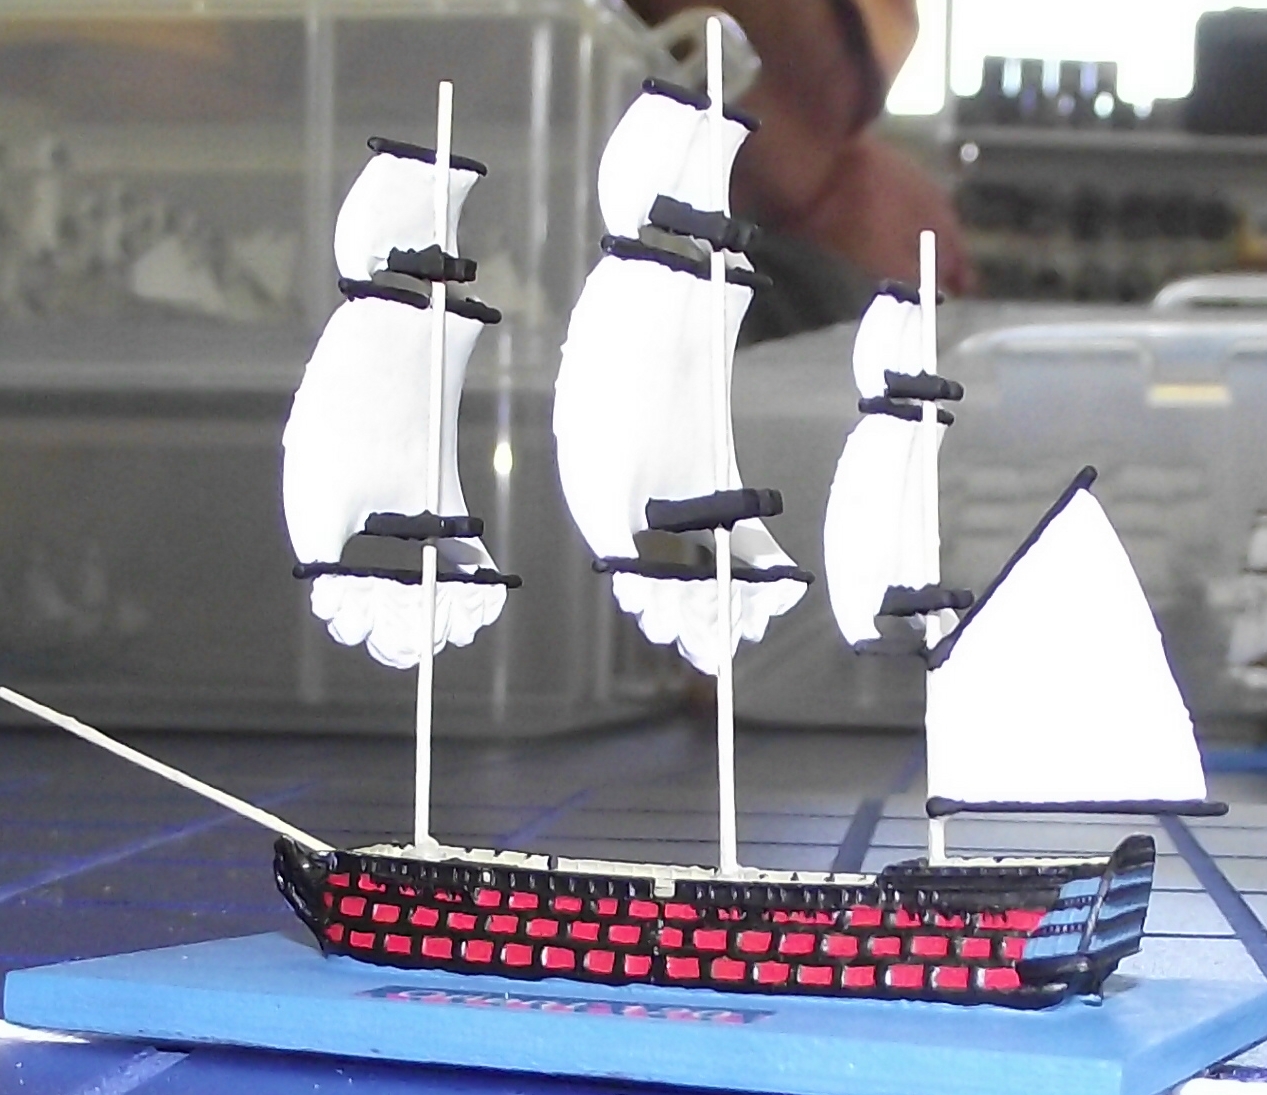
The grounded 3-decker
The field from the German side. The Americans start at the stone wall at the far end and must take the stone ruins in 10 turns.
LMG on the upper floor and riflemen below.
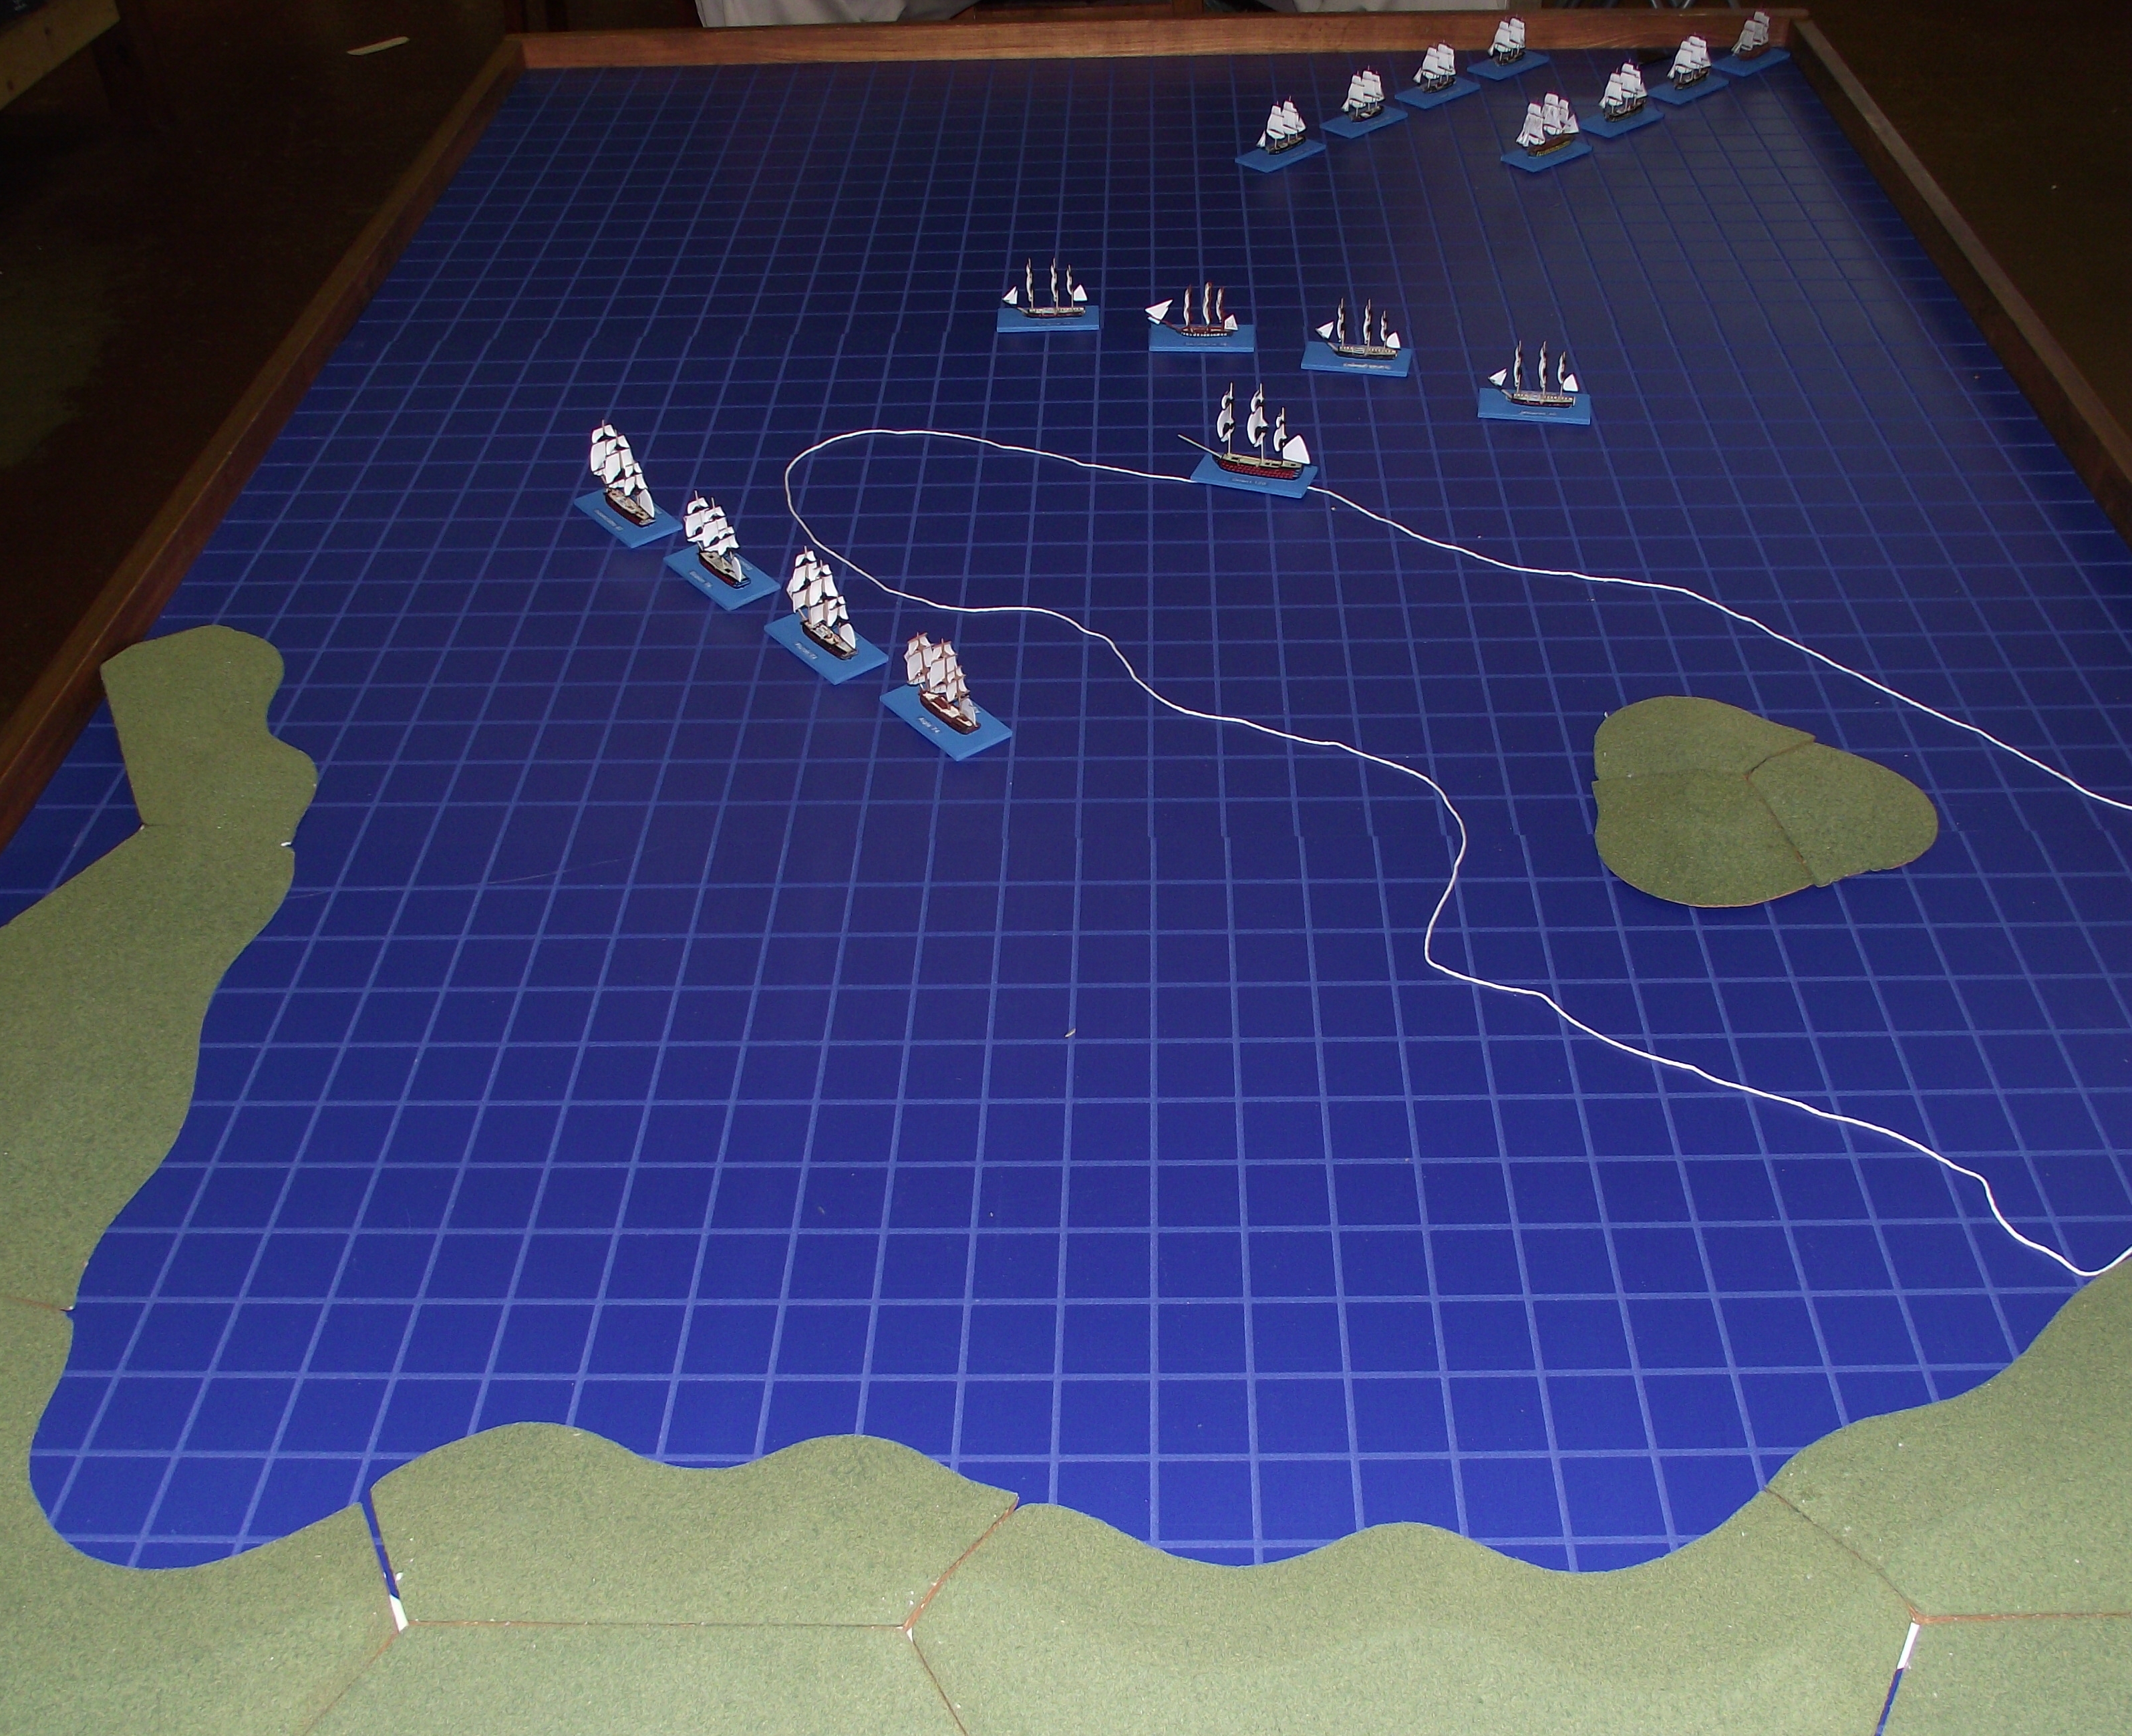
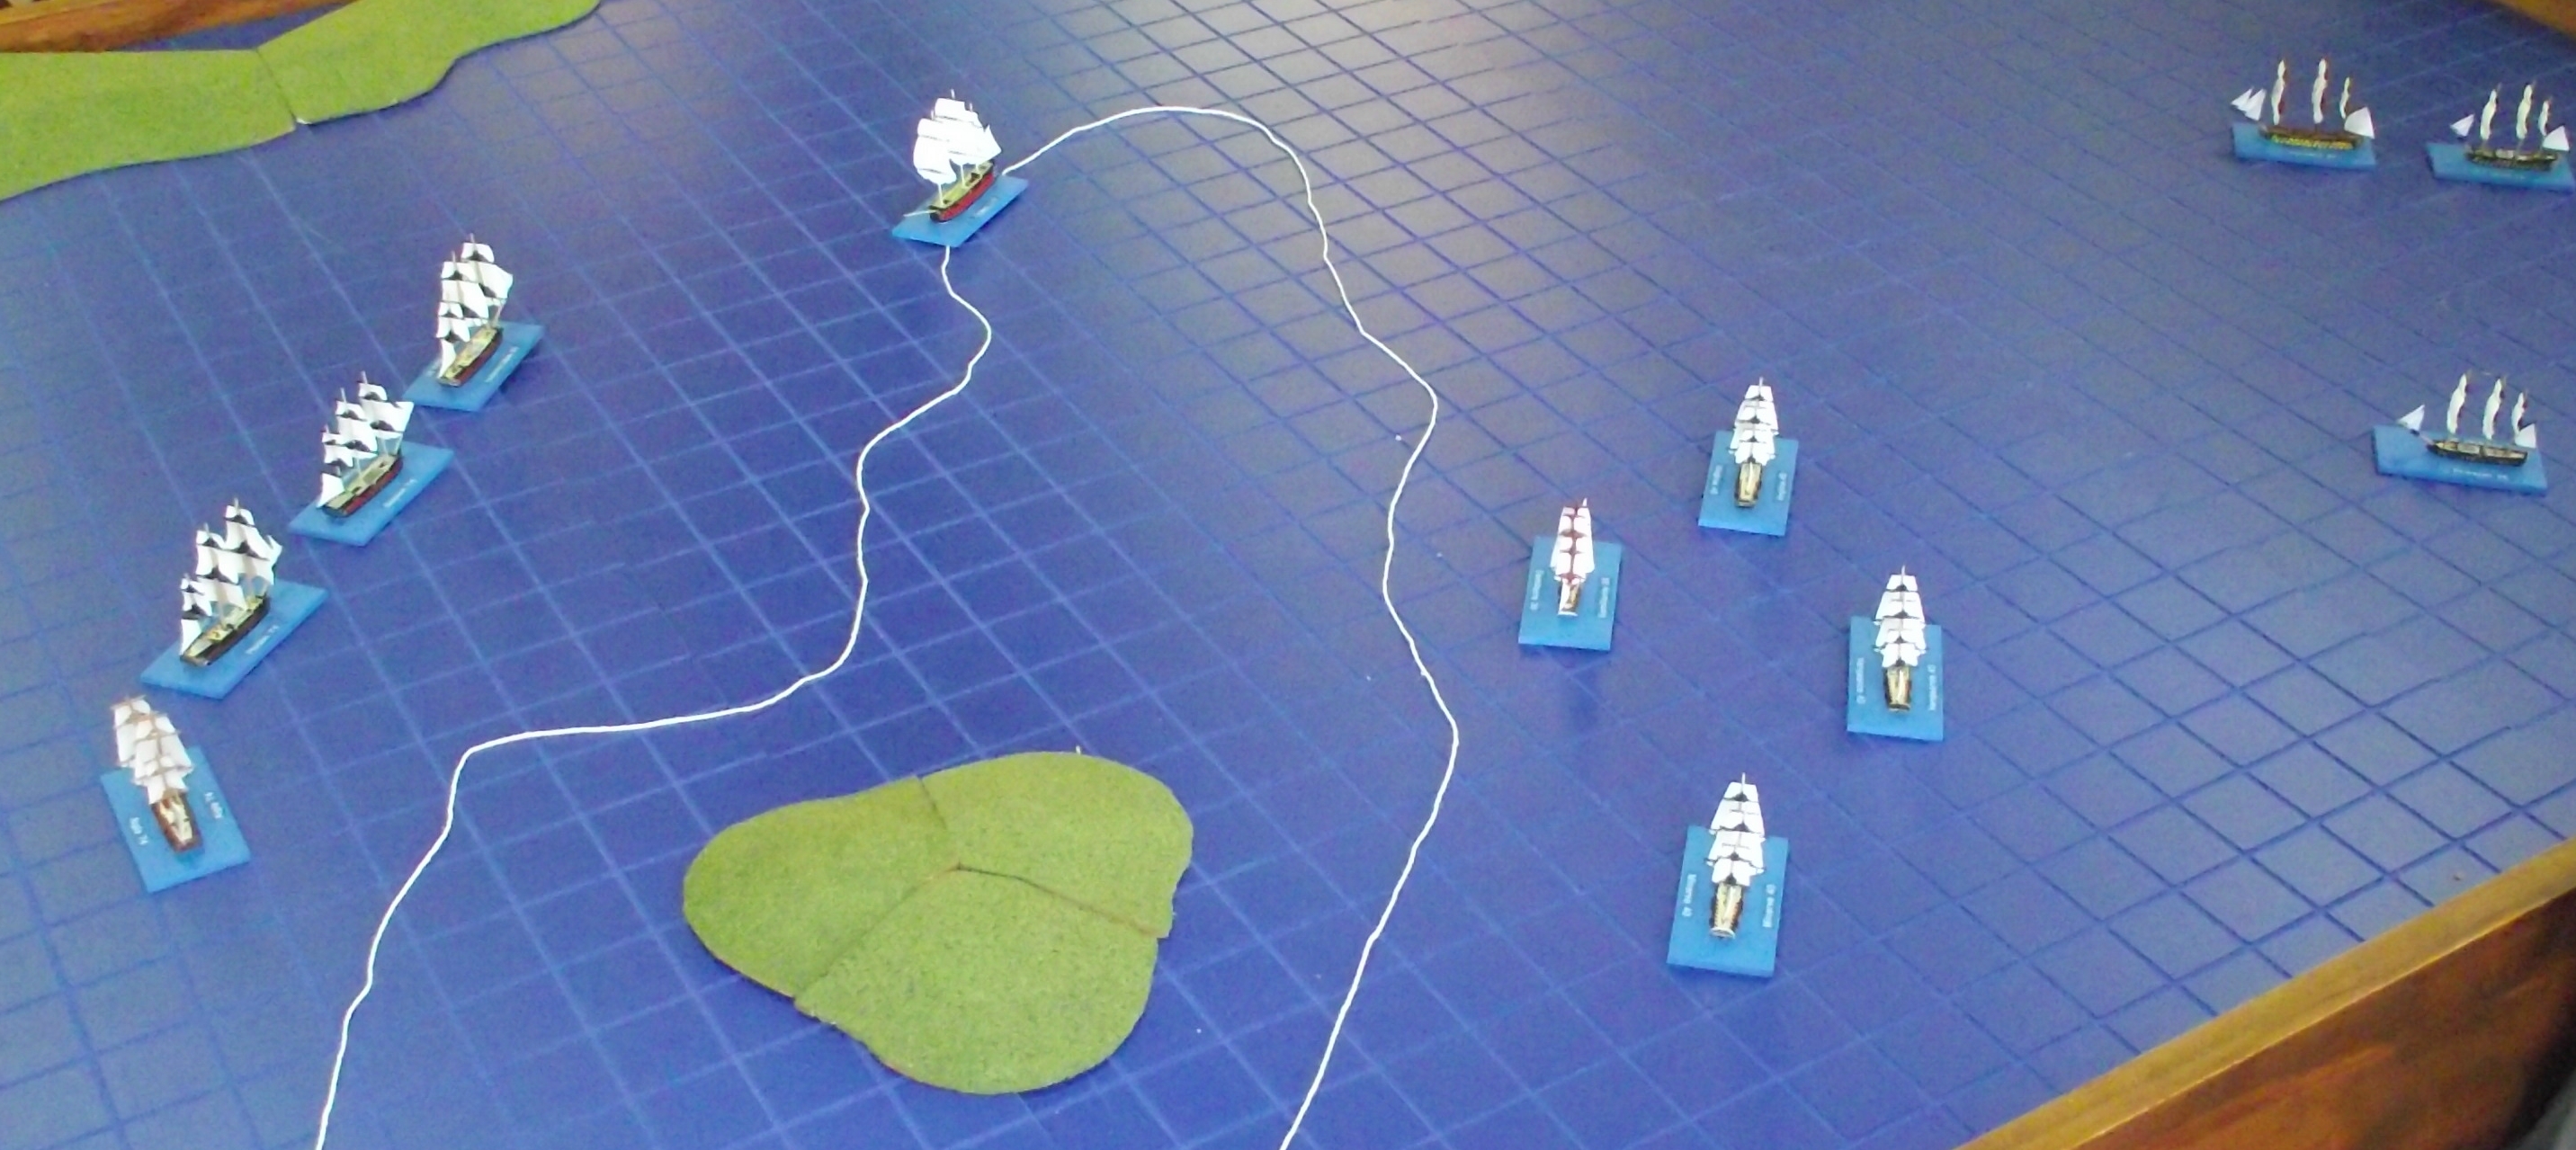
Initial positions with the British entering from the upper right. The white line indicates shallow water.
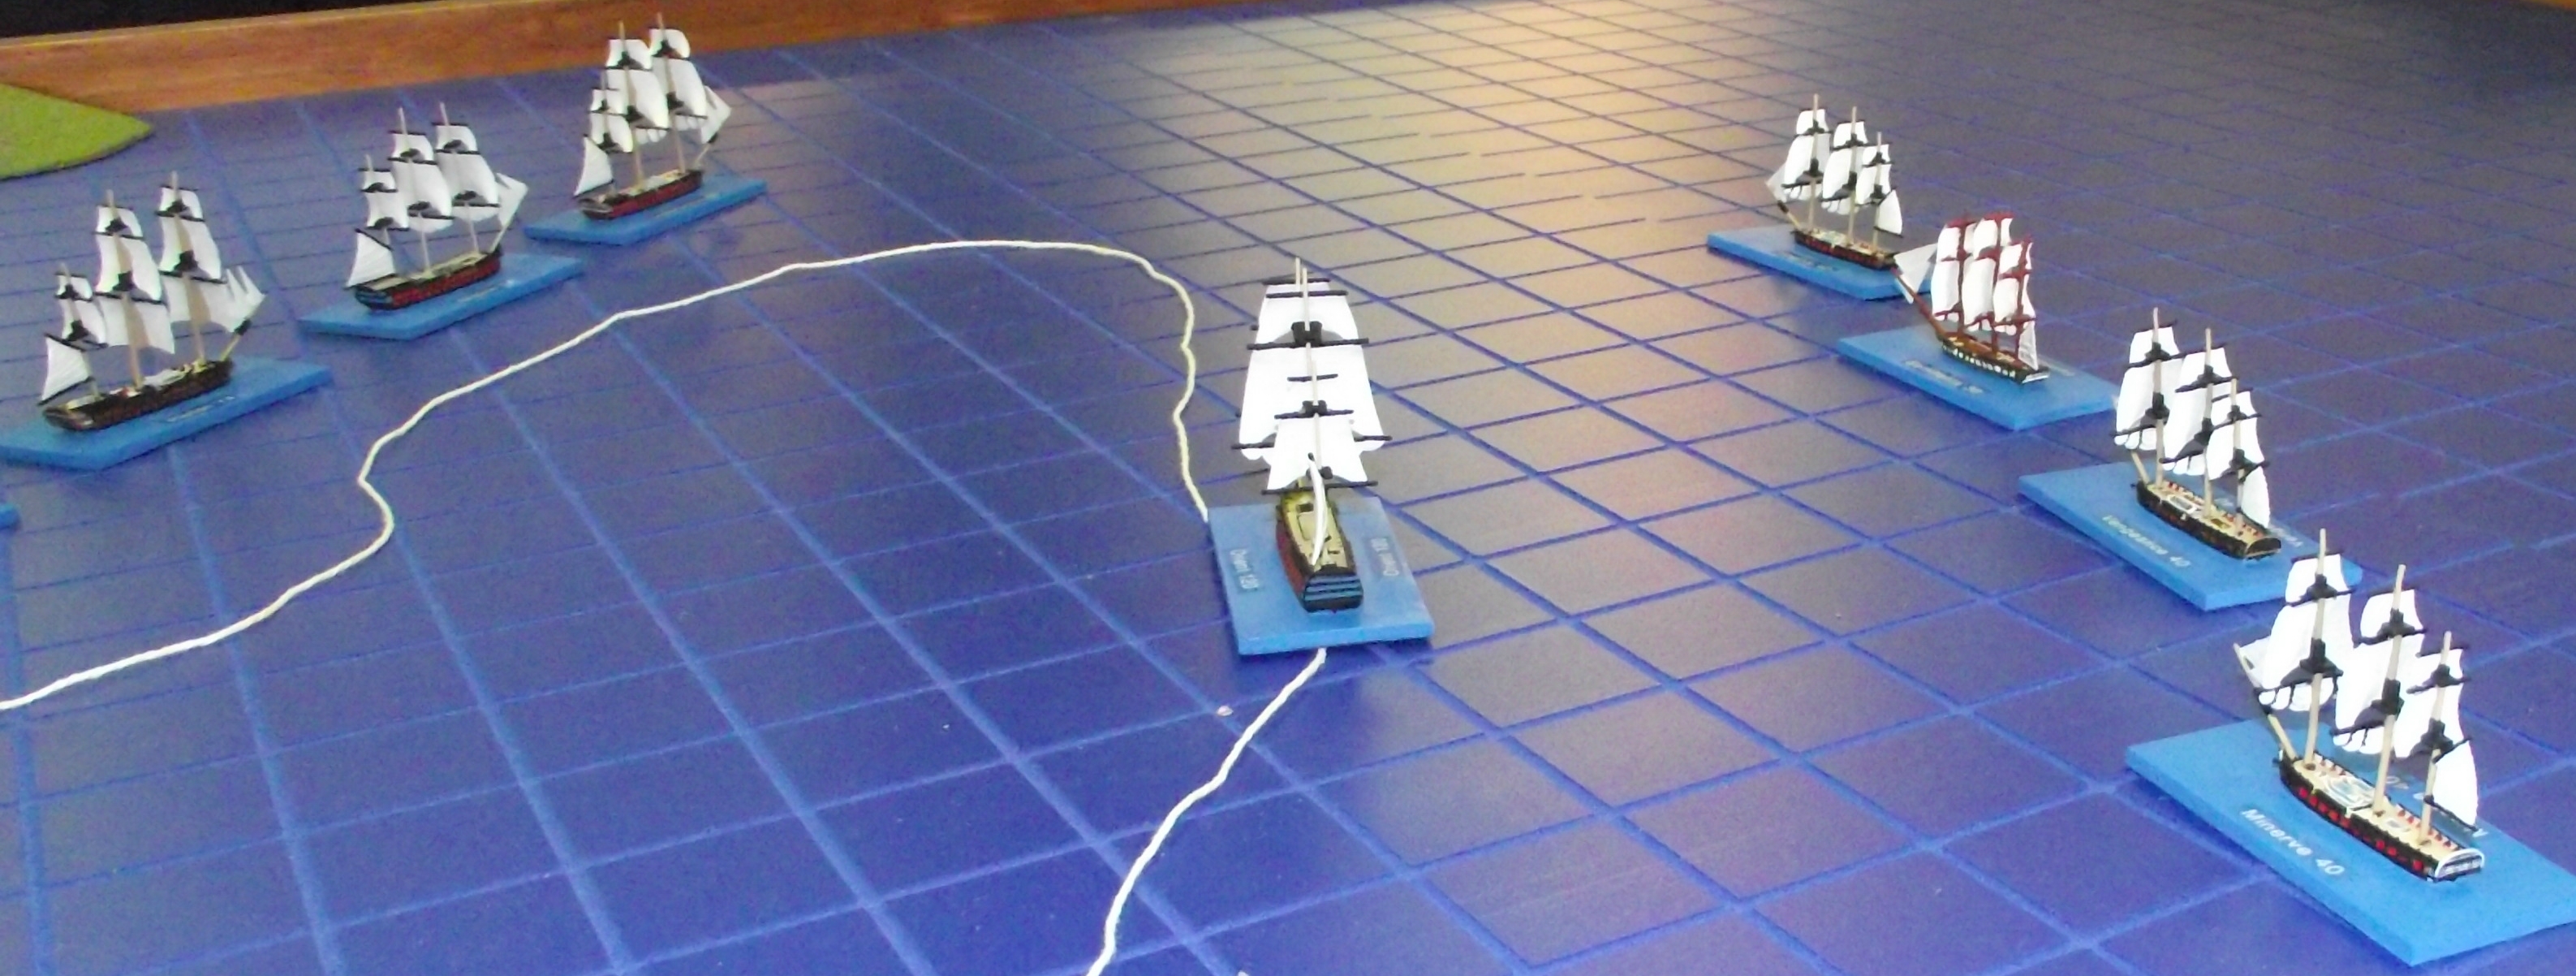
The Allied fleet defending the grounded ship.
The British in the Nelsonian two parallel lines-ahead.
At the end, the Americans still had plenty of time, but not enough men.
Don’t ask me what happened. I was busy in another game.
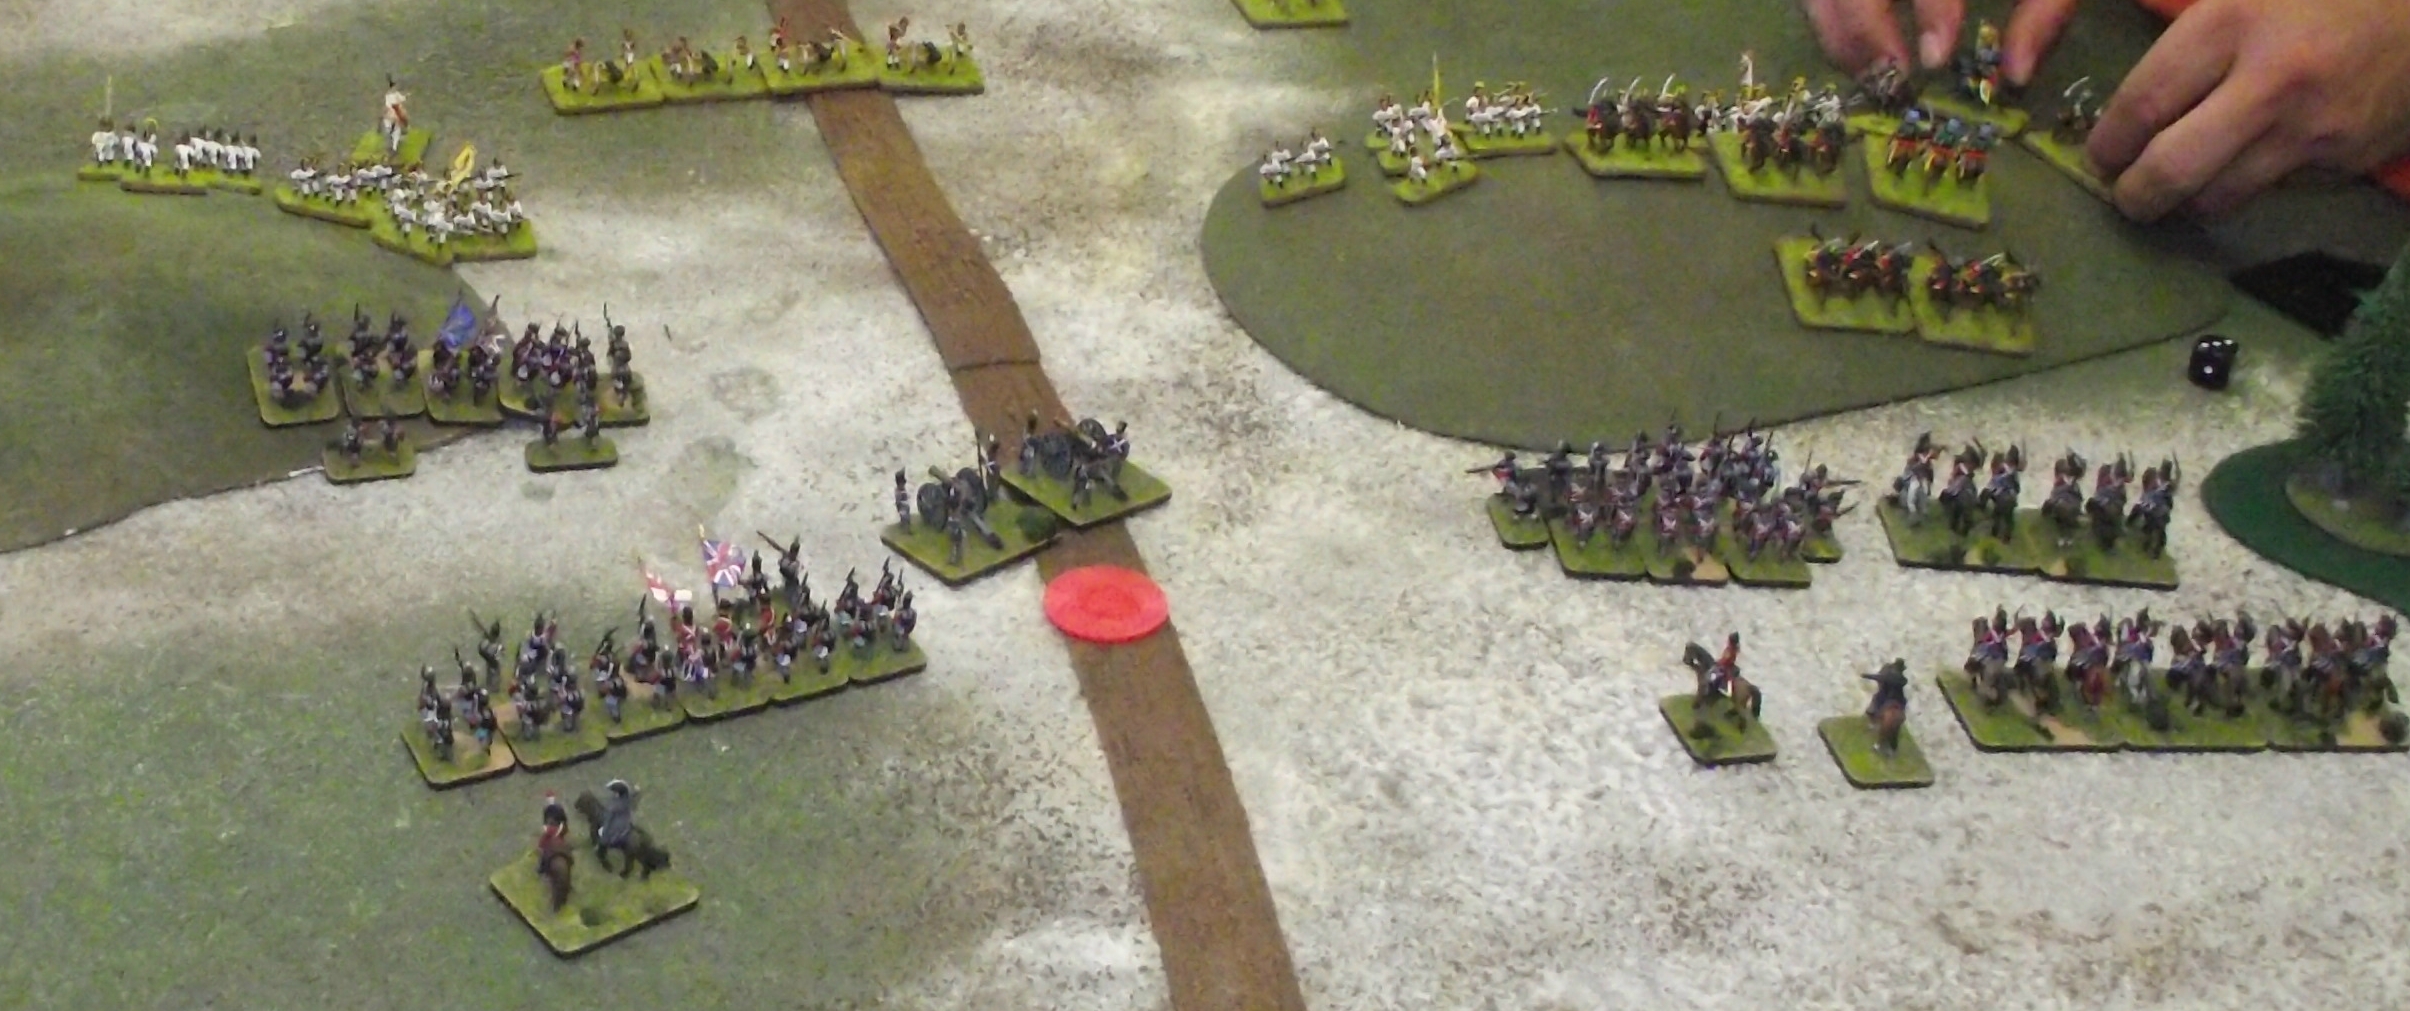
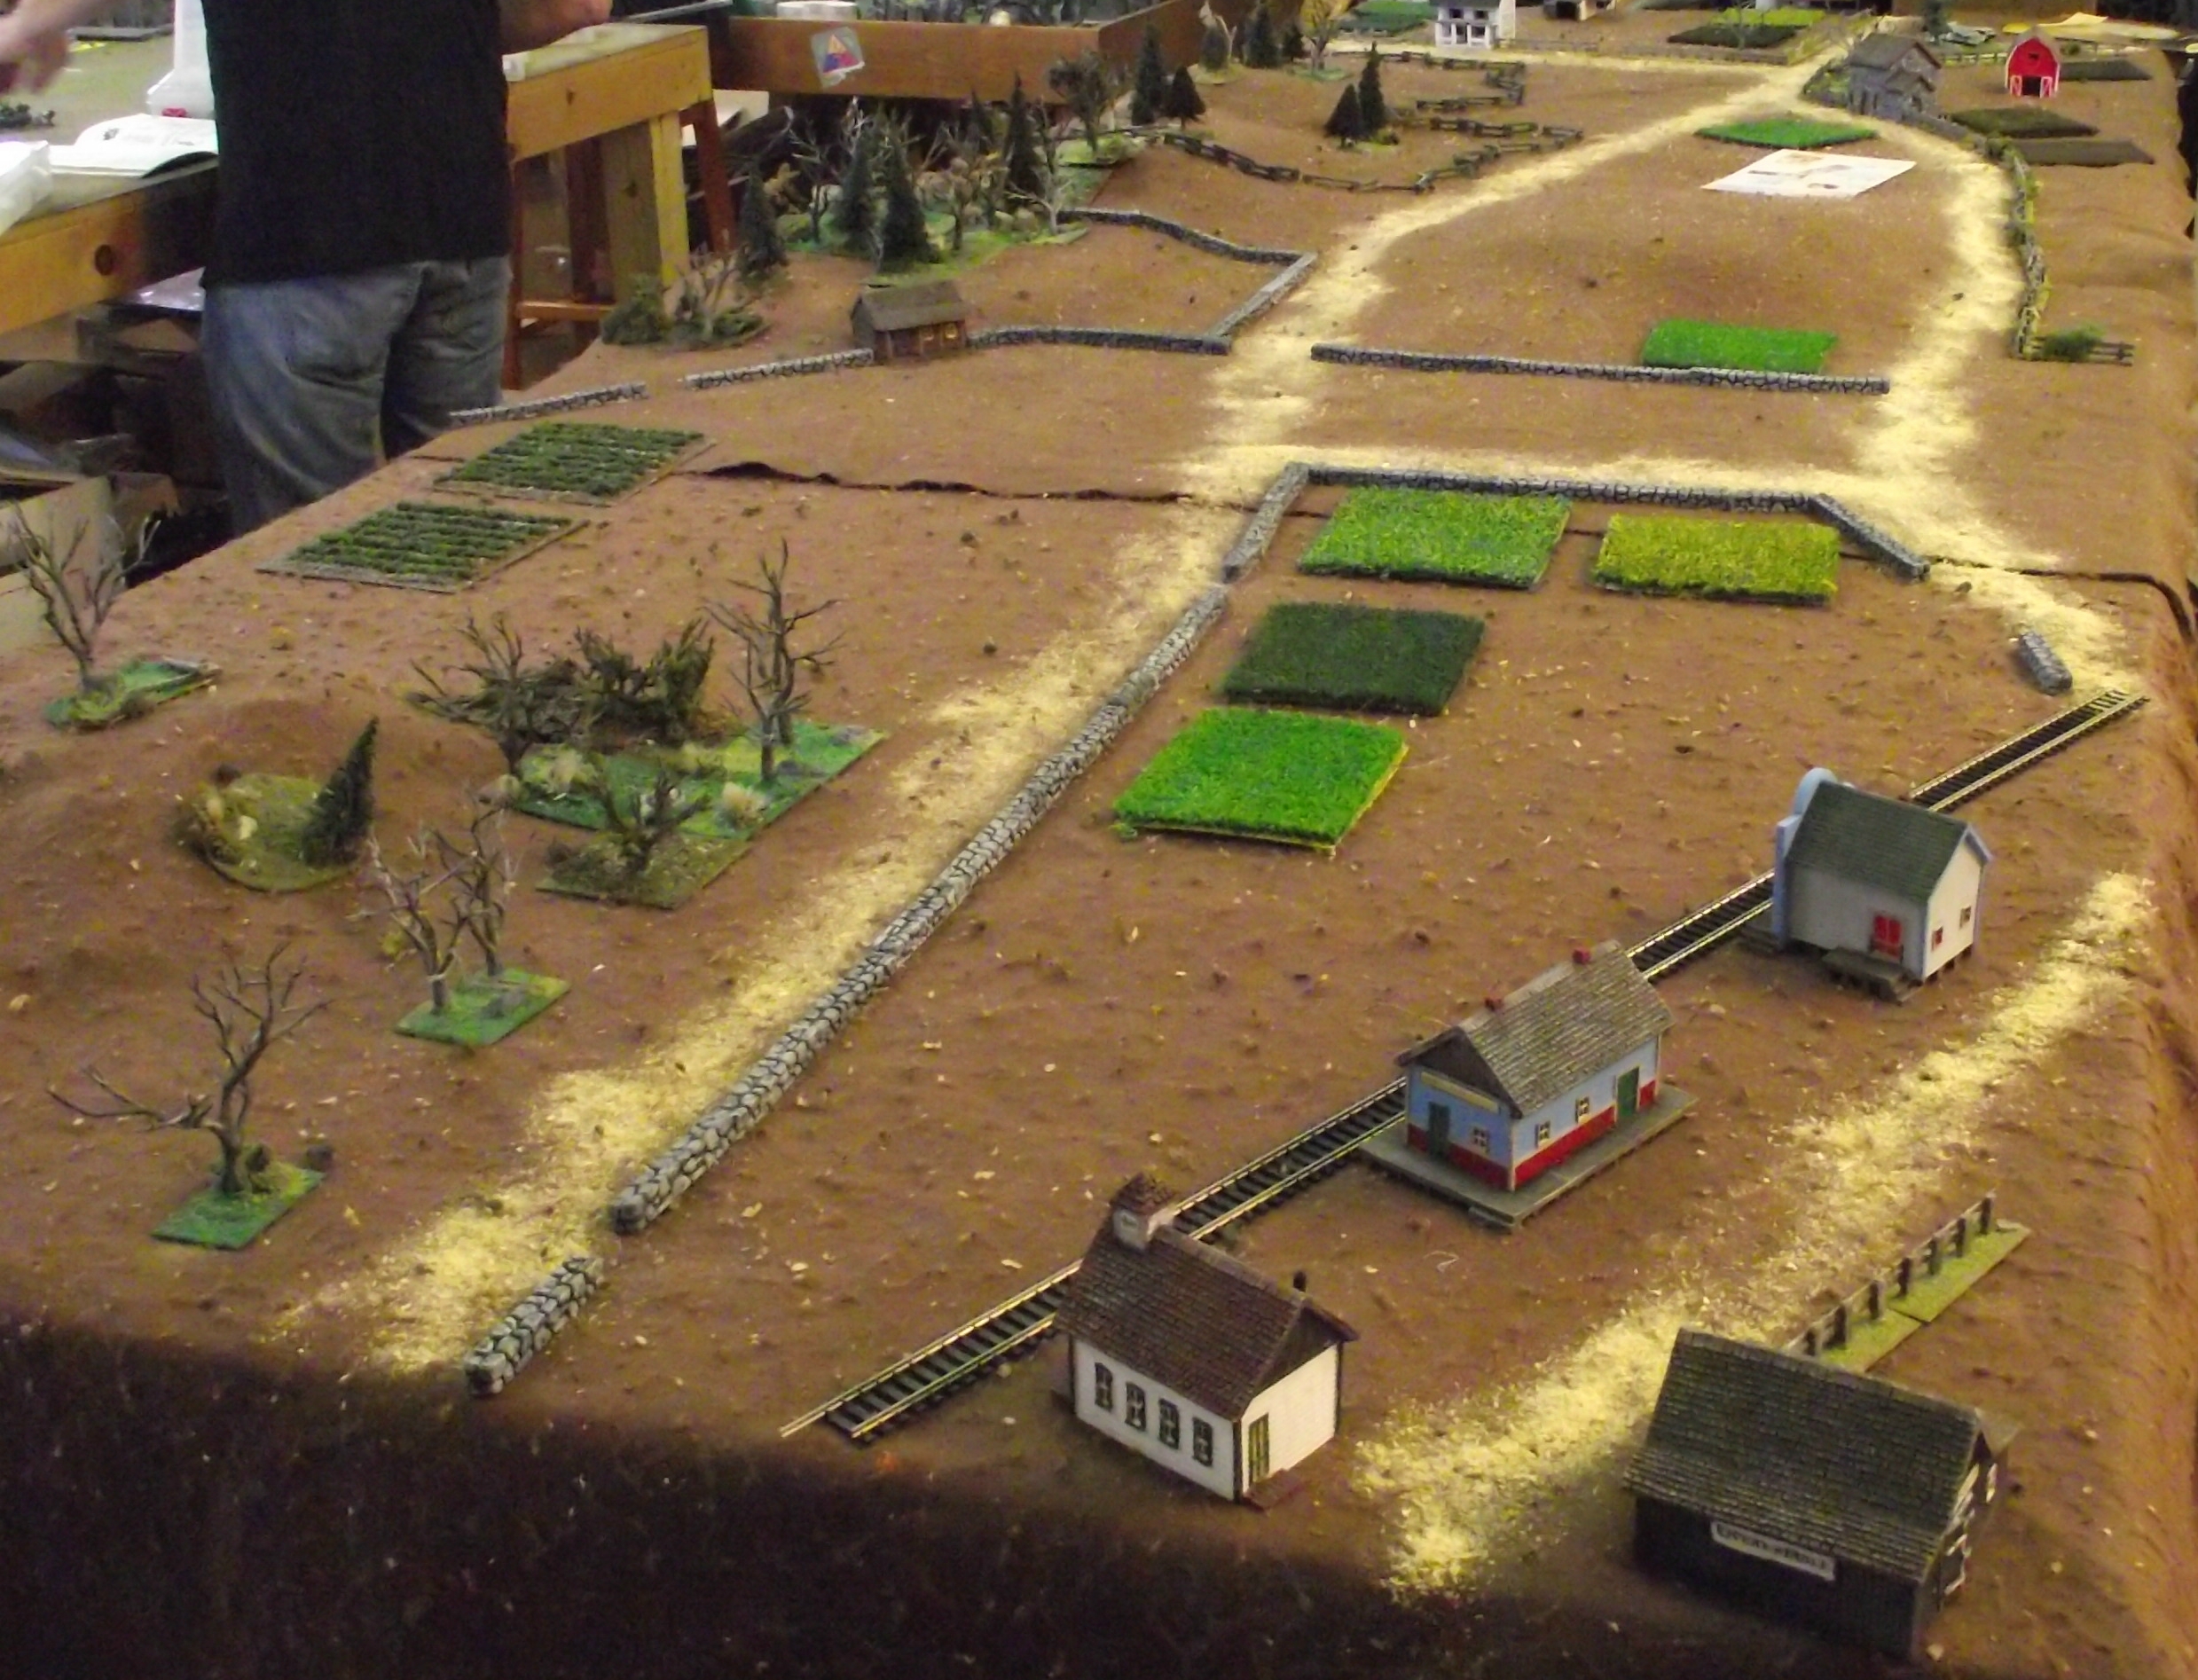
The local HMGS-South group played a game based on the first battle of Kernstown, March 23, 1862. Johnny Reb III rules were used. The outnumbered Confederates took the bulk of the casualties, but achieved a strategic win by delaying the Union troops.
These photos show some of the 15mm terrain and miniatures, by Rob of Real-Terrain (RMLHM901@aol.com):
The Confederate entry area
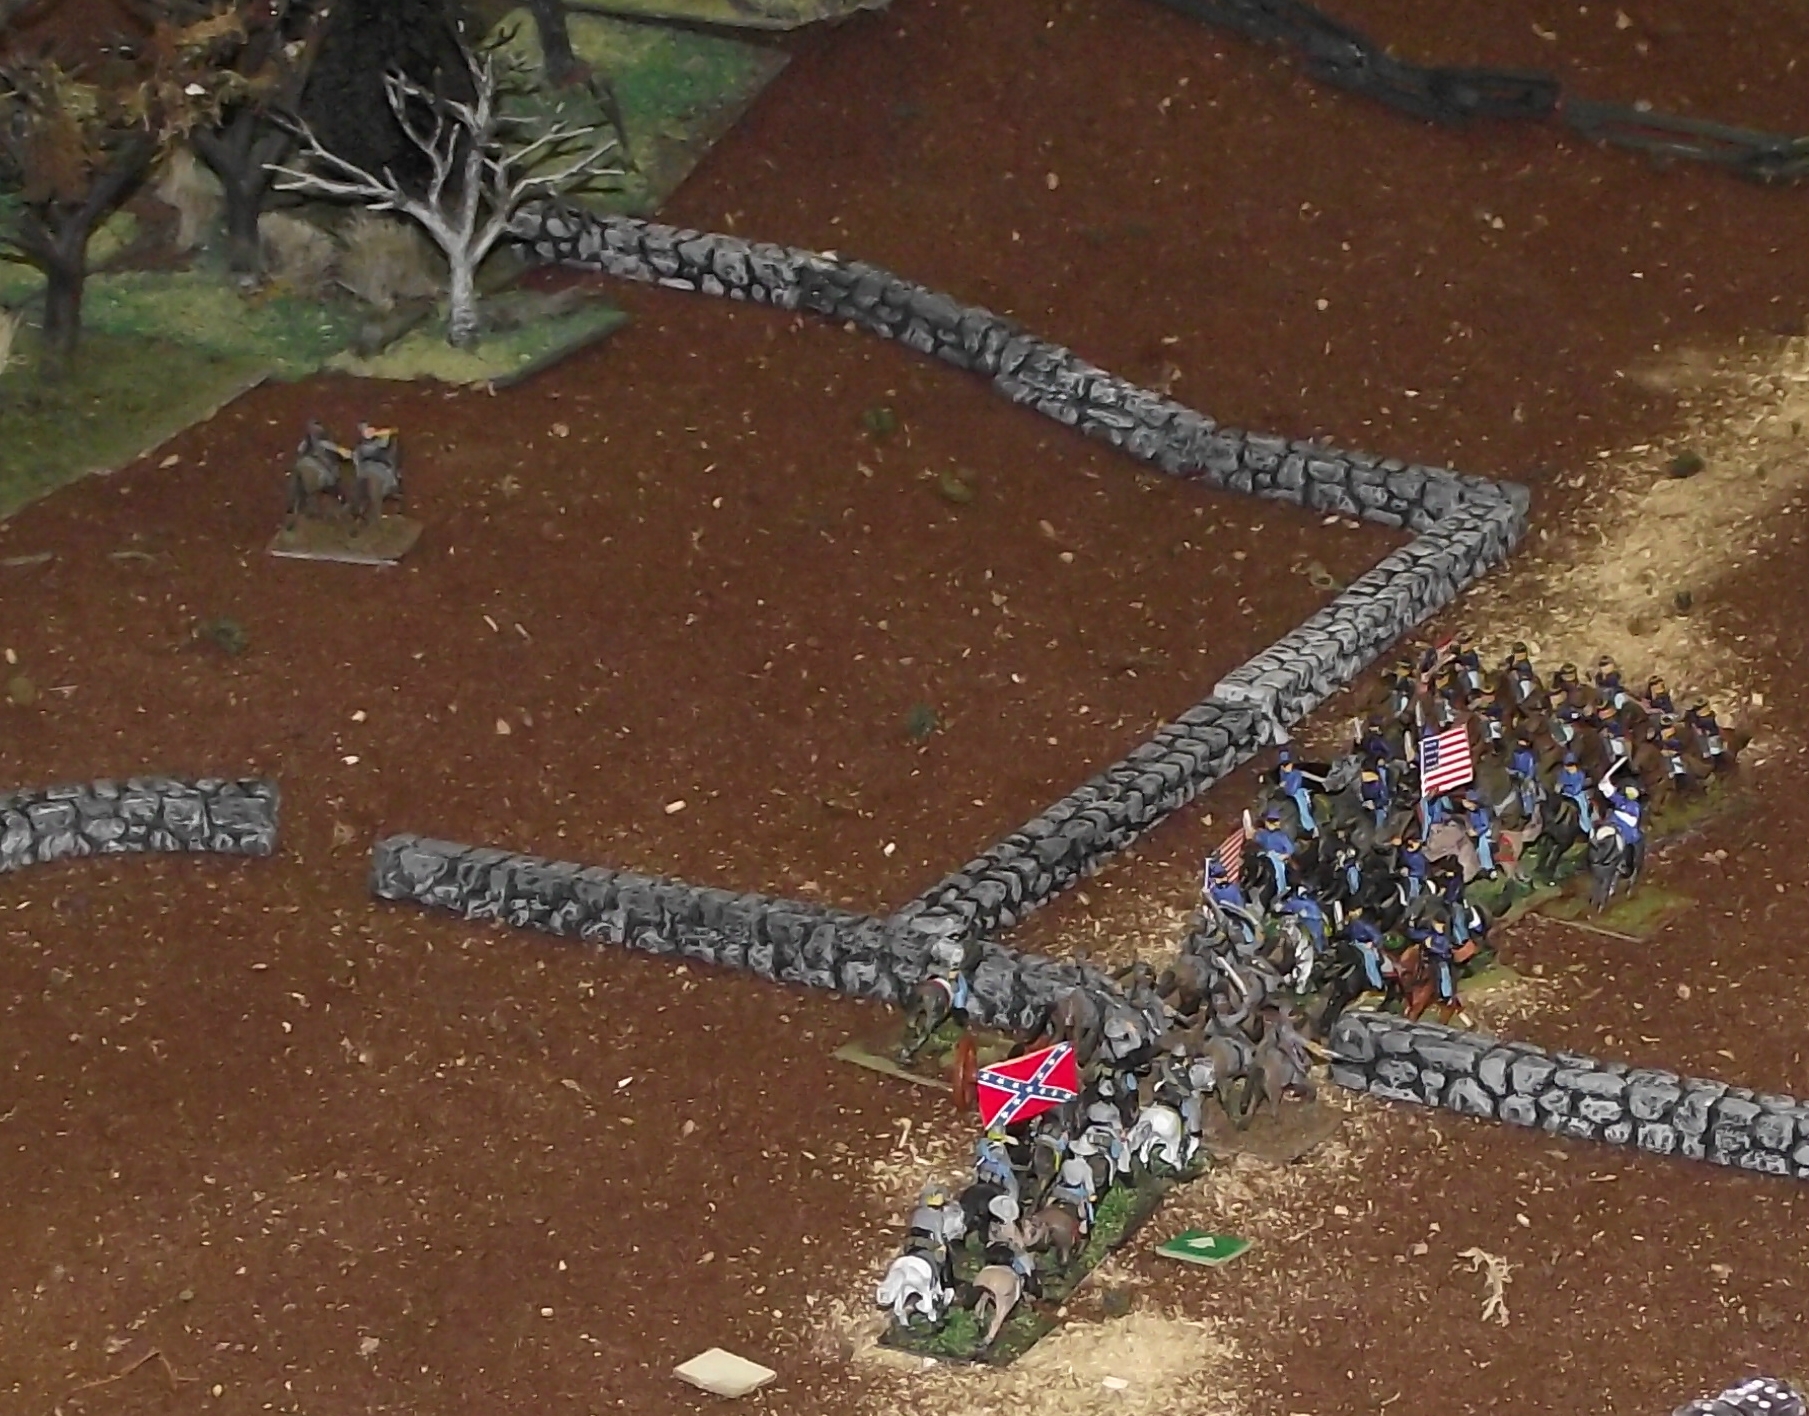
The initial cavalry clash. The Union troops have made a charge straight down the road to forestall the Confederate advance.
Union infantry arrive via several roads.
The main road is crowded with Union reinforcements.
Confederate guns and infantry rush to occupy the stone walls.
The cavalry on both sides have fallen back after the initial clash.
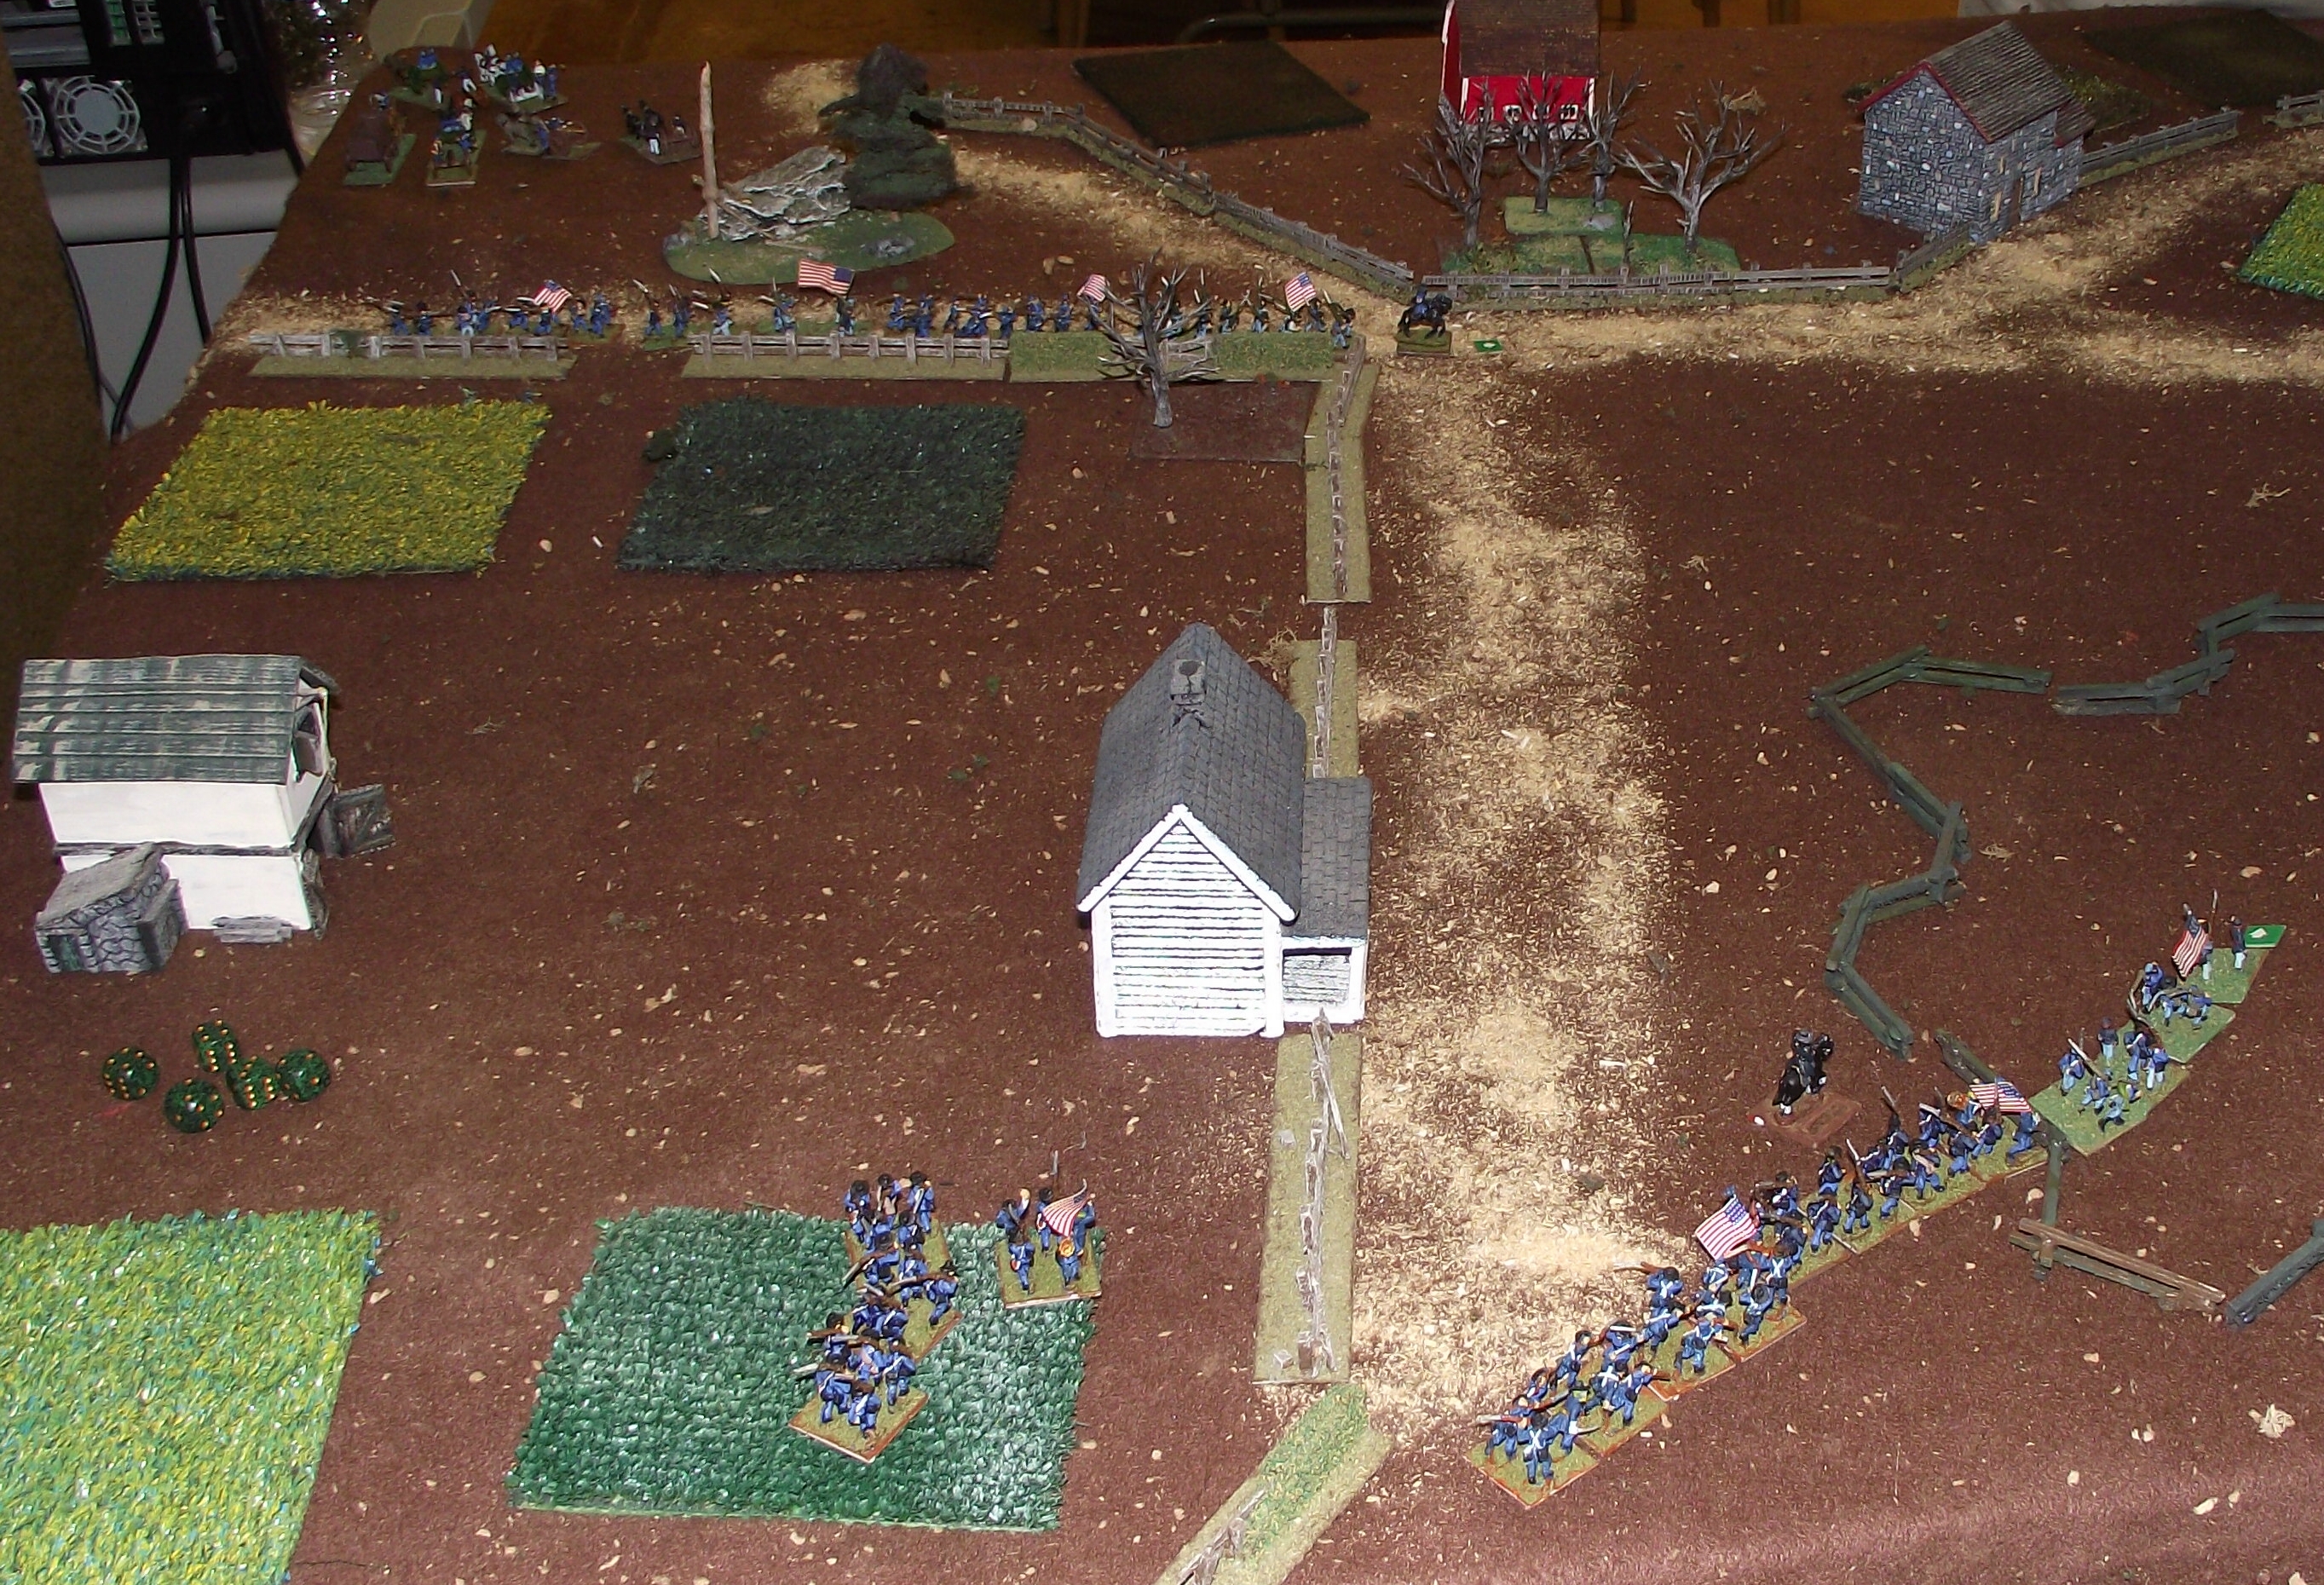
Union infantry moving off the road to make way for the guns.
Union troops occupy the hill.
The battle lines form up.
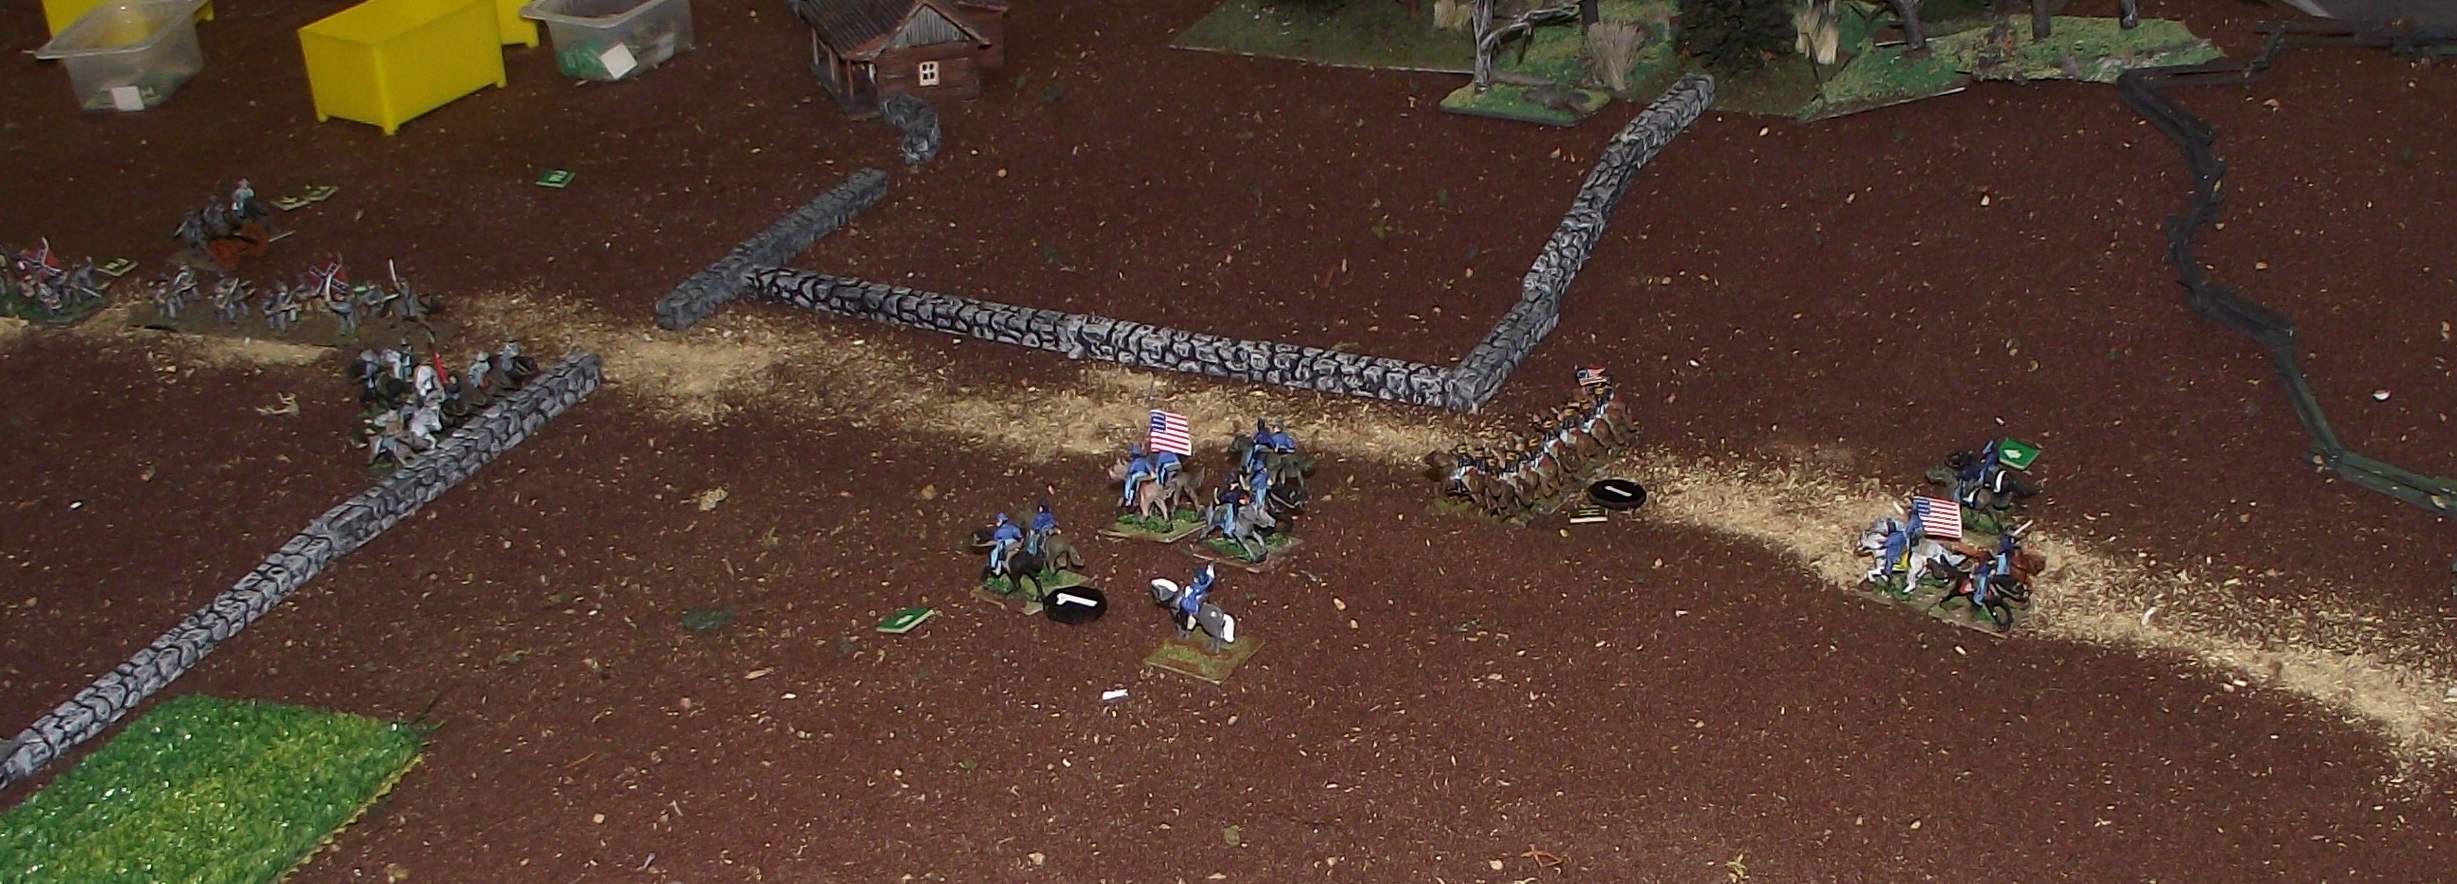
Union infantry and cavalry try to skirt around the left flank.
Confederate reinforcements have arrived via a road close to the lines and formed up on the right.


You must be logged in to post a comment.