Star Wars: X-Wing Miniatures – Battle of Yavin

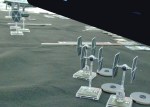
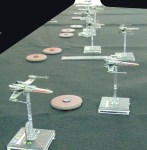
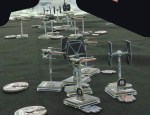
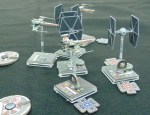
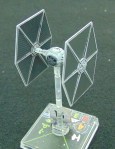
This weekend the local HMGS-South group played a Star Wars: X-Wing Miniatures game. The scenario was based on the Battle of Yavin.

With the Death Star approaching, Y-wings from Gold Squadron and X-wings from Red Squadron and Green Squadron were dispatched to carry out the attack plan. A total of 30 ships were deployed in the assault on the Death Star: 8 Y-wings making up Gold Squadron and 22 X-wings, some making up Red Squadron and the rest making up Green Squadron. The Starfighters weaved through the turret emplacements destroying many as they passed.

The Death Star’s defenses were designed for a direct, large-scale assault. By using small, one-man fighters, the Rebels would slip through the Death Star’s main defenses, maneuver down a narrow trench leading to the exhaust port, and insert proton torpedoes through the exhaust port.

Some time into the battle, Imperial officer Jude Edivon aboard the Death Star identified the threat of the Rebels’ attack strategy, and attempted to warn her superiors of the danger. However, Grand Moff Tarkin ignored the warning and refused to evacuate the station or launch any of the stations hundreds of fighters. Meanwhile, Darth Vader himself decided to lead his personal squadron of TIE Fighters to destroy the remaining Rebel fighters. 

The game consisted of the main dogfight between elements of Red Squadron (7 X-wings), Gold Squadron (3 Y-wings) against Black Squadron’s 9 Tie Fighters. Meanwhile Han Solo was fighting with his conscience whether to intervene with the Millennium Falcon or continue on his way to payoff Jabba the Hut.

In the end, seven Tie Fighters and one X-wing were lost. The Rebel ships continued on toward their mission to bomb the Death Star. Darth Vader survived to return in Episodes V and VI.

Bolt Action – Aslito Airfield, Saipan

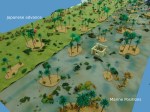
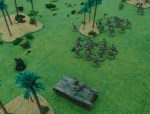
This weekend the local HMGS-South group played a Bolt Action game set during the Battle of Saipan.  The scenario was based on the Japanese counterattack on Aslito airfield on the night of 16-17 June 1944 and pitted the 23rd Marine Regiment against the Japanese 118th Infantry Regiment.

After about four hours of play, the Japanese failed to achieve the required victory conditions. As a result, the airfield was held by the Marines.

Seekrieg 5 – Tsushima

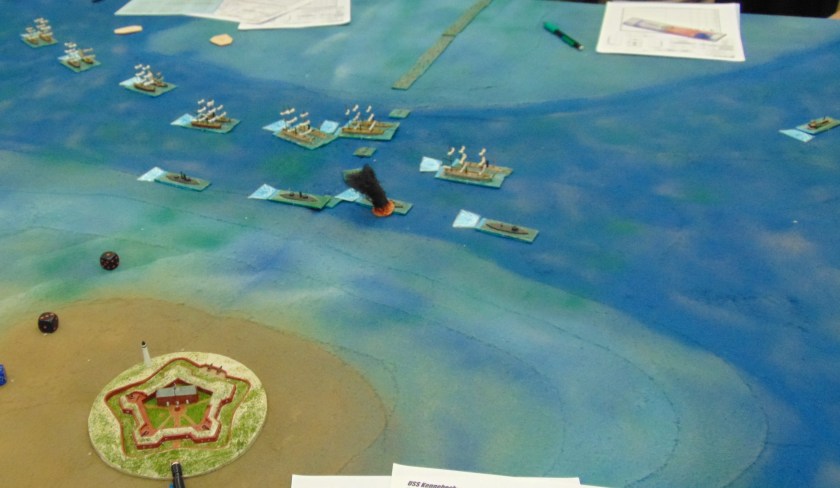
This weekend the local HMGS-South group played a Russo-Japanese War naval game using the Seekrieg 5 rules. The scenario included battleships from the Battle of Tsushima.

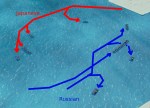
The battle was fought in calm seas and hazy weather, visibility 12,000 yards. The lead ships started about 12,000 yards apart.

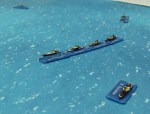
Japanese ships in a single line ahead:
Mikasa, Asahi, Fuji, Shikishima, Chin Yen

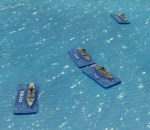
Russian ships in two divisions, each in line ahead:
Kniaz Suvarov, Imperator Alexander III, Borodino, Orel
Oslyabya, Sissoi Veliki, Navarin, Imperator Nicolai I

Crew quality was randomized, with the Japanese having a probable advantage:

Japanese:
1-20%       +1
21-80%    +2
81-100%  +3

Russian:
1-30%        -1
31-90%       0
91-100%   +1

The battle opened with the Borodino class ships firing at the four new Japanese battleships, the Oslyabya firing at the Chin Yen and the four Japanese battleships firing on the lead pair of each Russian division. The guns of the remaining ships would be out of range for several turns. The Japanese soon switched to firing their primary guns on the four Borodino class and their secondary guns on the older Russian ships. The Imperator Alexander III lost an engine room on the first turn, forcing her to leave the formation. That was the story for the rest of the battle, with the Russian first division taking most of the damage.

After 14 turns and more than four hours of real time, the damage was:

Russian:
Kniaz Suvarov                      3 tiers, speed reduced to 7 knots
Imperator Alexander III    1 tier, speed reduced to 9 knots
Borodino                               light damage
Orel                                        8 tiers, speed reduced to 11 knots,
–                                               no main battery, sinking
Oslyabya                               light damage
Sissoi Veliki                          light damage
Navarin                                  light damage
Imperator Nicolai I             light damage

Japanese:
Mikasa                                    light damage
Asahi                                       light damage
Fuji                                           light damage
Shikishima                             1 tier, speed reduced to 8 knots
Chin Yen                                 1 tier


Risikoflotte Risked – 1914 Naval AAR

This weekend the local HMGS-South group played a fictitious naval battle set in the North Sea in May 1914. The British attempt to destroy the German fleet in the North Sea bases. The German fleet sails to fight in the Heligoland Bight. The scenario is based on the British strategy of destroying fleets which may become a threat (Copenhagen) (also), and the German concept of the Risikoflotte (risk fleet).

Player briefings: Copenhagen 1914

Visibility 14,000 yards, improving gradually. Wind westerly at 8 knots. Sea state 3.

Status at the end of the game: Cope IO

Damage output file: Cope Short output

Player reports:
Cope British
Cope German

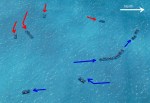
Plots of ship movements:
0-30 minutes Cope plot 0-30
30-50 minutes Cope plot 30-50
50-60 minutes Cope plot 50-60
All Cope plot all

Computer code (described here)

After more than four hours of play and 60 minutes of game time we called it a day. 5 British dreadnoughts were sunk and 2 were in a sinking condition. 2 German dreadnoughts were sunk and 1 was heavily damaged. The Germans could claim a tactical victory at this point but not a strategic victory.

This battle was played some years ago with an earlier version of the code.