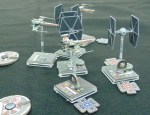
This weekend the local HMGS-South group played a Star Wars: X-Wing Miniatures game. The scenario was based on the Battle of Yavin.
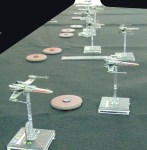
With the Death Star approaching, Y-wings from Gold Squadron and X-wings from Red Squadron and Green Squadron were dispatched to carry out the attack plan. A total of 30 ships were deployed in the assault on the Death Star: 8 Y-wings making up Gold Squadron and 22 X-wings, some making up Red Squadron and the rest making up Green Squadron. The Starfighters weaved through the turret emplacements destroying many as they passed.
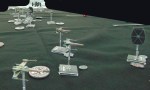
The Death Star’s defenses were designed for a direct, large-scale assault. By using small, one-man fighters, the Rebels would slip through the Death Star’s main defenses, maneuver down a narrow trench leading to the exhaust port, and insert proton torpedoes through the exhaust port.
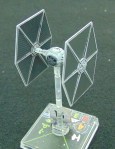
Some time into the battle, Imperial officer Jude Edivon aboard the Death Star identified the threat of the Rebels’ attack strategy, and attempted to warn her superiors of the danger. However, Grand Moff Tarkin ignored the warning and refused to evacuate the station or launch any of the stations hundreds of fighters. Meanwhile, Darth Vader himself decided to lead his personal squadron of TIE Fighters to destroy the remaining Rebel fighters.
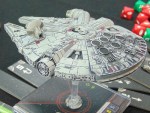
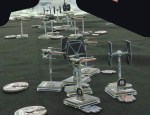
The game consisted of the main dogfight between elements of Red Squadron (7 X-wings), Gold Squadron (3 Y-wings) against Black Squadron’s 9 Tie Fighters. Meanwhile Han Solo was fighting with his conscience whether to intervene with the Millennium Falcon or continue on his way to payoff Jabba the Hut.


In the end, seven Tie Fighters and one X-wing were lost. The Rebel ships continued on toward their mission to bomb the Death Star. Darth Vader survived to return in Episodes V and VI.
