The scenario took place on July 29 in Normandy, during Operation COBRA. It involved a failed German counterattack on the eastern side of the U.S. breakthrough, and was historical for the most part. The 2nd Panzer Division and the 275th Infantry Division vs. the U.S. 35th Division and CCB of the 2nd Armored Division.
The 275th Infantry Division was added to the German OB to make it more of a contest. The 275th was in 7th Army reserve when COBRA opened, it did not play a big part in the battle as it was in poor shape at that time. This game assumed it was in better shape and had been moved to the east for rest.
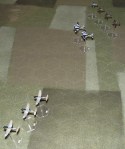
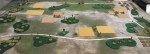
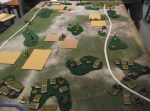
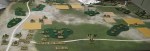
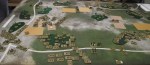
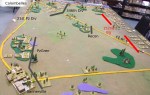
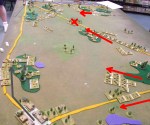
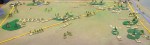
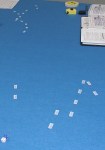
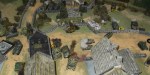
Starting positions. US 35th Inf Div on the right, German 275th Inf Div on the left.
View from the German end of the table.
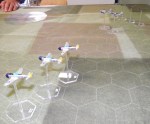
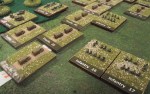
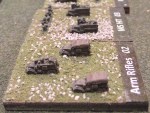
The 2nd Battalion of the US 35th Div moves up using the road in the foreground. The 1st Battalion is in the distance.
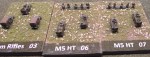
2nd Battalion infantry deploys from trucks on the road.
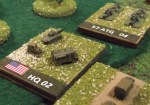
The 2nd Battalion HQ.
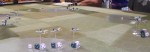
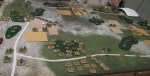
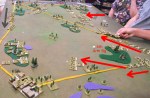
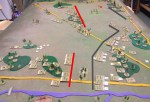
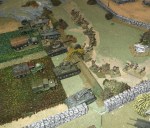
The 2nd Battalion forms an infantry line as tanks of the 2nd Pz are seen approaching. The 1st Battalion advances in the background, preparing to assault German infantry in the woods. .
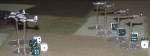
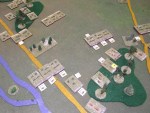
Tanks of the 2nd Armored Div move into the open center of the table. German tanks (MkIV and MkV) take cover in the woods.
The 1st Battalion assault goes in but takes heavy casualties.
Casualties to the US 1st Battalion cause it to break, and the other US units also take significant losses. With the Germans having suffered few losses, the US advance is stopped.
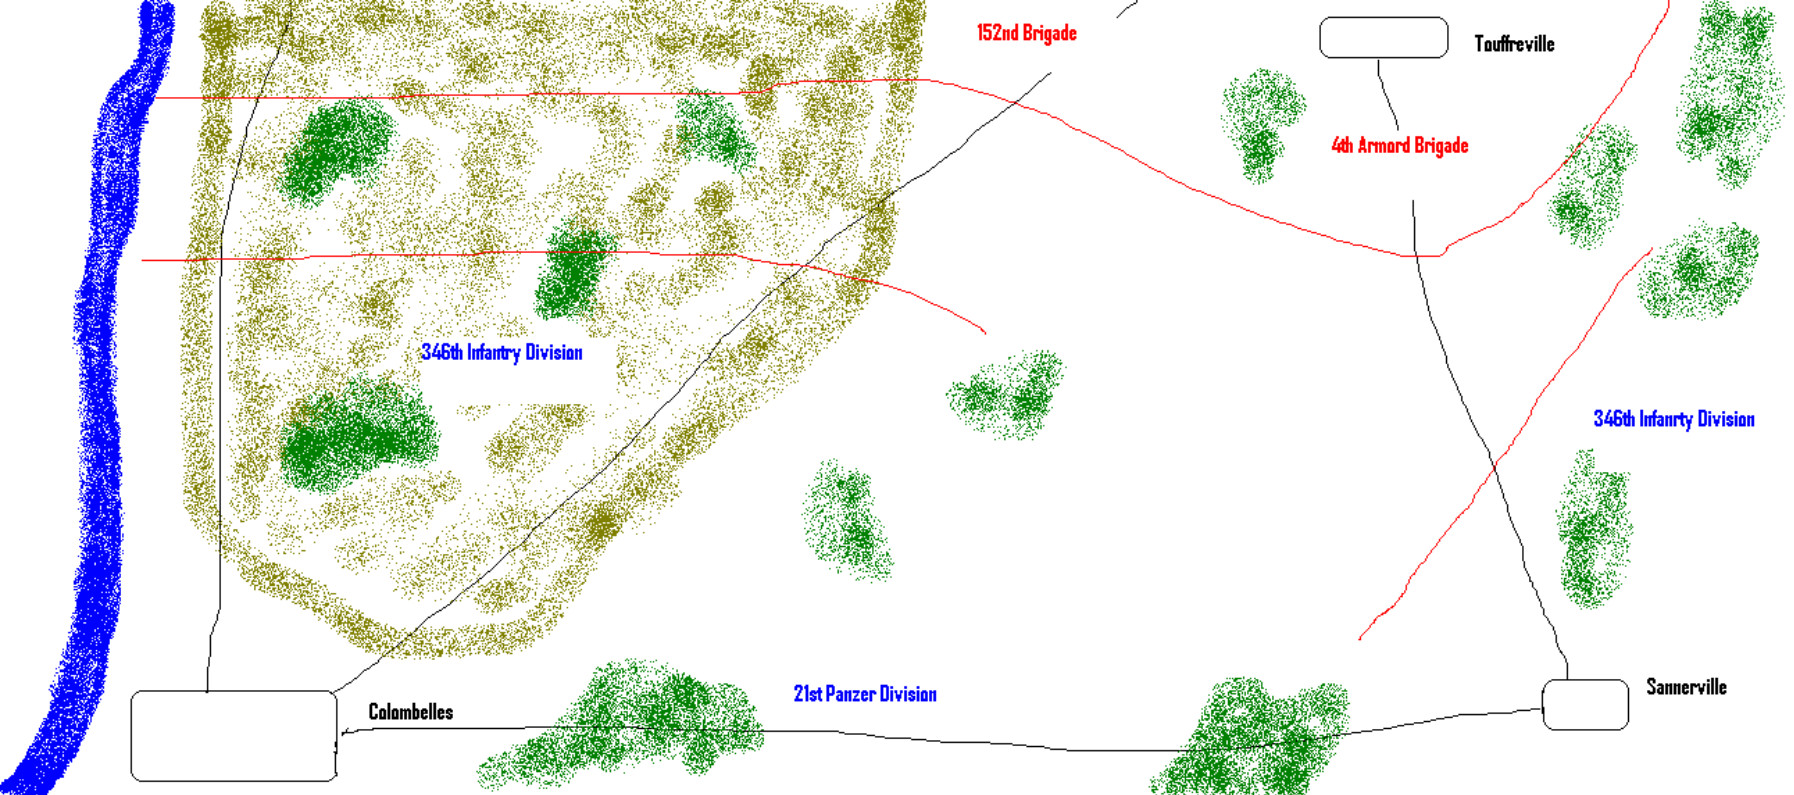
The scenario was set during Operation Perch, the British attempt to take Caen, and involved the attack by the British 51st Division out of the Orne River bridgehead on June 12 – 13, 1944. The scenario assumed that the initial British attack was more successful than it was historically, i.e., that the German defensive line had been broken and the British were advancing into more open terrain in their drive on Caen.
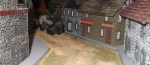
Colombelles
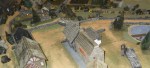
Sannerville
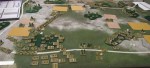
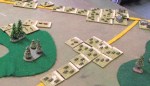
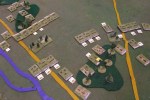
Opening positions as seen from the north.
The British 4th Armoured arrives.
Sherman and Firefly tanks of the 4th Armoured.
German and British recon units which were deployed forward to call in artillery are destroyed.
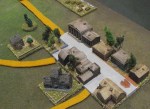
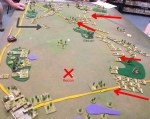
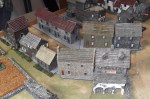
The British advance and the Germans abandon Sannerville to reinforce Colombelles. Lead British tank units are destroyed by massed fire from 21st Pz MkIVs.
Closeup of the Infantry lines west of Colombelles.
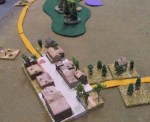
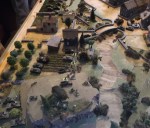
Tanks exchange fire in the center, viewed from the east.
View from the west.
Position when the game was called due to time.
The German defense line has lost some heavy weapons and the attacking British infantry has been reduced.
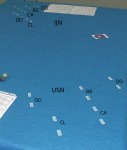
This weekend the local HMGS-South group played a non-historical Pacific naval battle using the General Quarters 3rd Edition rules. Not many players turned up, but we took the opportunity to learn a new set of rules and discuss naval topics. In the absence of miniatures, ship counters were borrowed from a board game.
On the first turn, both sides learn how the collision rules work. Against the odds there were no collisions.
Two IJN DDs were sunk and several ships on each side were damaged. Due to time constraints we did not play to a conclusion. GQ3 seems to be a quick game system suitable for club games as long as you can keep the naval buffs from arguing about the abstractions. Good luck with that.
Elements of the 14th Armored Division, 242nd Infantry Regiment and 315th Infantry Regiment attempt to secure the villages of Hatten and Rittershoffen but are counterattacked by units of 21st the Panzer, 25th Panzer Grenadier and 47th Volksgrenadierdivisions.
The northern 88, to be knocked out early in the battle.
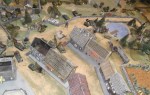
The seemingly empty town actually crawling with German infantry.
Seems peaceful.
The southern 88 survived but didn’t hit much.
The Americans advance on a broad front and rush across the only bridge.
What little is left of the first infantry unit across the bridge is pinned down.
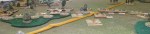
Infantry use the dry river bed for cover.
The lead tanks are severely handled.
Many vehicles bog down crossing the dry river bed.
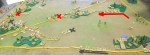
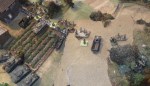
The counter attack of the 21st Panzer catches the Americans by surprise.
Carnage on both sides as the tanks engage at point blank range.


You must be logged in to post a comment.