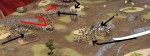
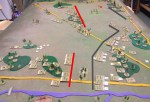
This weekend the local HMGS-South group played an ACW game at the Dogs of War shop using the Fire and Fury rules. It was a test game to learn the rules in preparation for a campaign. Each side had three players, two commanding infantry divisions and one commanding a cavalry division. Each division had three brigades of randomly determined size. Each side also had four artillery units.
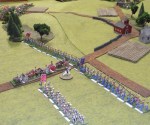
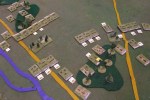
Troops enter the field. Both commanders have deployed their cavalry on their own right.
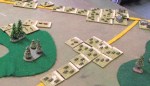
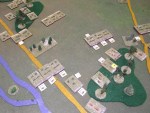
Confederate infantry advances in the center.
Union infantry advances in double line.
Confederate cavalry attempts to move around the Union left.
A Union charge drives back a Confederate infantry brigade. To the left a firefight starts which will last several turns.
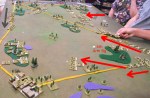
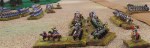
A Confederate infantry charge forces the Union brigade back where it is exposed to a flank attack by cavalry.
Confederate cavalry in a mounted charge into the flank of a disordered Union brigade is so successful that the cavalry is required to continue into a battery. The battery is captured, but the cavalry is left exposed to overwhelming Union fire.
The Confederate cavalry gets a ‘Tardy’ command result (halving movement) and charges the Union unit to the front. The move choice is irrelevant since Union defensive fire destroys it in its initial location.
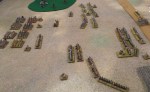
Another Confederate charge forces back a Union brigade. Dismounted Union cavalry advances on the far left.
The battle was still about even when we ran out of time.
This weekend (November 23, 2013) the local HMGS-South group played a 1879 Zulu War game at the Dogs of War shop using The Sword and the Flame colonial rules, Revision 1.
Date: June 1879, second invasion of Zululand
Location: Near Fort Newdigate, guarding the supply line of the main army advancing on Ulundi.
Situation: Supply columns had been attacked by Zulu raiding parties based in hilly terrain overlooking the track to Ulundi. A force was organized from the garrison of Fort Newdigate and ordered to clear the hills of Zulu. This force consisted of three platoons of infantry, one platoon of Naval Brigade rifles, a detachment of the 17th Lancers and one Gatling gun.
The Zulu force consisted of six units (mixed rifle and spear) hidden in rough terrain. Other Zulu units would arrive when firing could be heard from the battle.
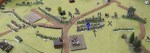
The British advance. Zulu hidden positions are in the distance.
A couple of Zulu units break cover and advance.
The British form firing lines while the remaining Zulu leave their hidden positions in the hills and advance.
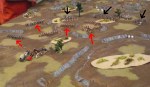
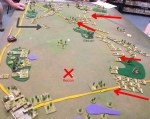
The right end of the British line is charged from all sides.
The right end of the British line is overwhelmed.
Zulu reinforcements. Most would not be needed.
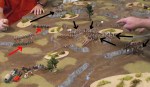
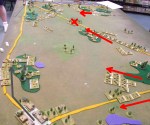
The British fall back to face threats from several directions as Zulu arrive on the field behind them.
Significant casualties on both sides in the final clashes. An odd blue box appears to mark a 50th anniversary.
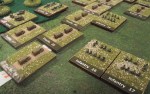
The scenario took place on July 29 in Normandy, during Operation COBRA. It involved a failed German counterattack on the eastern side of the U.S. breakthrough, and was historical for the most part. The 2nd Panzer Division and the 275th Infantry Division vs. the U.S. 35th Division and CCB of the 2nd Armored Division.
The 275th Infantry Division was added to the German OB to make it more of a contest. The 275th was in 7th Army reserve when COBRA opened, it did not play a big part in the battle as it was in poor shape at that time. This game assumed it was in better shape and had been moved to the east for rest.
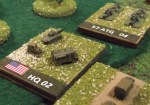
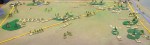
Starting positions. US 35th Inf Div on the right, German 275th Inf Div on the left.
View from the German end of the table.
The 2nd Battalion of the US 35th Div moves up using the road in the foreground. The 1st Battalion is in the distance.
2nd Battalion infantry deploys from trucks on the road.
The 2nd Battalion HQ.
The 2nd Battalion forms an infantry line as tanks of the 2nd Pz are seen approaching. The 1st Battalion advances in the background, preparing to assault German infantry in the woods. .
Tanks of the 2nd Armored Div move into the open center of the table. German tanks (MkIV and MkV) take cover in the woods.
The 1st Battalion assault goes in but takes heavy casualties.
Casualties to the US 1st Battalion cause it to break, and the other US units also take significant losses. With the Germans having suffered few losses, the US advance is stopped.
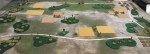
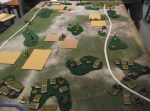
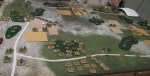
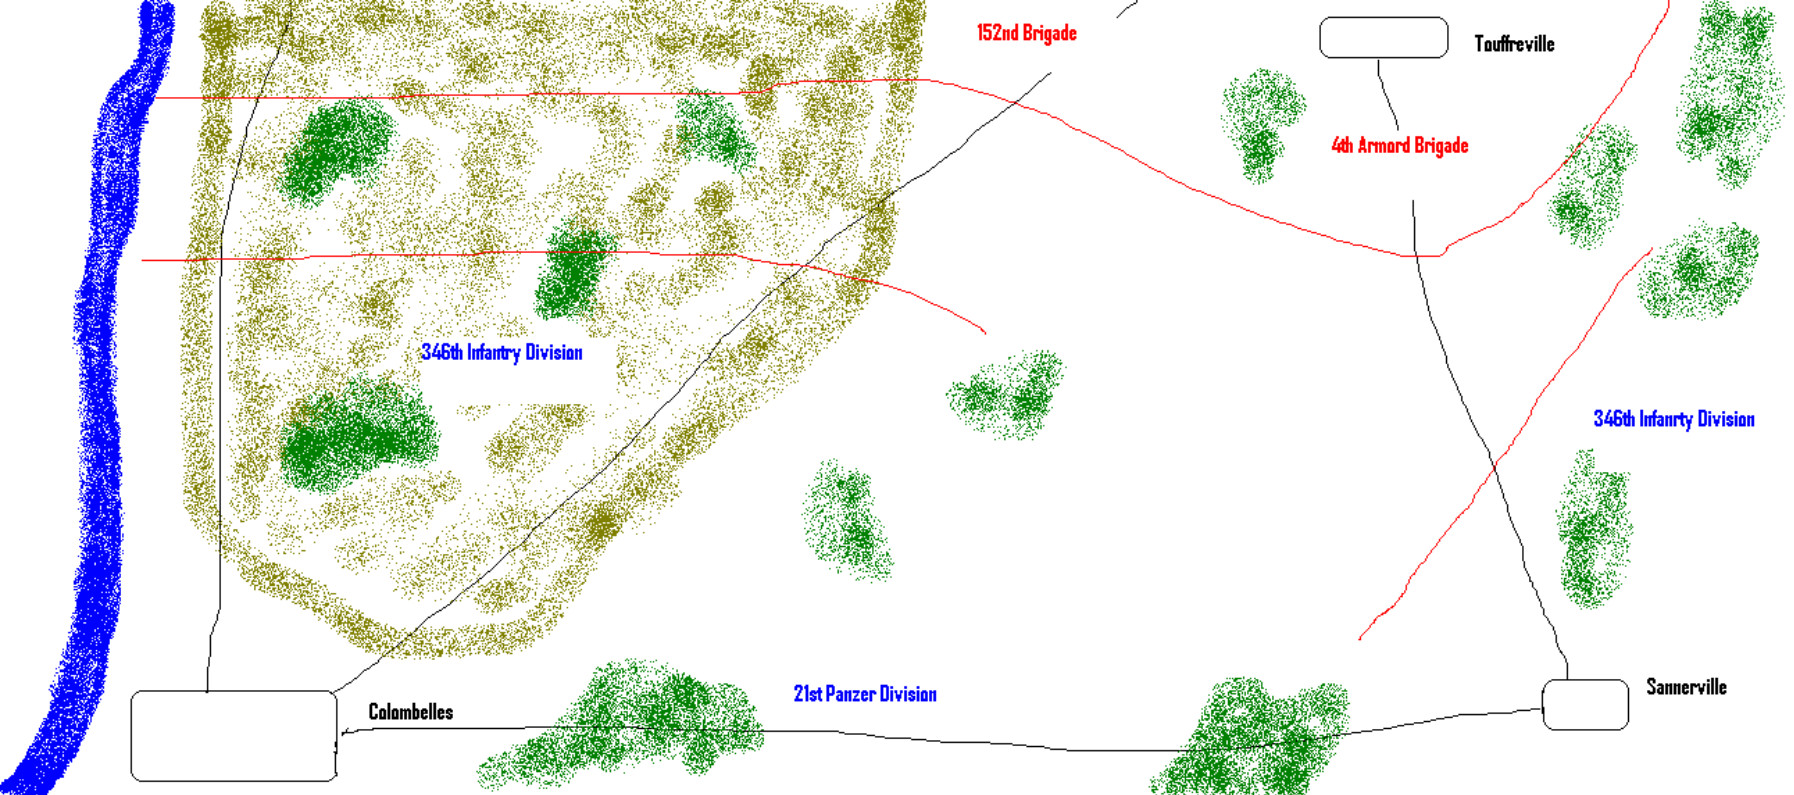
The scenario was set during Operation Perch, the British attempt to take Caen, and involved the attack by the British 51st Division out of the Orne River bridgehead on June 12 – 13, 1944. The scenario assumed that the initial British attack was more successful than it was historically, i.e., that the German defensive line had been broken and the British were advancing into more open terrain in their drive on Caen.
Colombelles
Sannerville
Opening positions as seen from the north.
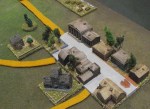
The British 4th Armoured arrives.
Sherman and Firefly tanks of the 4th Armoured.
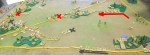
German and British recon units which were deployed forward to call in artillery are destroyed.
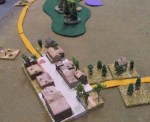
The British advance and the Germans abandon Sannerville to reinforce Colombelles. Lead British tank units are destroyed by massed fire from 21st Pz MkIVs.
Closeup of the Infantry lines west of Colombelles.
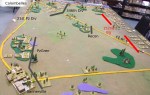
Tanks exchange fire in the center, viewed from the east.
View from the west.
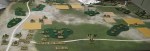
Position when the game was called due to time.
The German defense line has lost some heavy weapons and the attacking British infantry has been reduced.
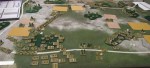
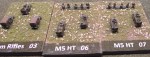
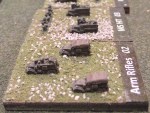
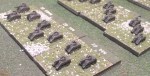
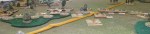
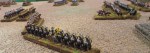
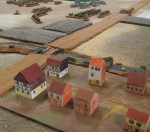
This weekend the local HMGS-South group played a War of Spanish Succession game at the Dogs of War shop. Black Powder rules and 6mm Baccus figures were used. Unfortunately the duty photographer got so involved running the game that he forgot to take photos. Those below were taken during cleanup.


You must be logged in to post a comment.